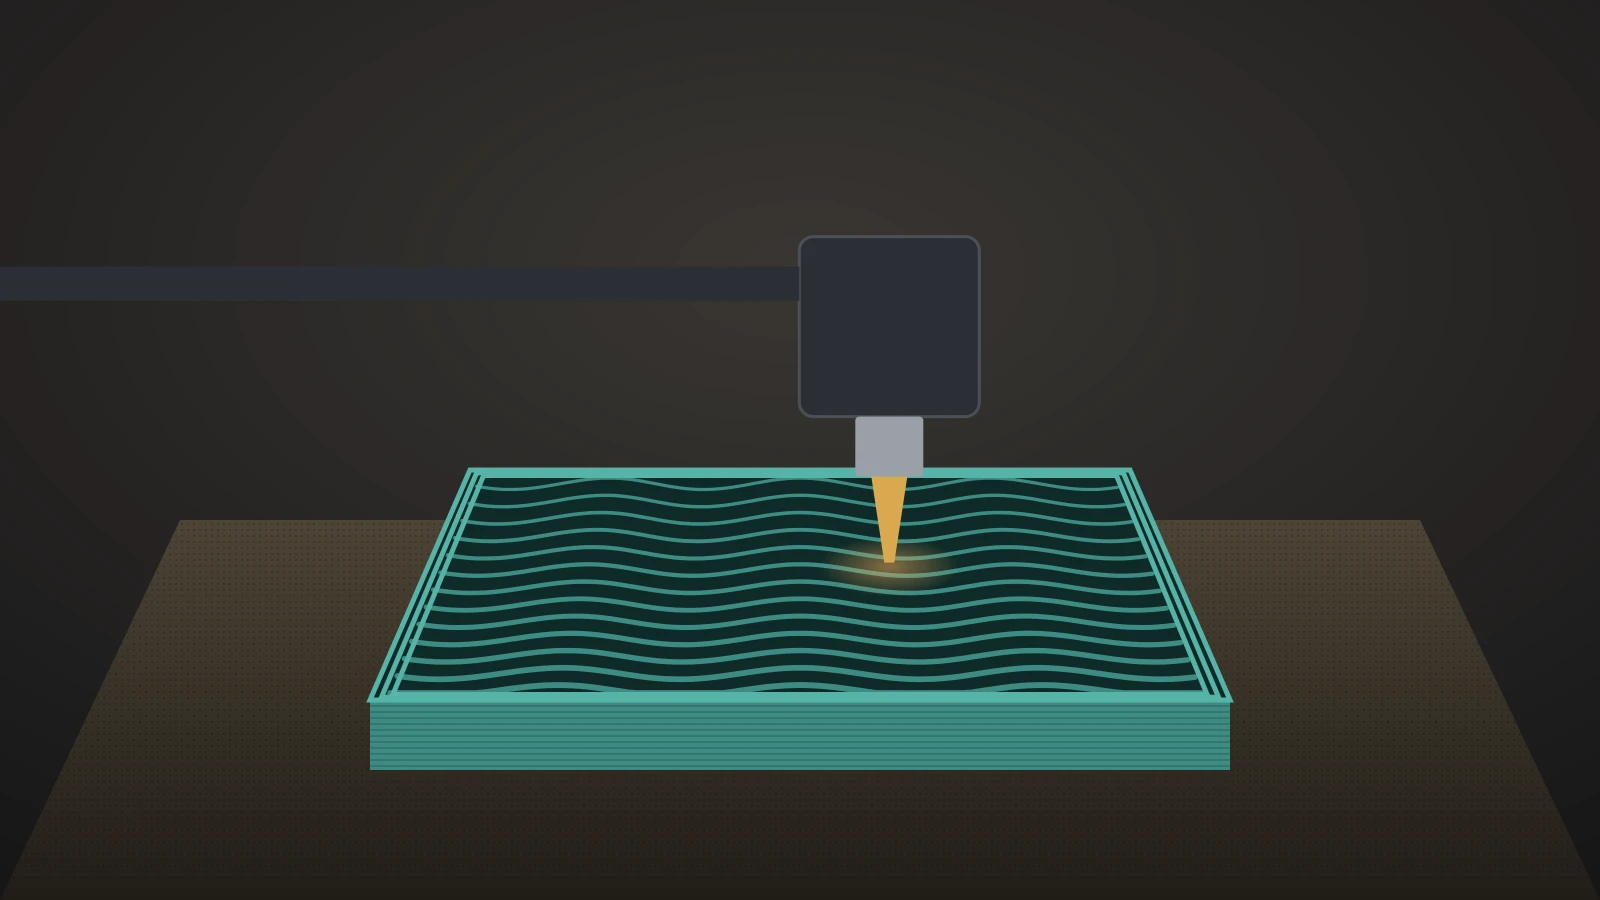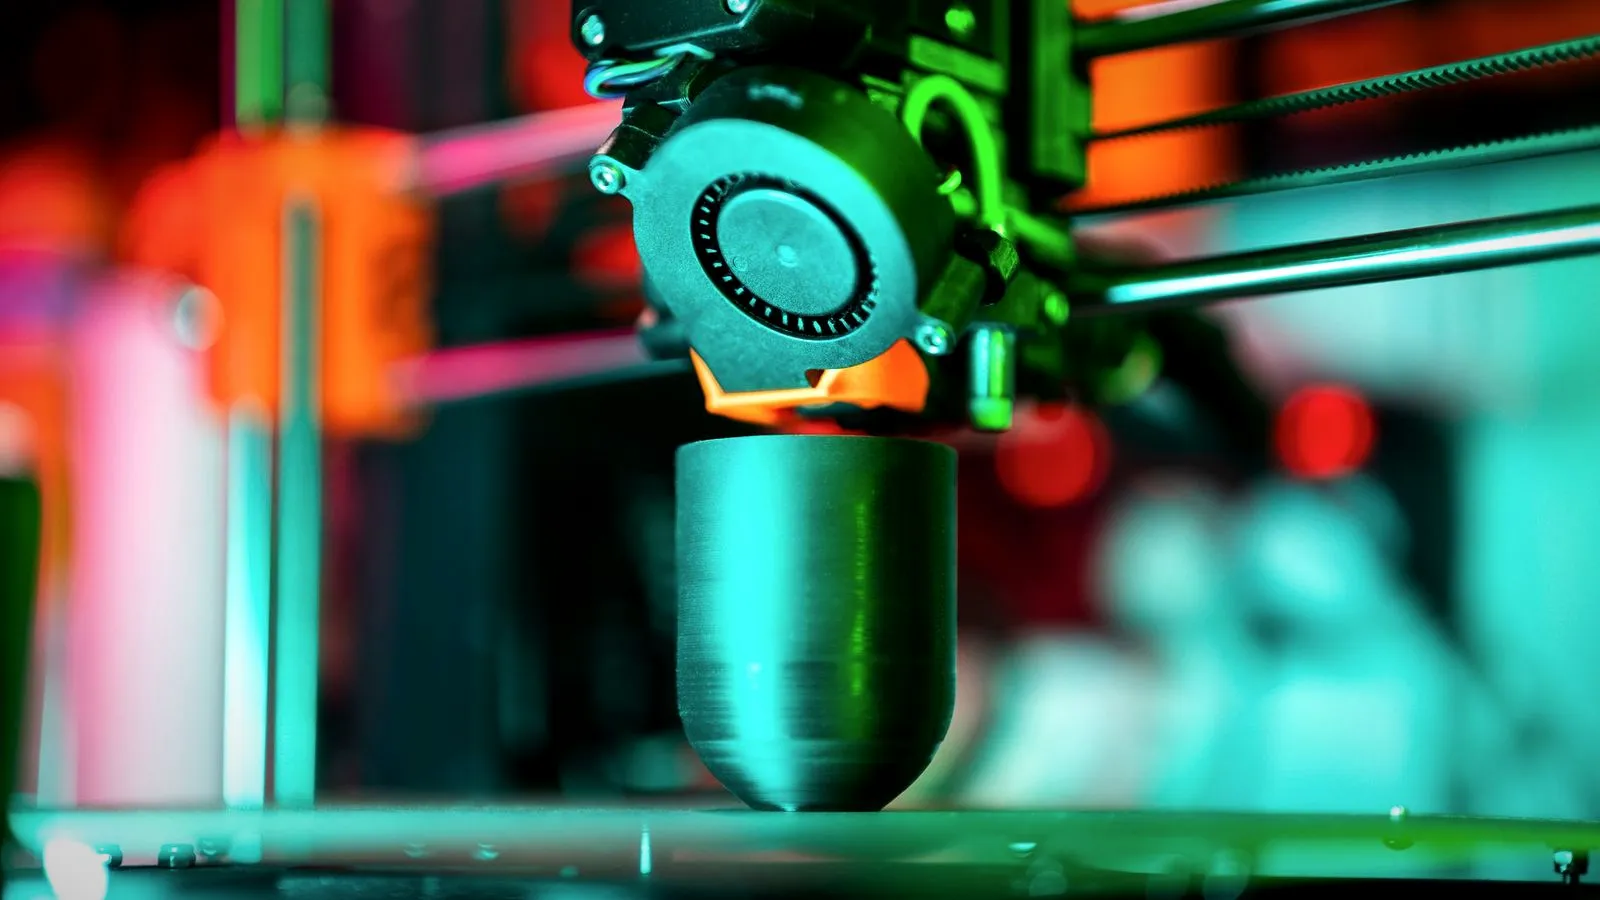
3D printing layer height is the thickness of each layer the printer lays down. With a standard 0.4 mm nozzle, slicer limits run from 0.08 mm to 0.28–0.32 mm, and 0.20 mm is the usual everyday setting. Thinner layers show fewer layer lines and smoother curves, while thicker layers finish the same part much faster.
Layer height is one setting in a slicer profile, so it works together with walls, speed and cooling. Our guide to 3D printing slicer settings covers those, and if you are new to slicing, start with how a slicer turns an STL into G-code.
The short answer
| Question | 0.4 mm nozzle | Source |
|---|---|---|
| Minimum layer height | 0.08 mm (20% of the nozzle) | Bambu Lab, OrcaSlicer |
| Maximum layer height | 0.28 mm (Bambu Lab) to 0.32 mm (Prusa, OrcaSlicer) | Slicer docs |
| Everyday setting | 0.20 mm (“Standard”) | Bambu Studio profiles |
| Fine detail | 0.08–0.16 mm | Bambu Studio profiles |
| Fast drafts | 0.24–0.28 mm | Bambu Studio profiles |
| First layer | 0.20 mm (Bambu Lab, Prusa) or 0.25 mm (OrcaSlicer) | Slicer docs |
Change layer height for looks and time. For strength, add walls instead.
What is layer height in 3D printing?
Layer height is the vertical thickness of each slice of your model, and it sets the vertical (Z) resolution of the print. A filament printer builds the part one layer at a time, so the layer height decides how many layers a part needs and how visible the steps between them are. Bambu Lab’s wiki describes it as the vertical resolution of the model: the lower the layer height, the finer the result.
What does a 0.2 mm layer height mean?
A 0.2 mm layer height means each layer is 0.2 mm thick, so the printer stacks 5 layers per millimeter of height. A 20 mm tall part needs 100 layers at 0.2 mm, 250 layers at 0.08 mm and 72 layers at 0.28 mm (our calculation: part height divided by layer height, rounded up, ignoring the first layer).
How 3D printing layer height changes detail, time and strength
Layer height trades surface quality against print time, with smaller effects on overhangs and speed limits.
Detail and surface finish
Thinner layers make the steps on curved and sloped surfaces smaller, so layer lines are less obvious. Bambu Lab’s variable layer height guide explains why the top of a dome looks worst: the flatter the slope, the wider each step appears. Steep walls look smooth at almost any layer height, while gentle slopes and domes show the “staircase” first.
Print time
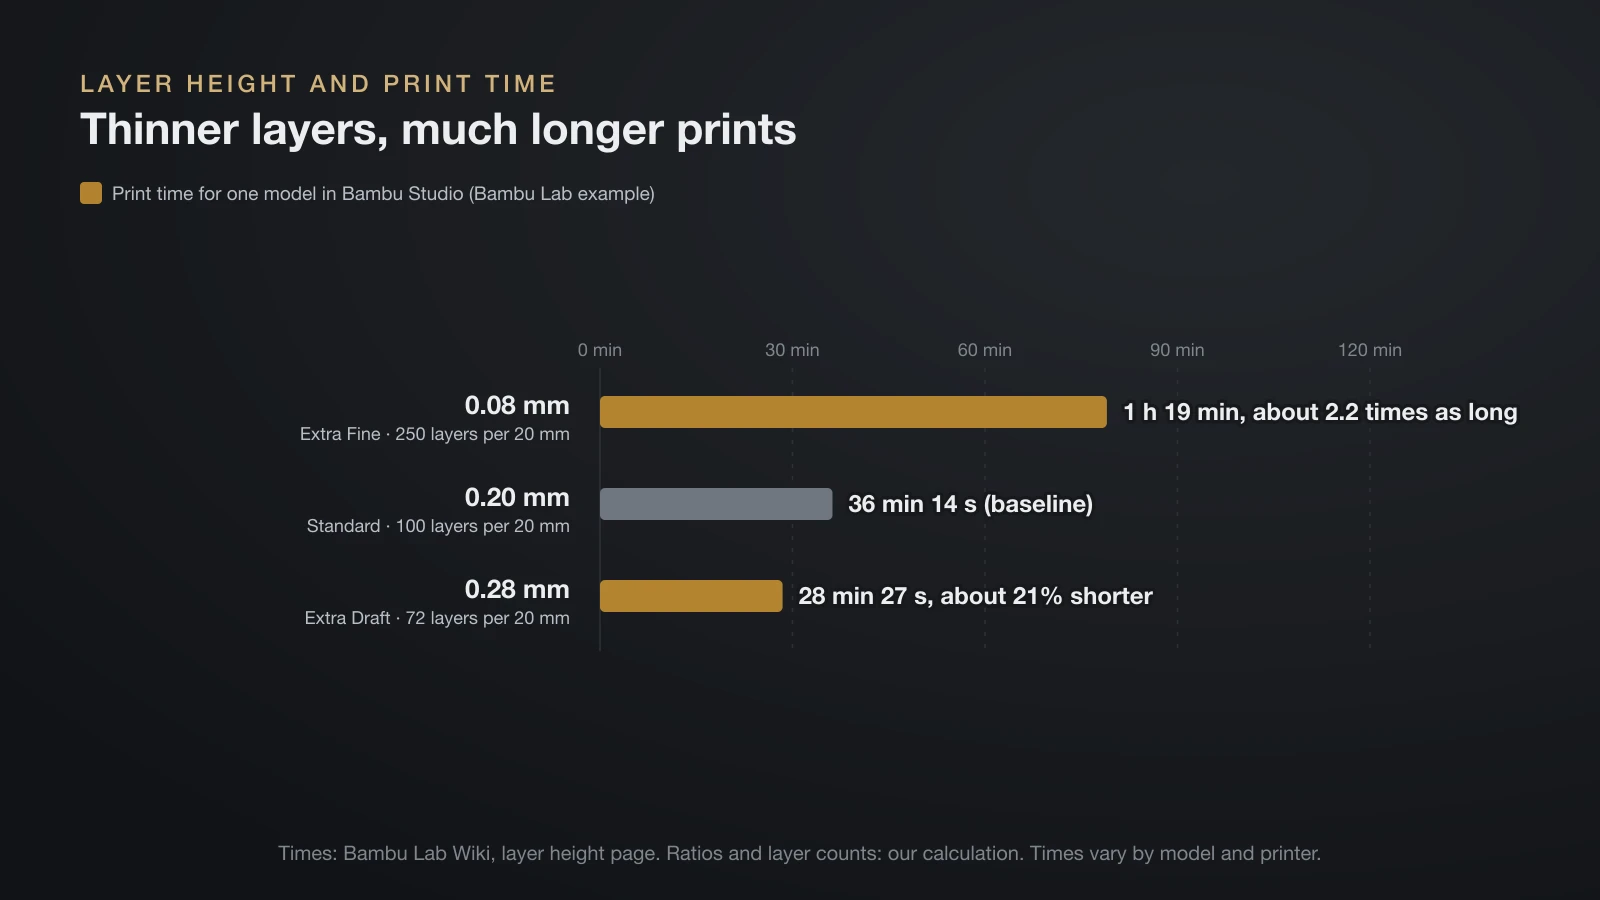
Every layer adds time, so thinner layers mean longer prints. Bambu Lab’s layer height page gives a real example for one model:
| Layer height | Print time (Bambu Lab example) | Compared with 0.20 mm |
|---|---|---|
| 0.08 mm | 1 h 19 min | About 2.2 times as long |
| 0.20 mm | 36 min 14 s | Baseline |
| 0.28 mm | 28 min 27 s | About 21% shorter |
The ratios are our calculation from Bambu Lab’s times. Print time does not scale exactly with layer count: 0.08 mm needs 2.5 times as many layers as 0.20 mm, but the example took about 2.2 times as long.
Strength, overhangs and speed limits
Layer height is not the main strength setting. Prusa’s knowledge base says a model’s strength comes mostly from the number of perimeters (walls), not the infill, so walls come first when a part must hold a load. OrcaSlicer’s wiki adds that smaller layers handle steeper overhangs, because each layer sticks out less past the one below.
Thick layers also push more plastic per second. Bambu Lab notes that high layer heights need slower printing so the hotend can melt enough filament. Its volumetric speed guide shows the effect: at 250 mm/s with a 0.45 mm line, 0.30 mm layers need 33.8 mm³/s, while 0.16 mm layers need only 18 mm³/s.
Layer height for a 0.4 mm nozzle: minimum, maximum and best
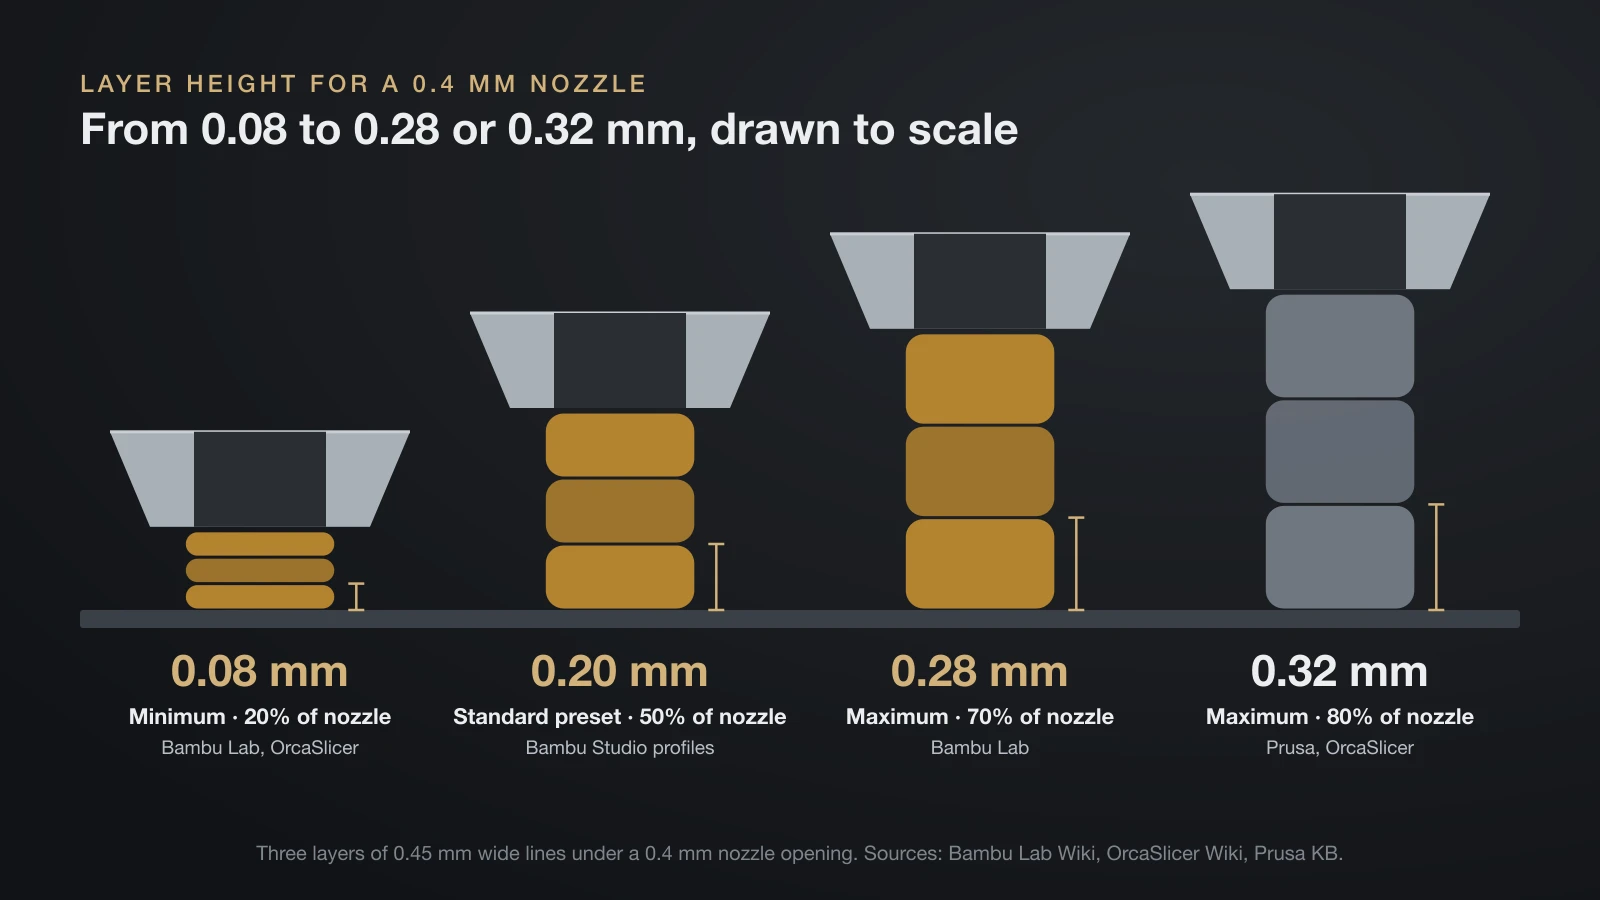
The nozzle diameter sets the usable layer range, and all three major slicer makers express it as a share of the nozzle size. Bambu Lab gives 20–70% of the nozzle diameter, OrcaSlicer 20–80%, and Prusa says layers should stay below 80%. For a 0.4 mm nozzle, that means a minimum of 0.08 mm and a maximum of 0.28 mm (Bambu Lab) or about 0.32 mm (Prusa, OrcaSlicer).
| Nozzle | Min (OrcaSlicer) | Max (OrcaSlicer) | Bambu Lab range, 20–70% | First layer (OrcaSlicer) |
|---|---|---|---|---|
| 0.2 mm | 0.04 mm | 0.16 mm | 0.04–0.14 mm | 0.12 mm |
| 0.4 mm | 0.08 mm | 0.32 mm | 0.08–0.28 mm | 0.25 mm |
| 0.6 mm | 0.12 mm | 0.48 mm | 0.12–0.42 mm | 0.35 mm |
| 0.8 mm | 0.16 mm | 0.64 mm | 0.16–0.56 mm | 0.45 mm |
The OrcaSlicer columns come from its quick reference table. The Bambu Lab column is our calculation from its 20–70% rule; Bambu Lab states 0.08–0.28 mm for the 0.4 mm nozzle directly.
Outside the range, quality drops. OrcaSlicer warns that layers below 20% can cause uneven flow and a “fish scale” pattern, and layers above 80% risk poor layer adhesion. Bambu Lab calls its 0.08–0.28 mm window the range its lab tested for good quality and advises against changing it.
Can you print 0.1 mm layers with a 0.4 mm nozzle?
Yes, 0.1 mm sits inside the 0.08–0.32 mm window for a 0.4 mm nozzle. Expect a long print: at 0.1 mm, a part needs twice as many layers as at 0.2 mm. Prusa’s guidance adds that thin layers need more top layers, 9 at 0.1 mm against 3 at 0.3 mm, to close the top surface.
Is 0.28 mm layer height good?
Yes, for drafts and large parts that don’t need a fine finish. 0.28 mm is the top of Bambu Lab’s range for a 0.4 mm nozzle, and Bambu Studio names that profile “Extra Draft”. Layer lines will be clearly visible, and the hotend needs more melt capacity at the same speed.
Bambu Studio layer height presets
Bambu Studio ships six layer height presets for a 0.4 mm nozzle, and their names show what each one is for. The table uses the X1 Carbon profiles from Bambu Studio’s official profile files.
| Preset | Layer height | Layers for a 20 mm part (our calculation) | Typical use |
|---|---|---|---|
| Extra Fine | 0.08 mm | 250 | Figures, display pieces |
| Fine | 0.12 mm | 167 | Curved surfaces, small text |
| Optimal | 0.16 mm | 125 | Visible parts, good balance |
| Standard | 0.20 mm | 100 | Everyday prints |
| Draft | 0.24 mm | 84 | Test fits, quick prototypes |
| Extra Draft | 0.28 mm | 72 | Large, simple parts |
Other slicers name their presets differently. On the hardware side, Prusa lists 0.05–0.30 mm for its MK4S printer.
First layer height
The first layer is usually thicker than the rest, because a thicker first layer sticks better and evens out small dips in the build surface. Bambu Studio sets it to 50% of the nozzle diameter, so 0.20 mm for a 0.4 mm nozzle, and Prusa says its own print profiles always use 0.20 mm. OrcaSlicer recommends 0.25 mm for a 0.4 mm nozzle and a maximum of 65% of the nozzle diameter.
The first layer height is not the same thing as nozzle height (Z offset). If the first layer comes out gappy, rough or squashed, our guide to 3D printing first layer problems matches each symptom to a fix.
Adaptive and variable layer height in Bambu Studio, OrcaSlicer and PrusaSlicer
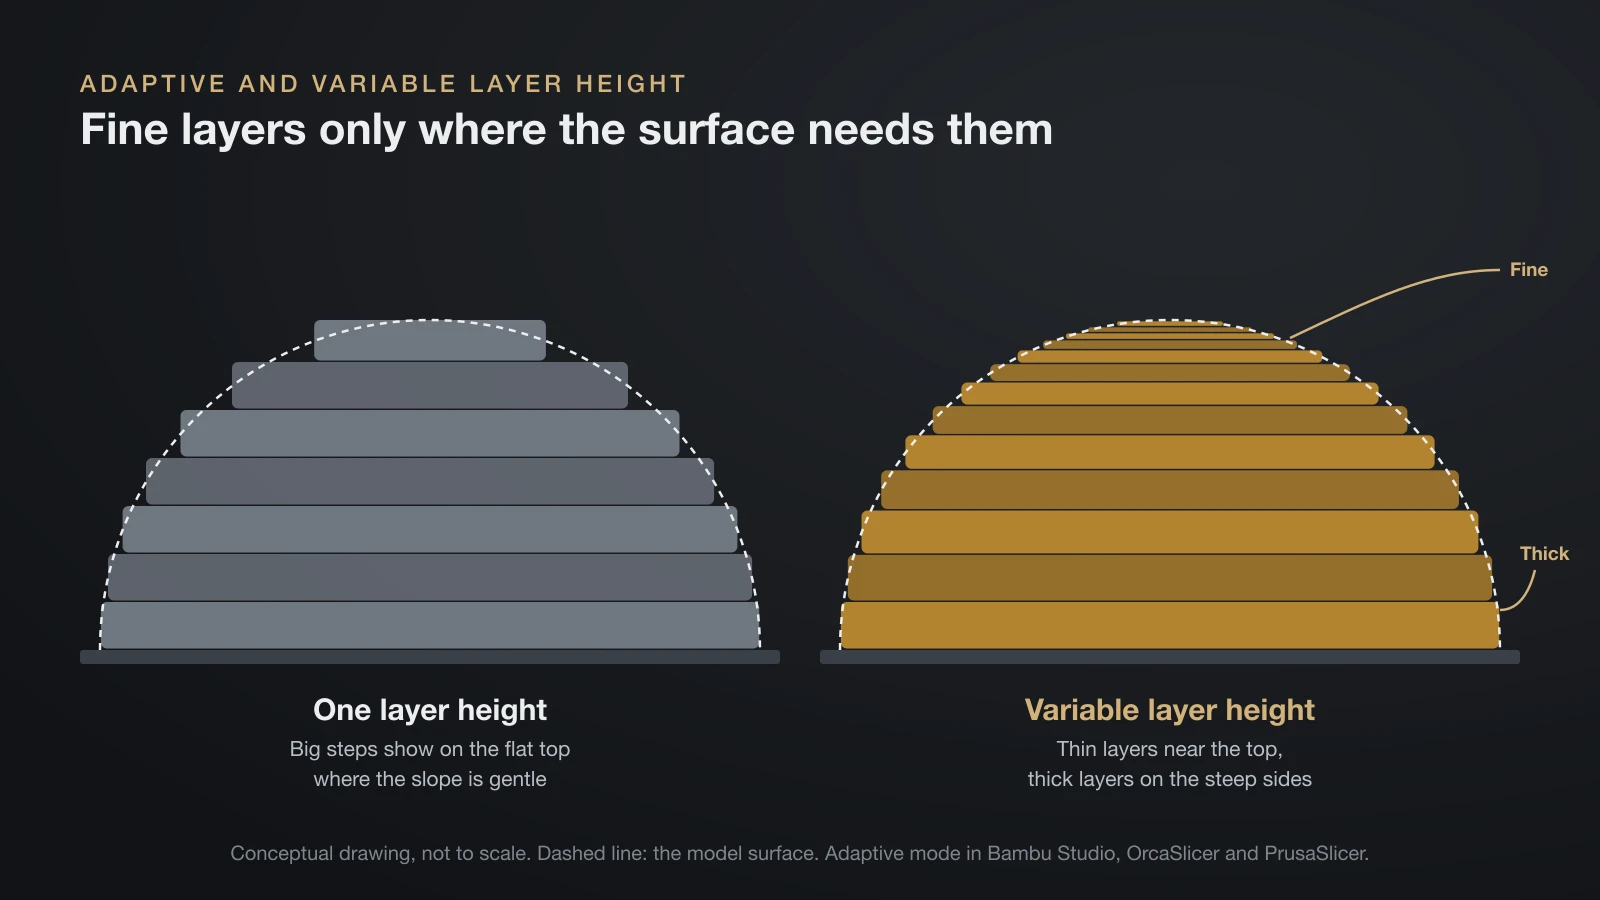
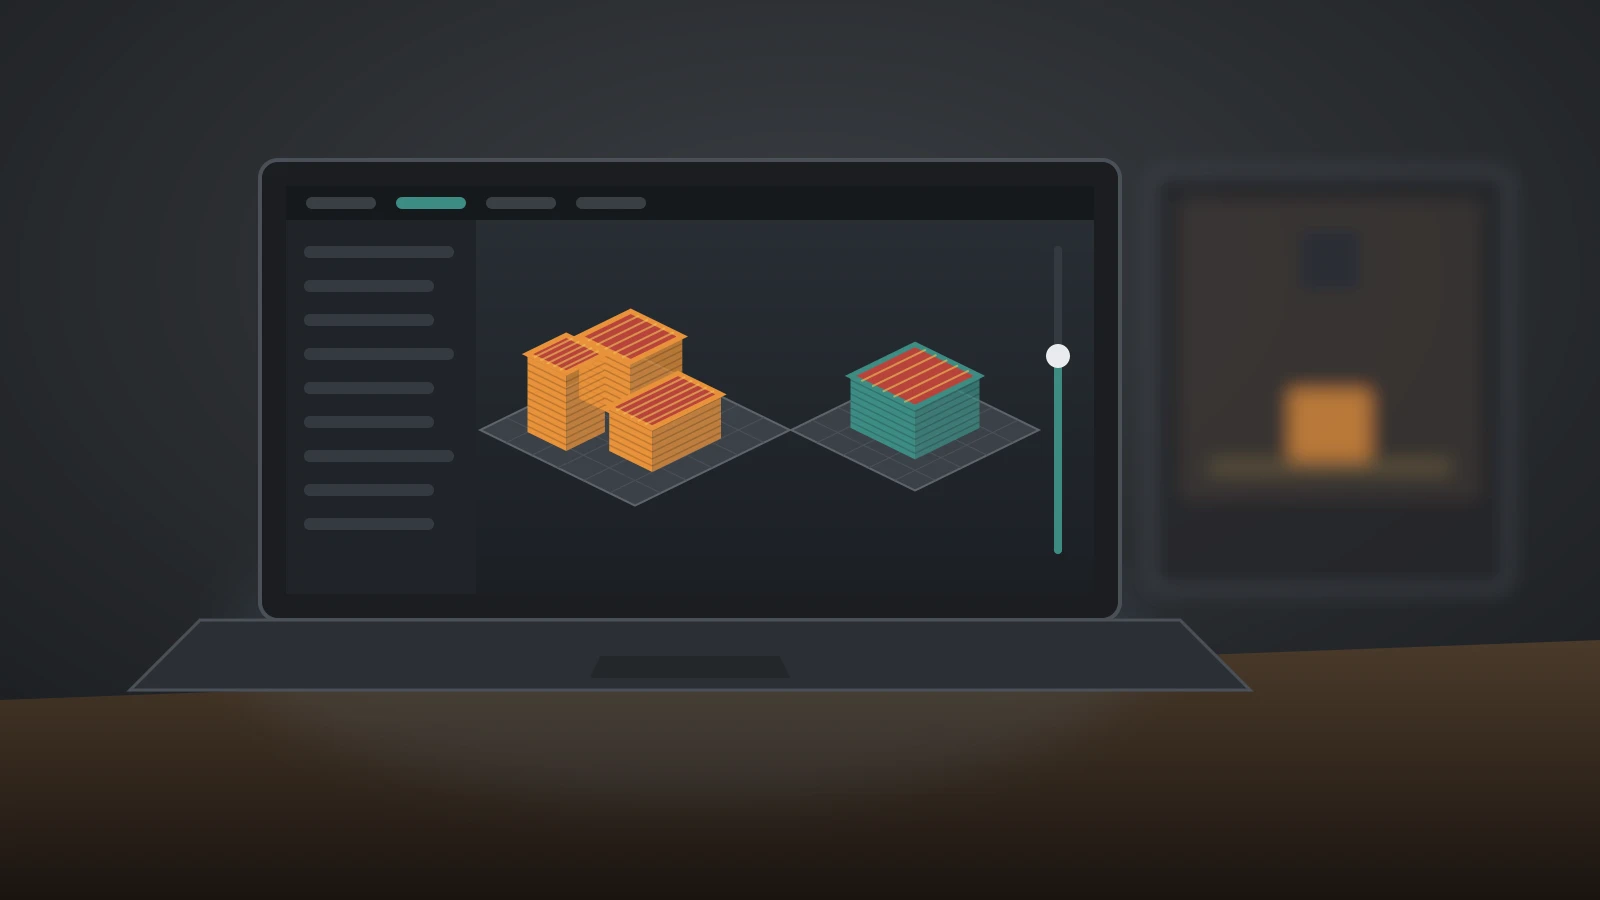
Variable layer height lets the slicer use thin layers only where the surface needs them and thicker layers everywhere else. Domes and gentle slopes get fine layers, vertical walls get thick ones, and Adaptive mode calculates that profile for you.
Bambu Studio
- Select the object on the plate.
- Click the Variable Layer Height icon (stacked horizontal lines) in the top toolbar.
- Move the Quality / Speed slider: toward quality for more thin layers, toward speed for more thick ones.
- Press Adaptive to calculate the profile.
- Press Smooth to soften the transitions; a larger radius gives a smoother curve, and Keep min protects the thinnest layers.
- Fine-tune by hand: left click adds detail, right click removes it, Shift + left click resets to base, and the mouse wheel changes the edited area.
All values stay inside the printer’s layer height limits, 0.08–0.28 mm for a 0.4 mm nozzle. Two limits apply: variable layer height does not work with organic tree supports, and multicolor plates only get a prime tower if every object uses the same variable layer profile.
OrcaSlicer
OrcaSlicer, which is based on Bambu Studio, has the same tool on its Prepare tab toolbar, labeled Variable Layer Height. Its wiki describes the same three modes: Adaptive with the Quality / Speed slider, Smooth with a radius for the Gaussian filter, and Manual, where left click lowers the layer height at a point and right click raises it. The minimum and maximum come from the printer’s extruder settings.
PrusaSlicer and Cura
In PrusaSlicer, select a model and open the variable layer height tool from the top toolbar. The controls match: Adaptive, a Quality/Speed slider, Smooth with a radius and Keep min, plus the same mouse shortcuts. Prusa notes that the profile applies to every instance of the object. Our PrusaSlicer guide covers the rest of the interface.
UltiMaker Cura calls the feature Use Adaptive Layers and lists it under its Experimental settings. By default it lets layers vary by up to 0.1 mm from the base layer height, in steps of 0.01 mm.
3D printer resolution: XY vs Z
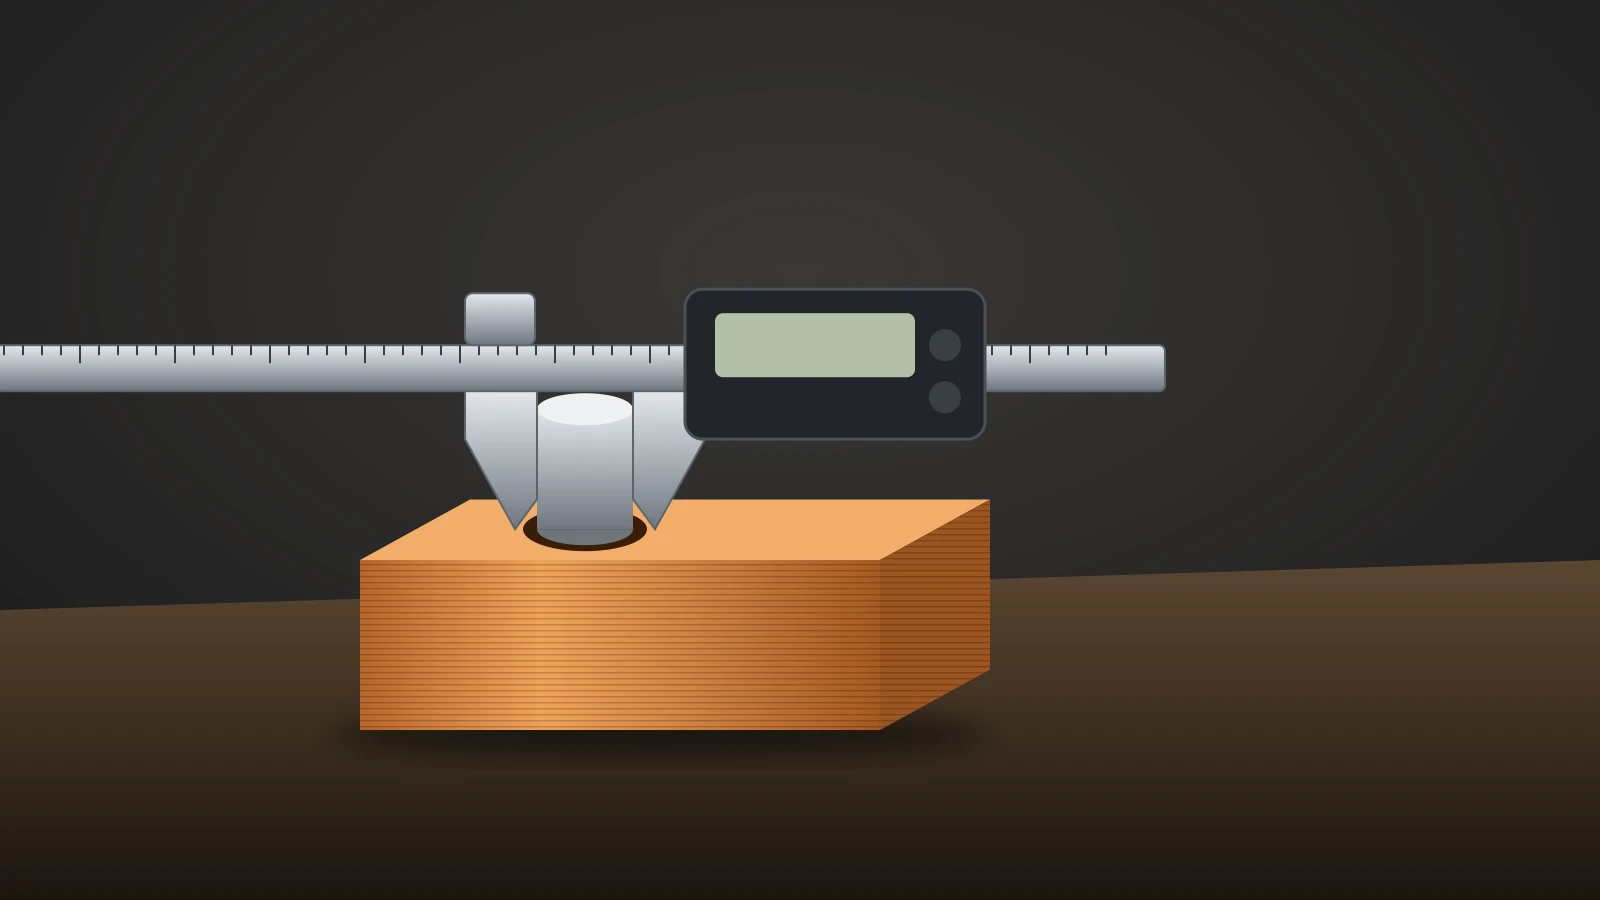
3D printer resolution has two parts: Z resolution, which is the layer height, and XY resolution, which is how fine a feature the printer can draw within one layer. On a filament printer, XY detail is limited by the width of the plastic line. PrusaSlicer prints a 0.4 mm nozzle with a 0.45 mm extrusion width, so a wall thinner than one line cannot print at all.
That is why a thinner layer does not sharpen small text or thin fins on the flat. Layer height only smooths what changes with height; for sharper XY detail you need a smaller nozzle and narrower lines.
Filament vs resin resolution
Resin printers work at a much finer scale in both directions. Prusa lists 0.025–0.1 mm layers for its SL1S SPEED resin printer, against 0.05–0.30 mm for its MK4S filament printer, and a resin printer draws each layer with screen pixels rather than a 0.4 mm line. Our comparison of resin vs filament printers covers what that means for miniatures and everyday parts.
How to choose a layer height
Choose the layer height by how the part will be judged: by looks, by fit or by how fast you need it.
| Part | Layer height (0.4 mm nozzle) | Why |
|---|---|---|
| Figures, busts, display models | 0.08–0.12 mm, or variable | Curves and faces show every step |
| Everyday household items | 0.16–0.20 mm | Good finish at a reasonable time |
| Brackets, jigs, functional parts | 0.20–0.24 mm, plus extra walls | Walls matter more than layer lines |
| Large or quick test prints | 0.24–0.28 mm | Fewer layers, shorter print |
| Domes, spheres, organic shapes | Variable layer height | Fine layers only where needed |
When a big part takes too long even at 0.28 mm, a larger nozzle is the next step: layer limits scale with nozzle size, so a 0.6 mm nozzle allows up to 0.42–0.48 mm layers.
The bottom line
For a 0.4 mm nozzle, keep layer height between 0.08 and 0.28 mm, print everyday parts at 0.20 mm and drop to 0.08–0.16 mm when looks matter. Thinner layers buy smoother curves at the cost of time, but they add little strength, so add walls when a part must be tough. For parts with domes or slopes, variable layer height in Bambu Studio, OrcaSlicer or PrusaSlicer gives you most of the finish at a fraction of the extra time.
Sources
- Bambu Lab Wiki: Layer height, Variable layer height and Volumetric speed, plus Bambu Studio’s official process profiles (20–70% rule, 0.08–0.28 mm, first layer, time example, variable layers, presets)
- OrcaSlicer Wiki: Layer height and Variable layer height (20–80% rule, nozzle table, first layer, variable layers)
- Prusa Knowledge Base: Layers and perimeters, Variable layer height function and Modeling with 3D printing in mind (80% limit, first layer, perimeters, top layers, variable layers, line width)
- Prusa Research: Original Prusa MK4S and SL1S SPEED specifications (layer heights 0.05–0.30 mm and 0.025–0.1 mm)
- UltiMaker Cura: fdmprinter setting definitions (Use Adaptive Layers, 0.1 mm maximum variation, 0.01 mm step)