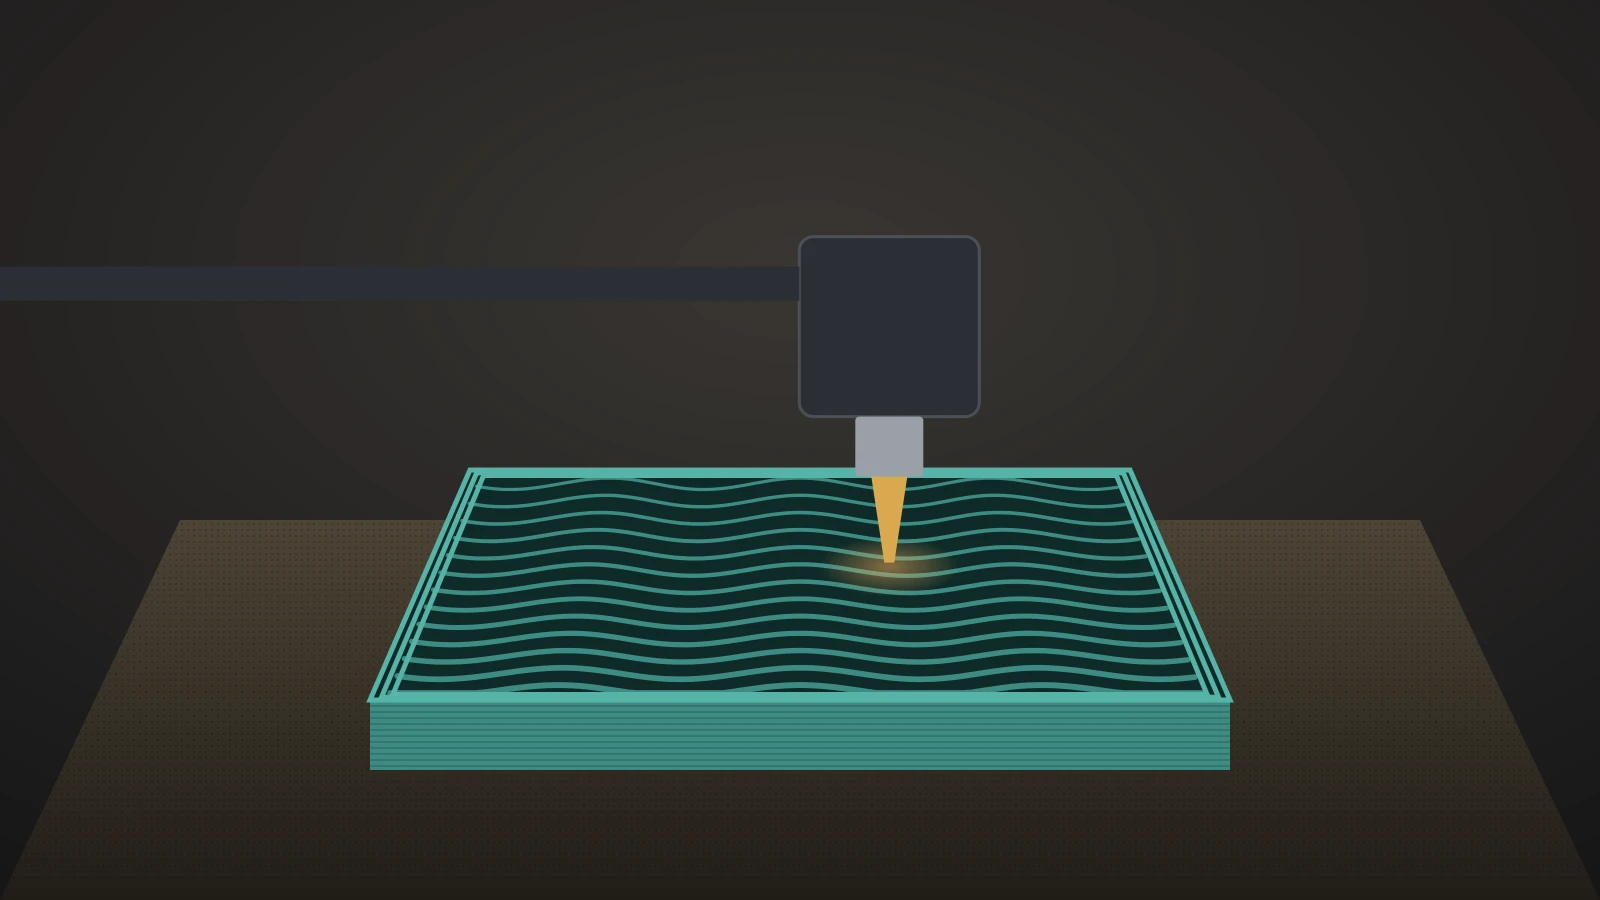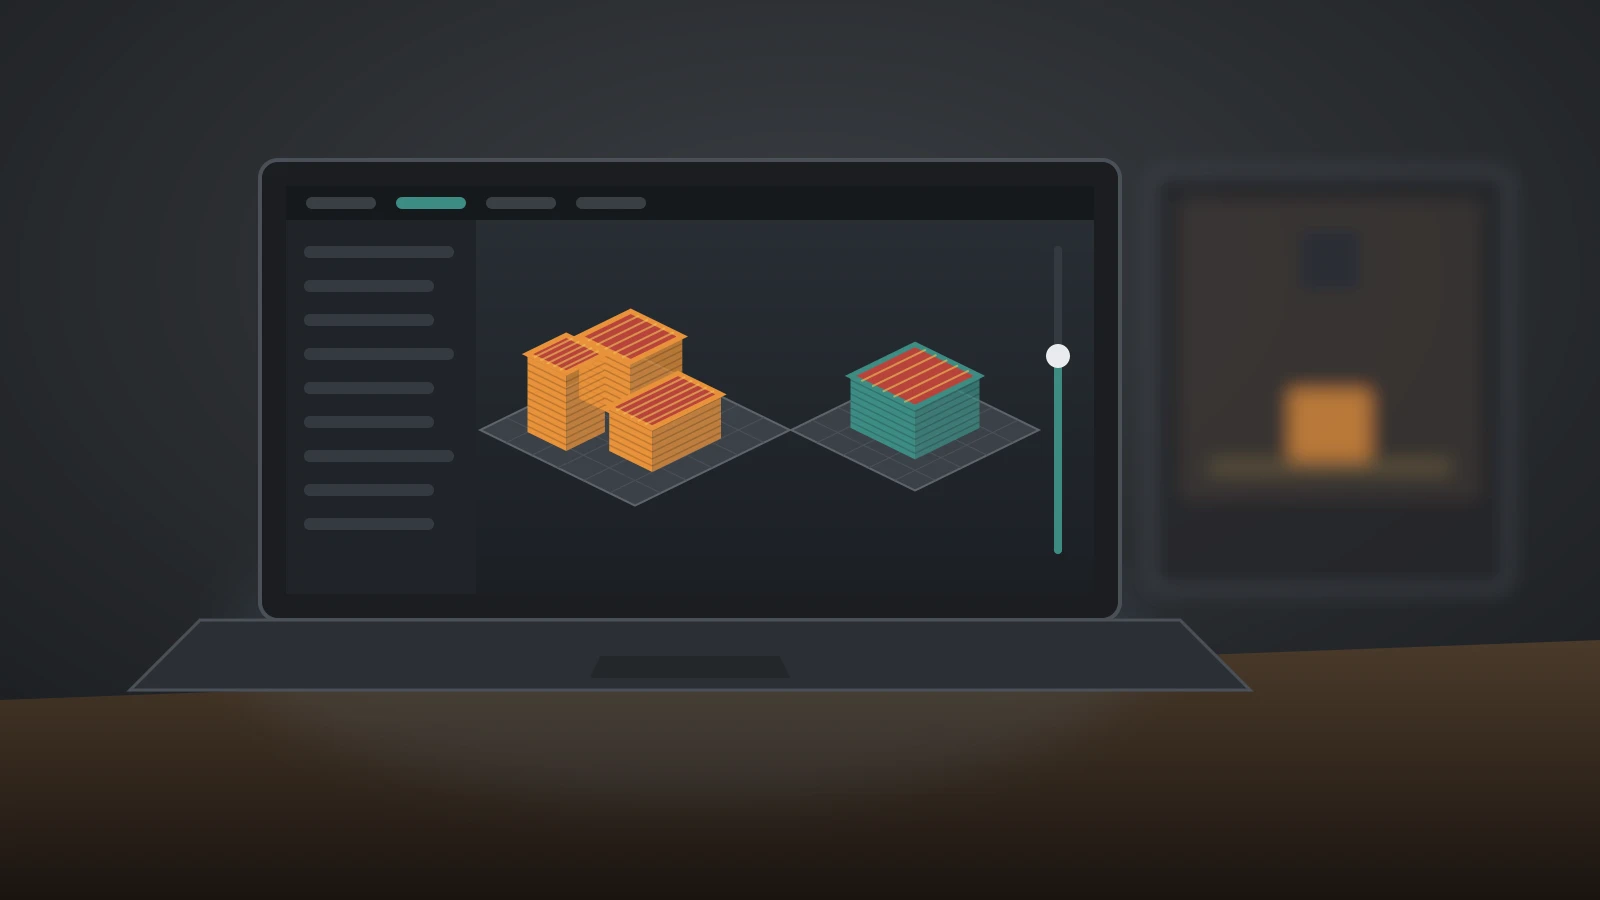
To convert an STL to G-code (a .gcode file), you slice it. A slicer such as PrusaSlicer, OrcaSlicer, UltiMaker Cura or Bambu Studio cuts the model into layers and writes the moves, temperatures and fan commands your printer runs. Import the STL, choose your printer and filament profiles, slice, check the preview and export the file.
An STL only describes the shape of a part. Everything else, from layer height to nozzle temperature, comes from the slicer profile, which is why the same STL produces different G-code on different printers. If the model needs changes first, see how to edit STL files; if you design your own parts, start with how to make 3D models for printing.
The short answer
| Question | Answer |
|---|---|
| Can an STL become G-code without settings? | No. The conversion is slicing, and it needs a printer and filament profile |
| What software do you need? | Any slicer; PrusaSlicer, OrcaSlicer, UltiMaker Cura and Bambu Studio are free |
| What file do you get? | .gcode on most printers, .bgcode on newer Prusa printers, .gcode.3mf from Bambu Studio and OrcaSlicer |
| Does one G-code file run on every printer? | No. It is written for one printer, nozzle and filament setup |
| Can G-code be turned back into an STL? | Not as an editable model; it holds toolpaths, not the original surface |
STL vs G-code: what each file contains
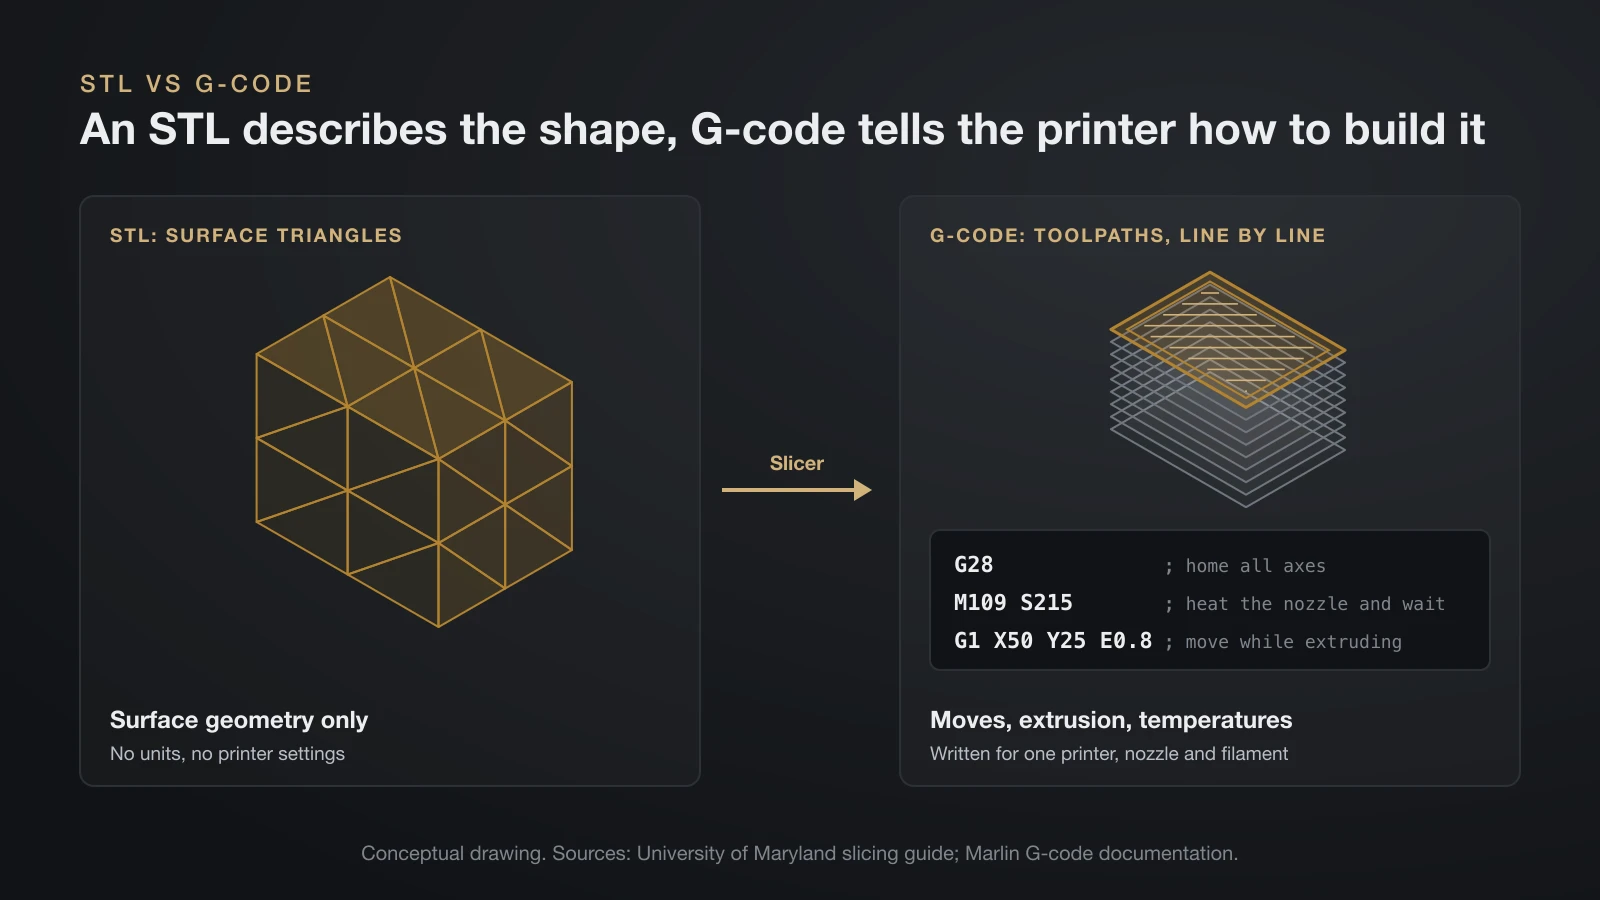
An STL file stores only the surface of a model as triangles, while a G-code file stores the instructions a printer follows line by line. The University of Maryland’s slicing guide calls G-code a list of machine instructions, not a description of geometry.
| STL | 3MF | G-code | |
|---|---|---|---|
| Contains | Surface geometry as triangles | Geometry plus units, color, material and slicer settings | Moves, extrusion, temperatures, fan and other machine commands |
| Units | None; measurements are unitless | Included | Millimeters by default in Marlin |
| Printer-specific | No | Only if printer settings are saved in it | Yes |
| Editable as a model | Yes, as a mesh | Yes | No |
| Made by | CAD or mesh software | CAD software and slicers | A slicer |
G-code is plain text, one command per line. A line such as G1 X50 Y25 E0.8 tells a Marlin printer to move in a straight line to X50 Y25 while pushing filament, since E is the extruder axis. Slicers also add comments: PrusaSlicer marks feature types and layer changes, and OrcaSlicer writes a commented block that lists every resolved slicer setting.
Why converting STL to G-code means slicing
Converting STL to G-code is called slicing because the software cuts the model into horizontal layers and plans a toolpath for each one. Most prints are not solid: the slicer surrounds the part with perimeters and fills the inside with infill, as the University of Maryland guide explains. It also adds supports, sets speeds and temperatures, and wraps everything in your printer’s start and end routine.
That is why G-code is tied to one machine. OrcaSlicer asks for a G-code flavor (Marlin, Klipper, RepRapFirmware, Repetier or Marlin 2) and for the bed shape and origin, so coordinates match your printer. Prusa describes its own sample G-codes as tested and tailored specifically for each printer model.
So when you download a model, get the STL or 3MF and slice it yourself; a ready-made .gcode may carry the wrong bed size, nozzle or temperatures.
Online STL to G-code converters: what to check
Online STL to G-code converters run a slicer on a web server, which works for a quick test but gives you less control than a desktop slicer. Desktop slicers are free, so a converter mainly saves an installation. Check these points first:
- Upload and rights: your model leaves your computer. Do not upload designs you are not allowed to share or confidential parts, and read how long the site keeps files.
- Printer profile: a generic profile may not match your bed size, nozzle diameter, firmware flavor or start routine.
- Filament settings: confirm the nozzle and bed temperatures match your spool’s data sheet.
- Preview: if the site shows no layer preview, open the result in a G-code viewer before printing.
- Output format: most converters write plain .gcode, which a printer that expects .bgcode or .gcode.3mf may not list.
Phone apps raise the same questions. Whatever produced the file, watch the first layer closely.
How to convert STL to G-code in any slicer
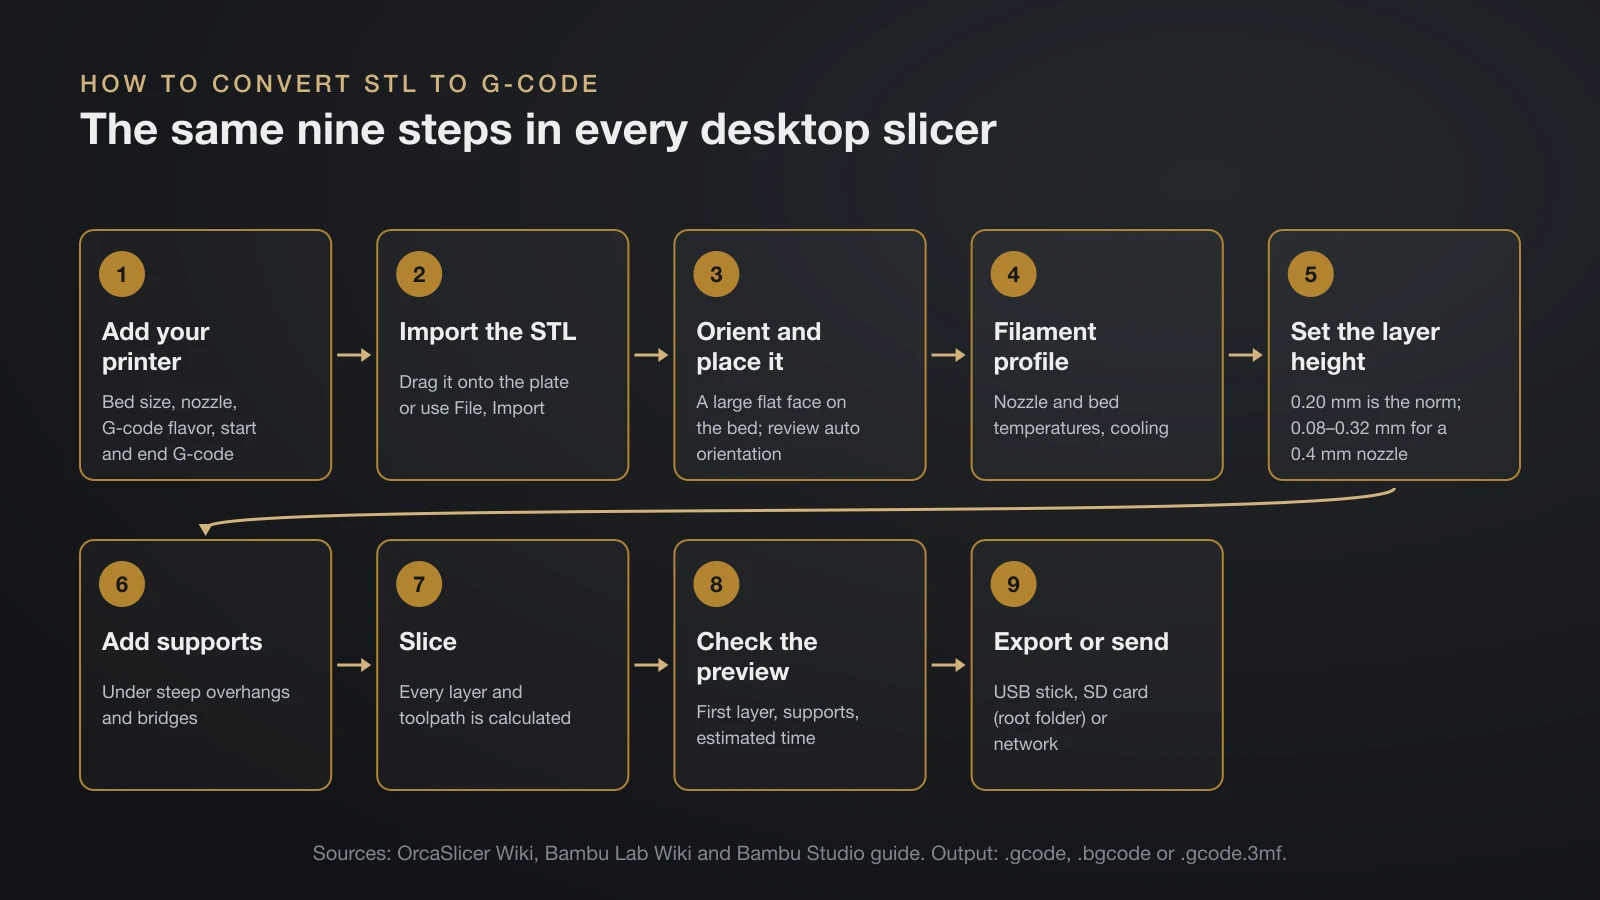
Converting STL to G-code follows the same nine steps in every desktop slicer, even though the buttons have different names.
- Add your printer. Pick your model from the slicer’s vendor profiles. The printer profile holds the bed size, nozzle diameter, G-code flavor and start and end G-code.
- Import the STL. Drag the file onto the plate or use File, Import. Bambu Studio accepts .3mf, .stl, .stp, .step, .amf and .obj files.
- Orient and place it. Put a large flat face on the bed. OrcaSlicer’s auto orientation helps, but its wiki says to review the result, because strength varies with orientation.
- Choose the filament profile. It sets nozzle and bed temperatures and cooling; for PLA starting values, see our PLA temperature guide.
- Set the layer height. Bambu Lab calls 0.20 mm the norm for most prints and notes that thinner layers take longer. OrcaSlicer suggests 20–80% of the nozzle diameter, or 0.08–0.32 mm for a 0.4 mm nozzle. Our layer height guide shows how each step trades detail for print time.
- Add supports under steep overhangs and bridges that the part cannot print in the air.
- Slice. Press Slice (Bambu Studio: Slice plate). The slicer calculates every layer and toolpath.
- Check the preview. Scroll through the layers, look at the first layer and the supports, and read the estimated time.
- Export or send. Save the file to a USB stick or SD card, or send it over the network. In Bambu Studio, Export plate sliced file saves it for the SD card; Bambu Lab says to save it in the card’s root folder, not a subfolder.
A good profile only helps if the printer is tuned. Our guide on how to calibrate a 3D printer covers temperature, flow and retraction tests, and if the first layer fails, see 3D printing first layer problems.
G-code file extensions: .gcode, .bgcode and .gcode.3mf
A G-code file normally uses the .gcode extension and is plain text, but two newer formats compress or package it. Prusa notes that plain G-code is easy to read but stores data inefficiently, which makes files large.
| Extension | What it is | Where you meet it | Notes |
|---|---|---|---|
| .gcode | Plain-text G-code | Most Marlin and Klipper printers | Opens in any text editor and G-code viewer |
| .bgcode | Binary G-code, encoded and compressed | Original Prusa MINI, MK4 and XL from firmware 5.1.0 | About 70% smaller on average in Prusa’s testing; PrusaSlicer exports it by default since 2.7.0 |
| .gcode.3mf | A 3MF archive with the G-code plus printer, material and process information | Bambu Studio and OrcaSlicer exports | A plain .3mf project is not sliced; the .gcode.3mf is |
PrusaSlicer converts between plain and binary G-code under File, Convert. Prusa also warns that some external printer control programs, such as OctoPrint, may have trouble with binary files, in which case you can turn binary export off. The two ecosystems handle files differently, as our Prusa vs Bambu Lab comparison explains.
How to view and simulate G-code before printing
Every slicer shows a layer-by-layer preview after slicing, and a standalone G-code viewer lets you inspect files from other sources. Bambu Studio’s preview adds a chart of printing times for each part of the print, and PrusaSlicer’s legend shows the time share of perimeters, infill and other features.
For a file you did not slice yourself, the PrusaSlicer G-code Viewer works as a free gcode viewer and simulator. You can start it as its own application or from PrusaSlicer’s File, G-code preview menu, and it reads G-code from PrusaSlicer, Slic3r, Cura, ideaMaker, Simplify3D, Craftware and KISSSlicer. A horizontal time slider allows what Prusa calls “simulation of the print in time.” OrcaSlicer can also import a sliced G-code file to show its toolpaths.
Viewers have one limit: G-code lacks some information, so they estimate extrusion widths and feature types from slicer comments. Prusa notes that files from other slicers will most likely load, but some features may be missing. In any preview, check that:
- the first layer is continuous and sits on the bed;
- every overhang has support or a gentle angle below it;
- no layers are missing or floating in the middle of the part;
- the estimated time and filament use look plausible.
Common G-code commands: a short list
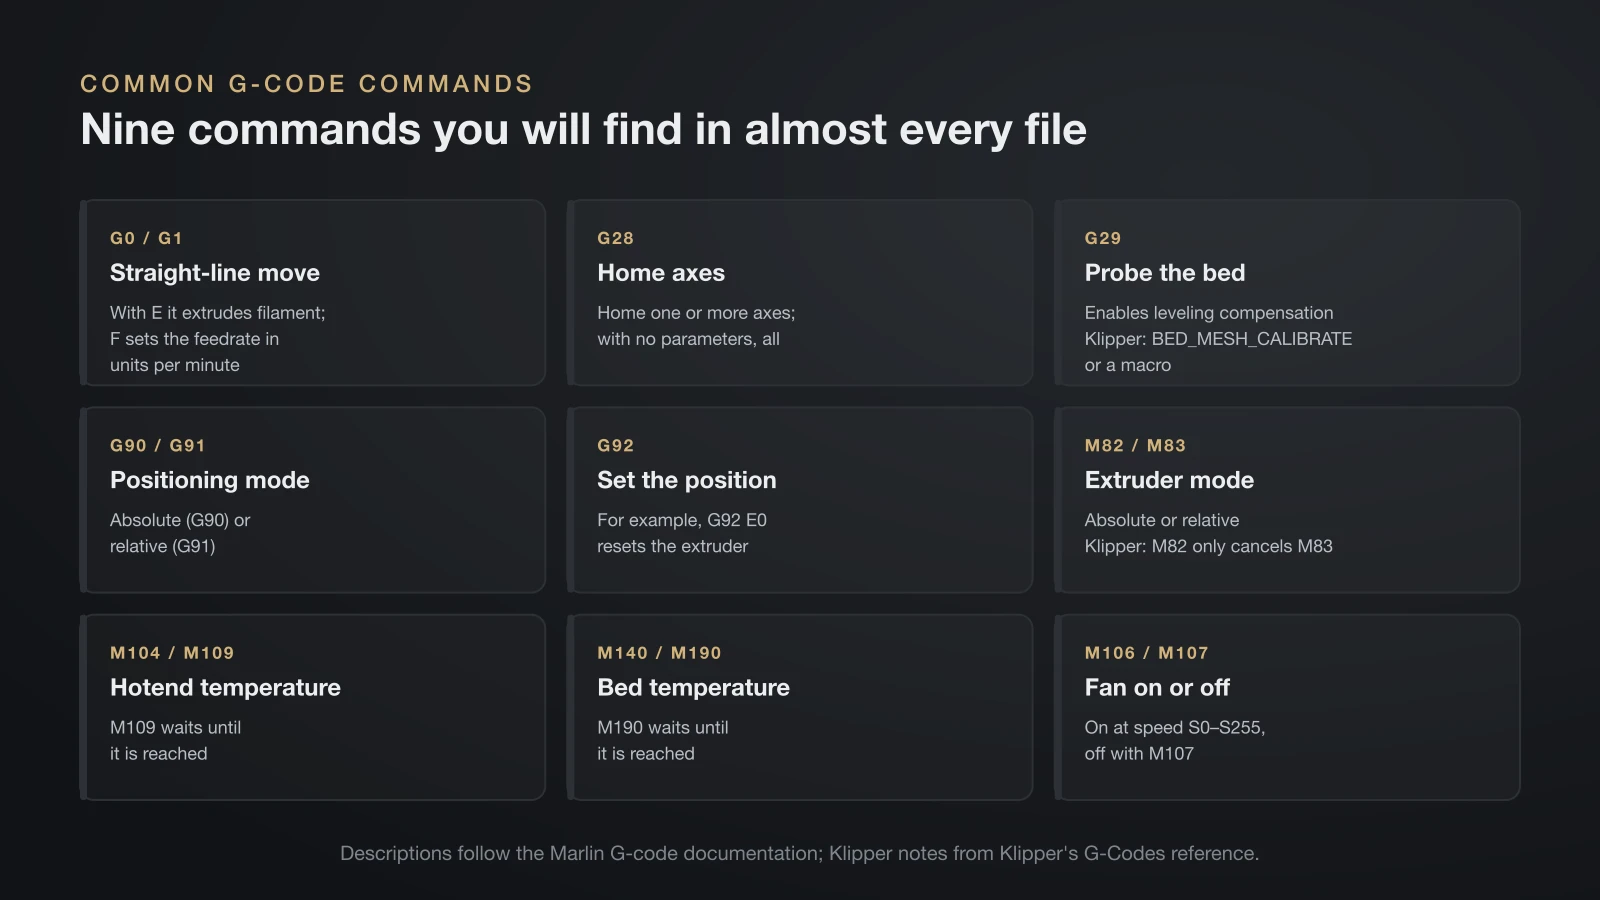
Most 3D printer G-code uses a small set of commands, and the list below covers the ones in almost every file. Descriptions follow the Marlin firmware documentation; Klipper supports the same standard commands, with the differences noted.
| Command | What it does | Klipper note |
|---|---|---|
| G0 / G1 | Straight-line move; with E it extrudes filament, and F sets the feedrate in units per minute | Same |
| G28 | Home one or more axes; with no parameters it homes all | Same |
| G29 | Probe the bed and enable leveling compensation | Not a standard command; use BED_MESH_CALIBRATE or a macro |
| G90 / G91 | Absolute or relative positioning | Same |
| G92 | Set the current position, for example G92 E0 to reset the extruder | Same |
| M82 / M83 | Extruder in absolute or relative mode | M83 forces relative extrusion; M82 only cancels that |
| M104 / M109 | Set the hotend temperature; M109 waits until it is reached | Same |
| M140 / M190 | Set the bed temperature; M190 waits until it is reached | Same |
| M106 / M107 | Turn a fan on at speed S0–S255, or turn it off | Same |
A start routine strings these together. The sketch below follows the pattern of OrcaSlicer’s example start G-code; the temperatures are example values for PLA, within the ranges in our PLA temperature guide:
G90          ; absolute coordinates
M83          ; relative extrusion
M140 S60     ; start heating the bed
M104 S150    ; warm the nozzle below printing temperature to limit oozing
G28          ; home all axes
M190 S60     ; wait for the bed
M109 S215    ; heat the nozzle to printing temperature and wait
G92 E0       ; reset the extruder position
You can edit a .gcode file in a text editor, but a wrong temperature or coordinate goes straight to the machine, and OrcaSlicer advises testing custom G-code thoroughly. Change the profile and slice again instead.
Common problems after converting STL to G-code
Most failed conversions trace back to a profile that does not match the printer, or to the model’s units.
| Symptom | Likely cause | Fix |
|---|---|---|
| Model is tiny or huge after import | STL has no units; it was exported in inches | Scale it, or export again in millimeters |
| Printer does not list the file | Wrong format or folder, for example .bgcode on a host that cannot read it | Export plain .gcode, or save to the card’s root folder |
| Print starts off the bed or hits a limit | Wrong printer profile or bed origin | Select the correct printer and slice again |
| Unknown or ignored commands | Wrong G-code flavor | Match the flavor to your firmware |
| First layer does not stick | Leveling, Z offset or a dirty plate | Fix the first layer before changing slicer settings |
The bottom line
Converting STL to G-code is slicing: a slicer turns a unitless triangle mesh into printer-specific instructions, using your printer, filament and process profiles. Prefer a free desktop slicer, treat online converters and downloaded .gcode files with caution, and check the preview before printing. With the three file types and the commands above, you can read almost any printer’s G-code.
Sources
- University of Maryland: Slicing and 3D Printing File Types Overview (slicing, unitless STL, 3MF contents, G-code as instructions, infill)
- Prusa Knowledge Base: Binary G-code, PrusaSlicer G-code viewer and Sample G-codes (.bgcode size, versions, conversion, OctoPrint note, viewer features and limits, sample files)
- Bambu Lab Wiki: Bambu Studio quick start guide and printing from the SD card and third-party integration (import formats, presets, 0.20 mm layers, preview, export to the SD card root, .gcode.3mf)
- OrcaSlicer Wiki: Import and export, Layer height, Auto orientation, Advanced printer settings, Printable space and Machine G-code (Gcode.3MF, G-code import, OBJ toolpaths, 20–80% layer height, flavors, bed origin, config block, start G-code)
- Firmware documentation: Marlin G-code index, G0-G1, G28, M106 and M109; Klipper G-Codes (command meanings, units, fan range, Klipper support and differences)