Prusa Slicer, officially PrusaSlicer, is Prusa Research’s free, open-source slicer that turns 3D models into G-code for Prusa and many third-party printers. Download it only from prusa3d.com, the Prusa Knowledge Base or the official GitHub releases page, and on Linux from Flathub. The current stable version is 2.9.6, released June 25, 2026.
This guide covers where to get it safely, the first-run setup, the three interface modes and the features that set it apart, from paint-on supports to color changes at a chosen layer. If you are new to slicing in general, start with our explainer on converting STL to G-code, which covers what any slicer does.
The short answer
| Question | Answer |
|---|---|
| Price | Free and open source (AGPL-3.0) |
| Official downloads | Prusa’s PrusaSlicer page, the Drivers & Apps package, GitHub releases; Flathub on Linux |
| Current stable version | 2.9.6 (June 25, 2026); 3.0 is in public alpha testing |
| Printers | Prusa models plus built-in profiles for other brands, or a custom printer |
| Stand-out tools | Paint-on supports, seam painting, multi-material painting, variable layer height, organic supports |
| Account needed | No; a Prusa Account is optional |
Where to download Prusa Slicer safely
Download PrusaSlicer only from Prusa’s own channels; a copy from a third-party download portal is a file you cannot verify. Prusa’s Knowledge Base names three official sources for stable releases:
- The PrusaSlicer page on prusa3d.com, with a standalone installer for Windows and macOS.
- The Drivers & Apps package, which adds test objects and printer drivers; you can choose to install only PrusaSlicer.
- GitHub releases at github.com/prusa3d/PrusaSlicer. For version 2.9.6 that means a Windows setup .exe or .zip and a macOS .dmg.
Prusa separates stable releases, which pass several public alpha and beta rounds, from development builds. It warns that alpha and beta builds can be unstable, crash or behave unexpectedly, and does not recommend them for production. PrusaSlicer 3.0 is in that stage now, with 3.0.0-alpha12 released on September 21, 2026.
Installing Prusa Slicer on Linux
On Linux, Flathub is the only official distribution channel, a change Prusa made with version 2.9.0. First install Flatpak and add the Flathub repository by following the Flathub setup steps for your distribution. Then install and start PrusaSlicer:
flatpak install flathub com.prusa3d.PrusaSlicer
flatpak run com.prusa3d.PrusaSlicer
Add --user to the Flatpak commands if you lack superuser rights. Prusa notes that Flathub releases can arrive a few hours after GitHub ones, and that the Flatpak sandbox only reaches your home folder and /media and /run/media by default. Grant access to other drives with the Flatseal app. The same Flatpak route works on Chromebooks with Linux enabled.
System requirements
Prusa’s minimum system requirements article lists these values:
| Component | Requirement |
|---|---|
| Memory | 4 GB RAM minimum, 8 GB or more recommended |
| Graphics | OpenGL 2.0 or newer |
| Processor | Multiple cores help, since many computations are multi-threaded |
| Windows | 64-bit; 2.4.2 was the last version with a 32-bit build |
| macOS | 10.12 Sierra or newer for versions after 2.4.2 |
| Linux | Most standard distributions |
| ChromeOS | Current version with Debian 10.7 or newer |
First run: the Configuration Wizard and printer profiles
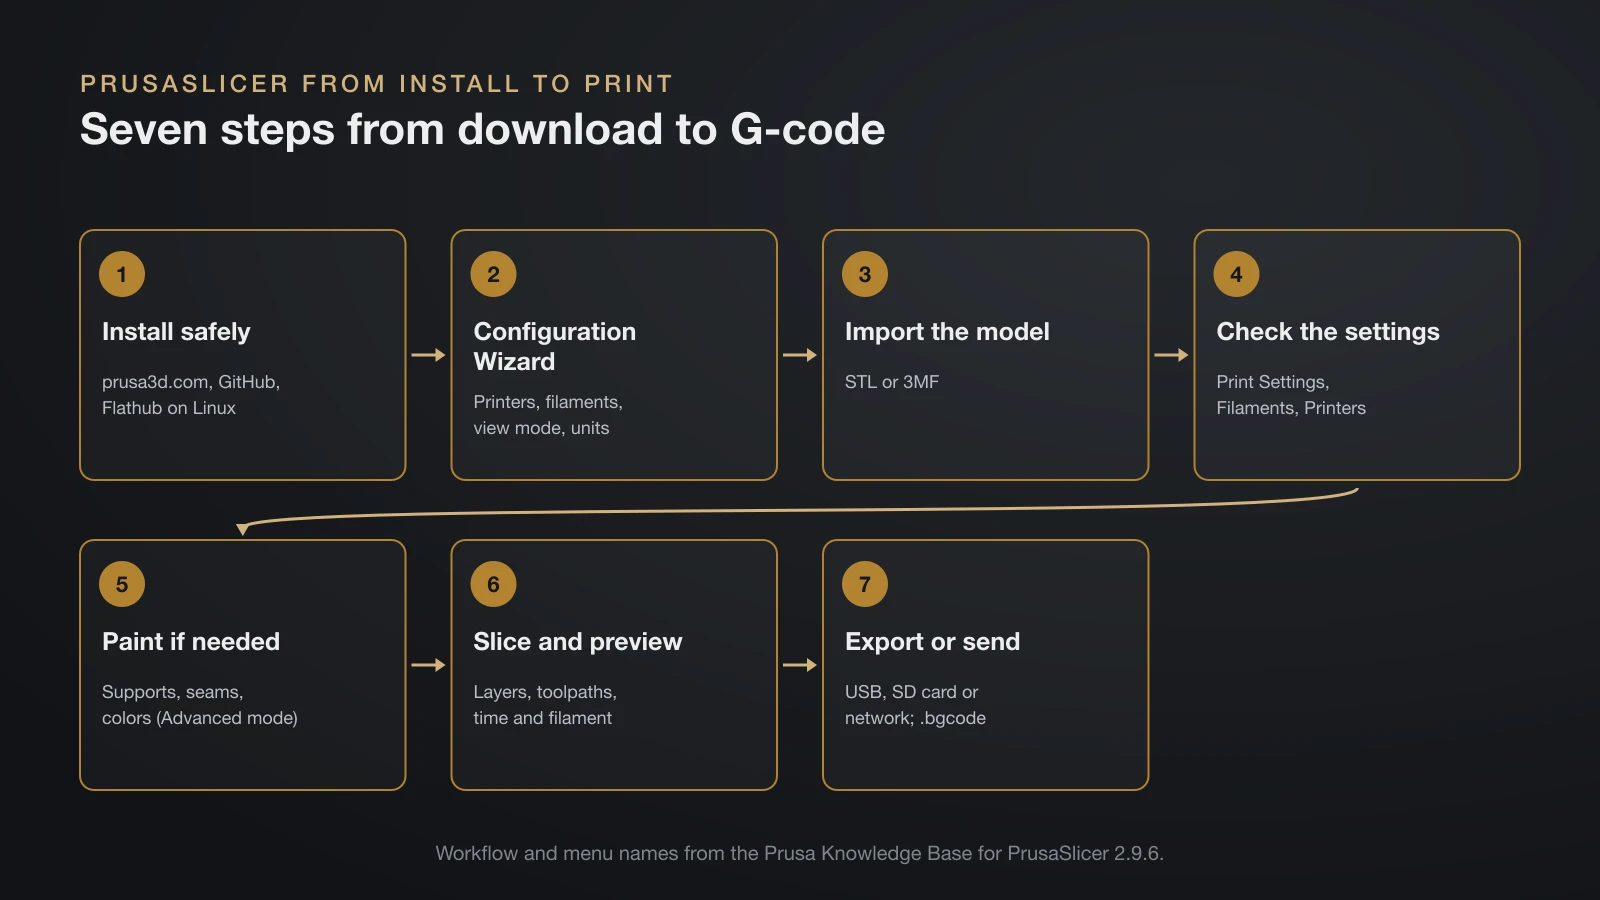
The Configuration Wizard opens automatically the first time you launch PrusaSlicer, and it decides which printers and filaments appear in the program. You can reopen it any time under Configuration, Configuration Wizard.
The wizard walks through these steps:
- Profile source. Log in with a Prusa Account to download profiles, or skip the login and enable Prusa’s online configuration sources. Prusa stresses that the account is optional.
- Printers. Tick your Original Prusa models and nozzle sizes. Printers with and without Input Shaper appear as separate entries.
- Other vendors. Under Other FFF, open a manufacturer’s tab and tick your model.
- Filaments. Pick the materials you use; entries marked with an asterisk do not suit every installed printer.
- Options. Set automatic profile updates, one-click downloads from Printables.com, file associations for 3MF and STL, the view mode and metric or imperial units.
Profiles for other brands, including Anycubic
PrusaSlicer 2.9.6 bundles profiles for many other brands, among them Anycubic, Creality, Elegoo, Voron and UltiMaker. Prusa adds them together with the community and includes matching filament settings, since temperatures can differ between printer models.
Coverage varies by model. The official Anycubic profiles cover the Kossel Linear Plus and Kossel Pulley, Mega Zero, i3 Mega, i3 Mega S, 4Max Pro 2.0 and Predator, but not the Vyper or the Kobra series. For those, use a custom printer or import a profile file with File, Import, Import Config.
Setting up a custom printer
Tick “Define a custom printer profile” and the wizard asks for five things: firmware type, bed shape and size, build volume, filament and nozzle diameters, and nozzle and bed temperatures. Take every value from the manufacturer’s specifications, not from a forum post. The printer’s start G-code and retraction live in the Printers tab afterward, and a mismatch there is a common cause of a failed first layer, covered in our guide to 3D printing first layer problems.
Simple, Advanced and Expert mode explained
PrusaSlicer’s interface comes in Simple, Advanced and Expert modes, which change how many settings you see, not how well it slices. The wizard’s own description says Simple mode shows only the most frequently used settings, and the other two offer progressively more fine-tuning for advanced and expert users.
You can switch modes at any time. Several tools covered below, including paint-on supports and seam painting, only appear in Advanced and Expert mode. Expert mode also unlocks extra settings in modifiers, such as speed, ironing, fuzzy skin and extrusion width.
The settings that matter most in PrusaSlicer
PrusaSlicer splits its settings into three tabs: Print Settings, Filaments and Printers. Print Settings control how the part is built, including layers, perimeters, infill and supports. Filaments hold material values such as temperatures, and Printers hold machine details such as retraction and firmware type.
Start from the stock profiles and change one thing at a time. Our guide to 3D printing slicer settings explains speeds, walls and other core options, and the 3D printing layer height guide covers the trade-off between detail and print time. Save your changes as a named user preset; Prusa’s FAQ notes that PrusaSlicer backs up all print profiles before each update.
Paint-on tools: supports, seams and multi-material painting
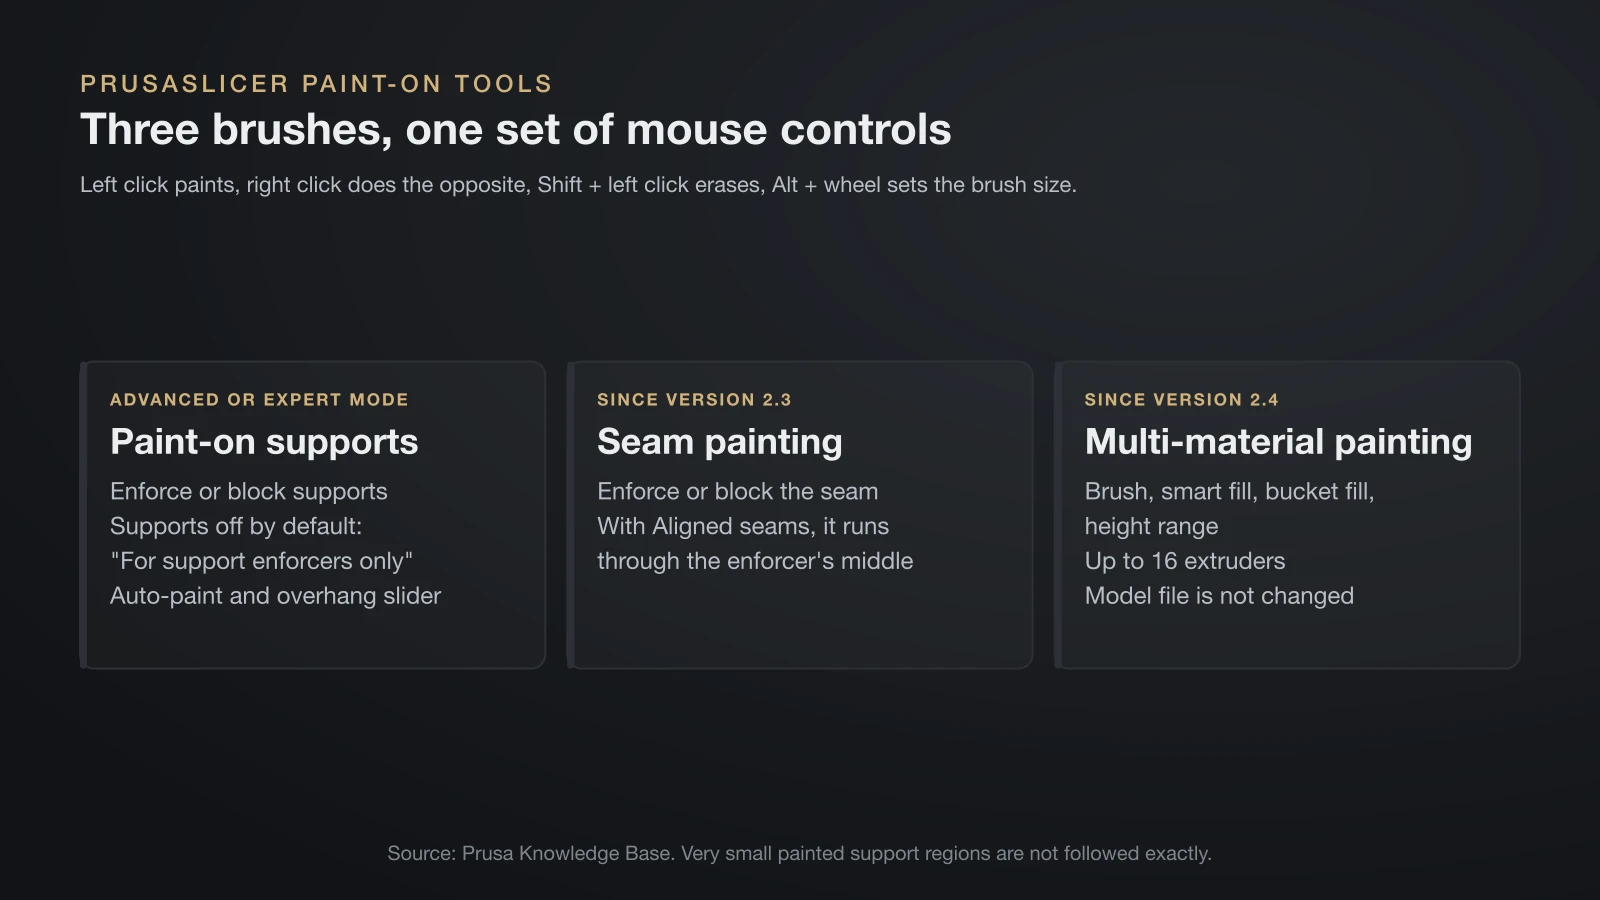
PrusaSlicer lets you paint directly on the model to control where supports go, where each layer’s seam sits and which material or color prints where. All three tools sit in the left toolbar and share the same controls: left mouse button to paint, right mouse button for the opposite action, Shift plus left click to erase and Alt plus the mouse wheel to change brush size.
| Tool | What you paint | Key detail |
|---|---|---|
| Paint-on supports | Areas where supports are enforced or blocked | Set supports to “For support enforcers only” for enforcers alone; generation is off by default |
| Seam painting | Seam enforcers and blockers | Available since 2.3; with Aligned seams, the seam runs through the middle of the enforcer |
| Multi-material painting | Regions for each extruder or color | Available since 2.4; up to 16 extruders |
Paint-on supports also include automatic painting, which weighs factors such as the center of mass and bridging, and a slider that highlights overhangs by angle. Prusa warns that very small painted regions are not followed exactly, because the support generator works on an internal grid.
Multi-material painting offers a brush, smart fill, bucket fill and a height range tool. It only affects slicing, so the model file itself is not changed, and it cannot be combined with XY size compensation. For the hardware side of printing several colors, see our guide to multi-color 3D printers.
The Prusa Slicer feature to paint by layers
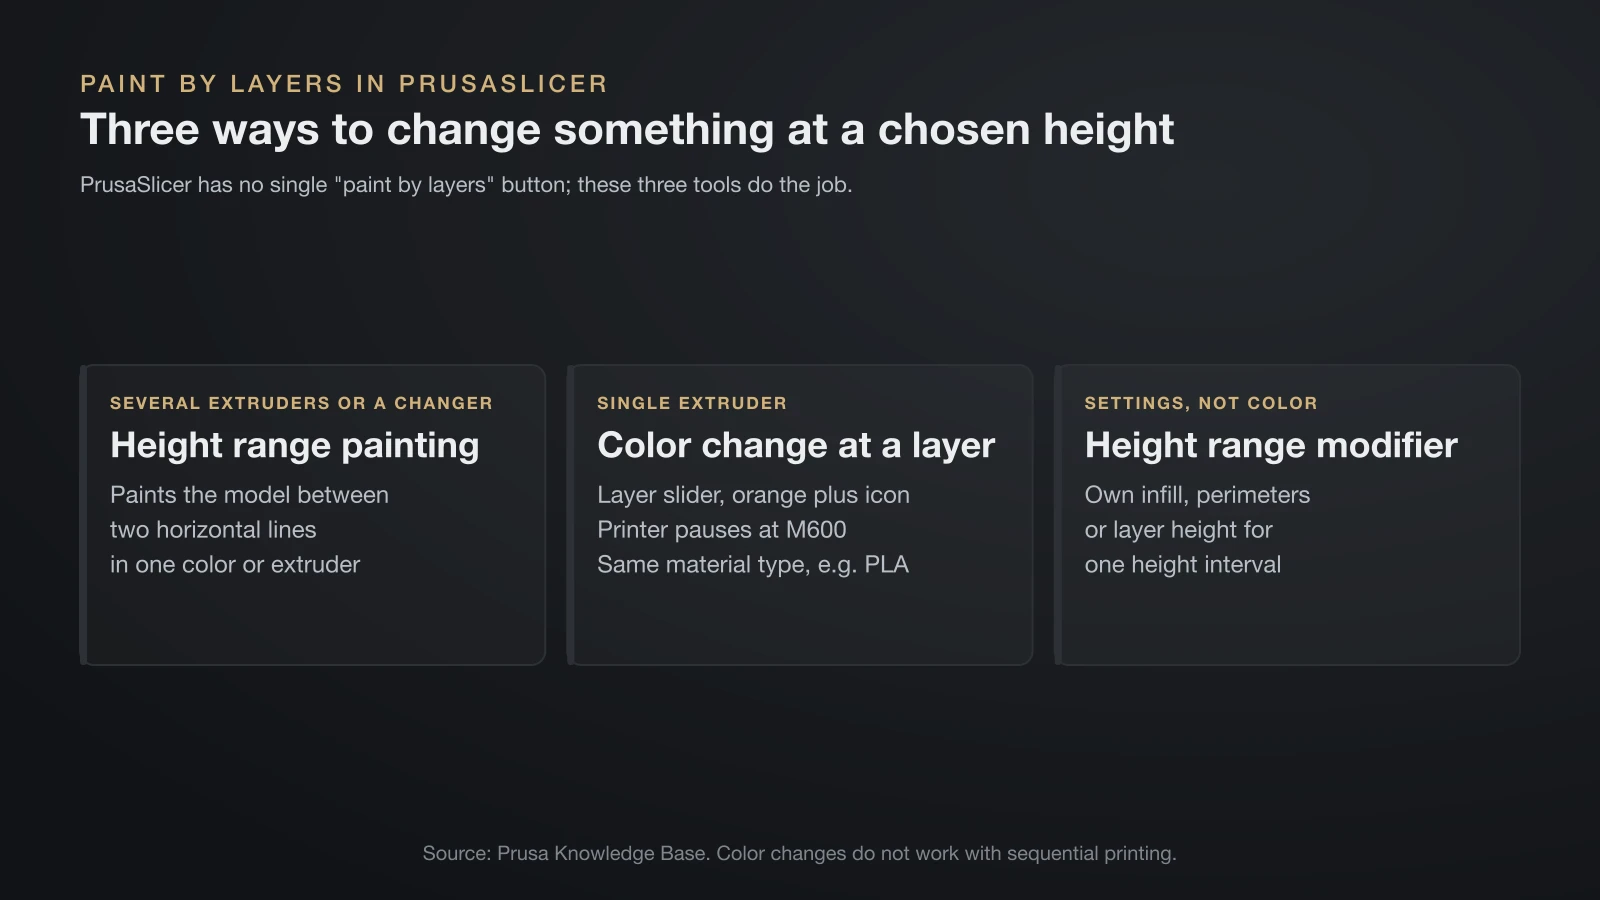
PrusaSlicer has no single button called “paint by layers”, but three tools do the job, depending on what you want to change at a given height:
- Height range in multi-material painting paints the model between two horizontal lines in a chosen color or extruder. Use it on printers with several extruders or a filament changer.
- Color change at a layer works on single-extruder printers. After slicing, move the layer slider in the preview to the target layer and click the orange plus icon. The printer pauses at the M600 command so you can swap filament.
- The height range modifier changes settings, not color. Right-click the model, add a height range and give that interval its own infill, perimeters or layer height.
For color changes, Prusa advises staying within one material type, such as PLA with PLA, and notes that color changes do not work with sequential printing. PrusaSlicer can also offer color changes automatically when a model looks like a logo or sign.
Version 2.9.6 added ColorMix for multicolor printers. It creates virtual extruders that mix existing filaments in set ratios by alternating them between layers, and you can use them in multi-material painting like normal extruders.
Variable layer height and organic supports
Variable layer height and organic supports both save print time in PrusaSlicer: one thins the layers only where the surface needs it, the other uses less support material.
Variable layer height prints fine layers where surfaces curve and thicker ones elsewhere, with smooth transitions. Select a model and open the tool in the top toolbar, then press Adaptive and adjust the Quality/Speed slider, or paint detail by hand. Prusa suggests starting from an average profile, such as 0.15 mm layers for a 0.4 mm nozzle.
Organic supports, added in version 2.6.0, are Prusa’s improved take on tree supports, building on work by Thomas Rahm and UltiMaker Cura. Prusa says they are easy to remove, do not scar the surface and are fast and cheap to print. Turn on supports first, then choose Organic under Print Settings, Support material, Style.
Slicing, preview and exporting G-code in PrusaSlicer
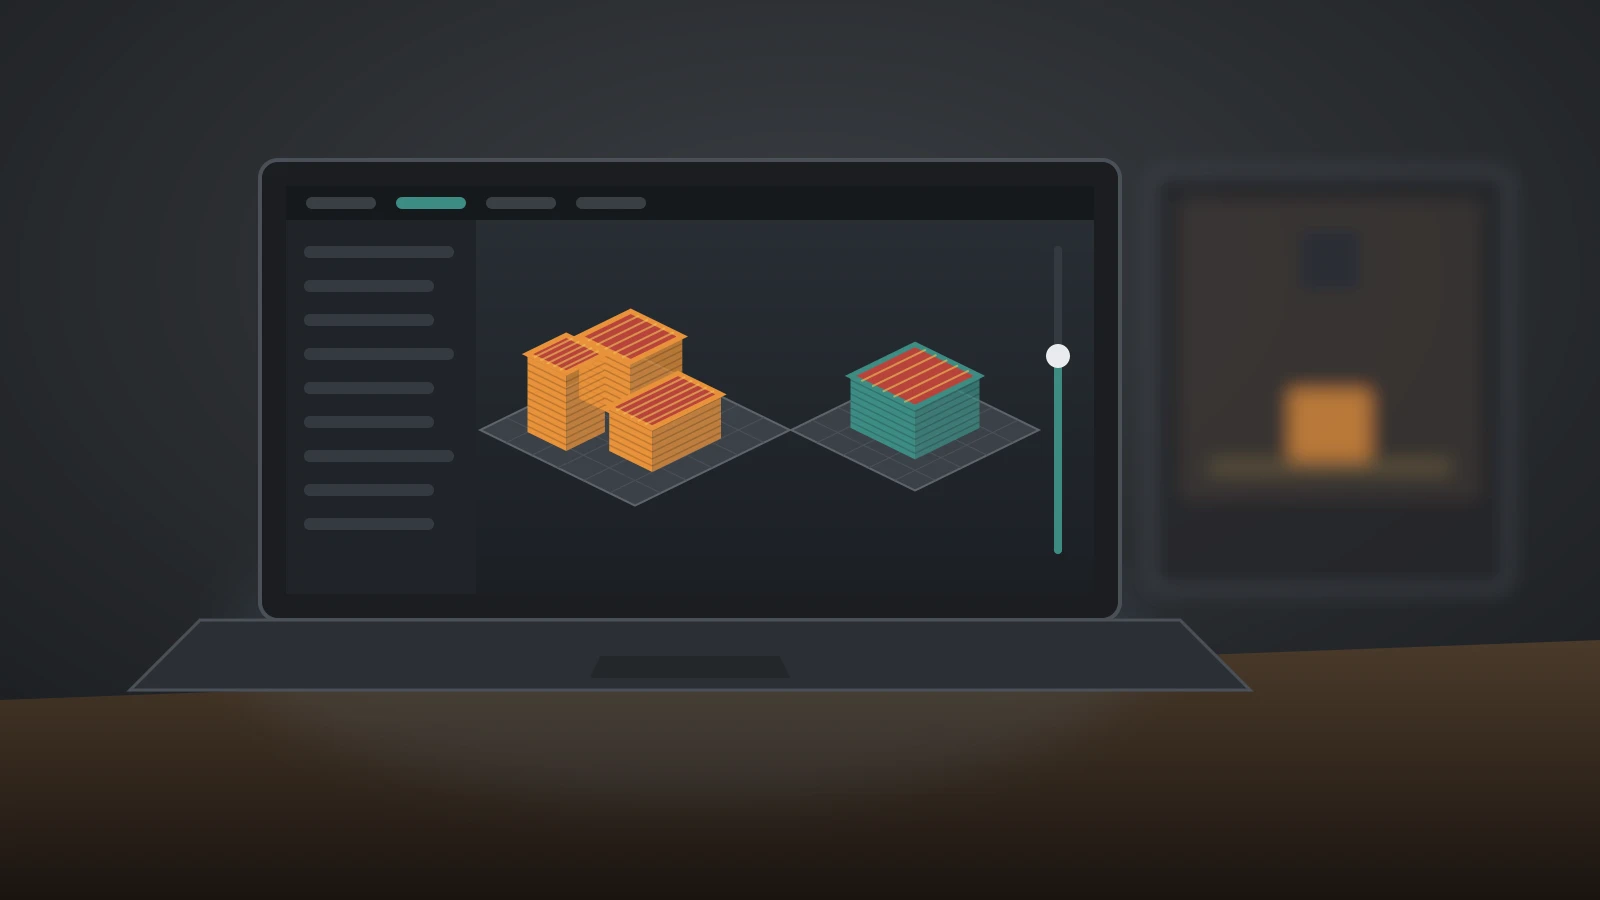
After slicing, PrusaSlicer’s preview shows every layer and toolpath before anything reaches the printer. Scroll through the layers, check the first layer and supports, and read the time and filament estimate. Prusa’s FAQ says the time estimate is often within a minute on a ten-hour print, as long as the profile matches your printer.
Export the file to a USB drive or SD card, or send it over the network; PrusaSlicer’s documentation lists several ways to send prints to a printer. Newer Prusa printers use compressed binary G-code (.bgcode), which PrusaSlicer exports by default since version 2.7.0. Our STL to G-code guide explains the file types and how to check a file in the G-code viewer.
The bottom line
PrusaSlicer is free, runs on Windows, macOS and Linux, and works with far more than Prusa printers. Get it only from Prusa’s site, GitHub or Flathub, run the Configuration Wizard for your printer, and switch to Advanced mode when you want the painting tools. If you are weighing Prusa hardware against its closest rival, whose slicer grew out of PrusaSlicer, our Bambu Lab vs Prusa comparison covers the machines.
Sources
- Prusa Knowledge Base, setup: Download PrusaSlicer, Install PrusaSlicer, Minimum system requirements, Configuration Wizard, Profiles for 3rd party printers, PrusaSlicer FAQ and General info (official sources, Linux Flatpak, requirements, wizard steps, tabs, time estimates, history)
- Prusa Knowledge Base, features: Paint-on supports, Seam painting, Multi-material painting, Color change, Modifiers, Variable layer height, Organic supports and Binary G-code (tool controls, modes, versions, limits, 0.15 mm example, .bgcode)
- PrusaSlicer on GitHub: README, releases including 2.9.6, 2.9.6-beta1, 2.9.0 and 2.6.0-alpha2, the bundled Anycubic profiles and the Configuration Wizard source (versions and dates, Flathub-only Linux builds, ColorMix, organic supports, vendor list, mode and custom printer pages)