To 3D print cable management that lasts, match the part to the job: clips for single cables, under-desk trays for power strips, grommets for desk holes and combs for bundles. Print most of them in PETG, which handles warm spots near chargers better than PLA, use TPU for clips that must flex, and never print anything that carries mains voltage.
Cable parts are also some of the best projects for a new printer: they are small, print fast and teach you how tolerances work. If you want more desk and home projects once your cables are tidy, browse our list of 3D print ideas.
This guide covers the part types, where to find free models, the right material for each, how to design and mount them, and where printed plastic should never go near electricity.
The short answer
| Part | What it does | Best material |
|---|---|---|
| Cable clips and clamps | Hold single cables on desk edges, walls and frames | PETG; TPU for grippy or flexible clips |
| Under-desk trays and raceways | Hide power strips, chargers and spare cable length | PETG, screwed in place |
| Grommets and pass-throughs | Route cables through a hole in the desk | PLA or PETG |
| Cable combs | Keep a bundle of cables parallel and neat | PLA or PETG |
| Wall and baseboard channels | Cover cable runs along a wall | PLA indoors, PETG in warm spots |
| Cable chains | Guide cables on moving parts, such as printer axes | PETG |
| Never print | Plugs, outlet parts, power strip housings, anything carrying mains voltage | Buy certified parts |
Types of 3D printed cable management parts
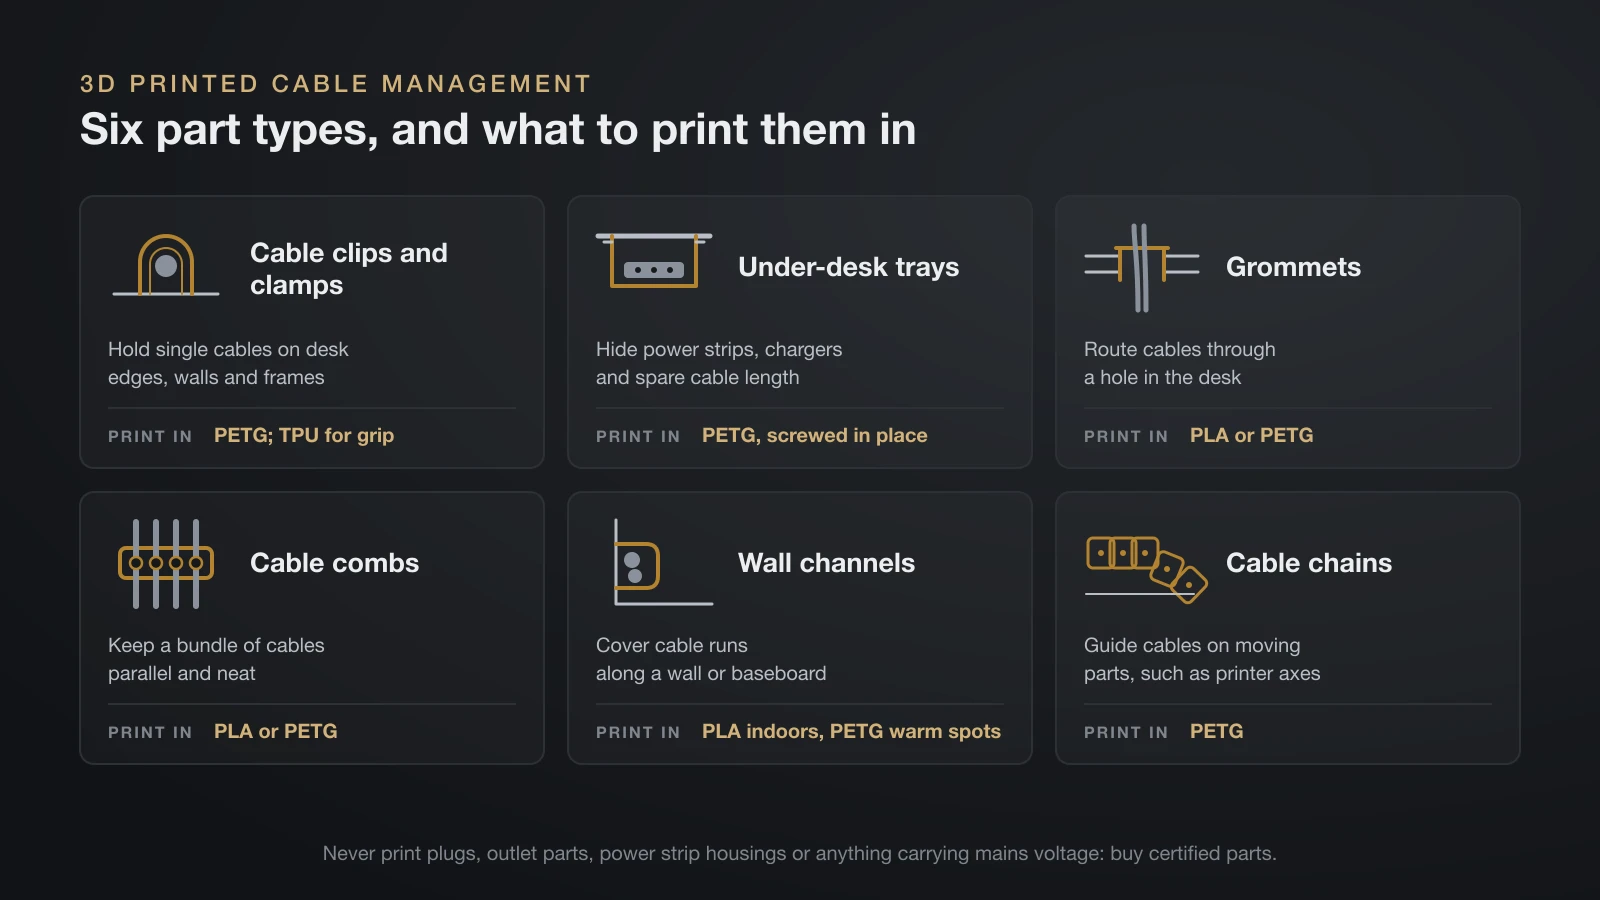
Most cable problems fall into a handful of part types. Search model libraries by these names and you will find dozens of variants for each.
Cable clips and clamps
Clips are the simplest fix: a C-shaped channel that holds one cable and fastens to a desk edge, a wall or a monitor arm. Desk-edge clips hook over the edge and need no screws, while wall clips use a screw or an adhesive pad. Clamps close around the cable with a screw and suit cables that must not slide, such as a laptop charger lead.
Under-desk trays and raceways
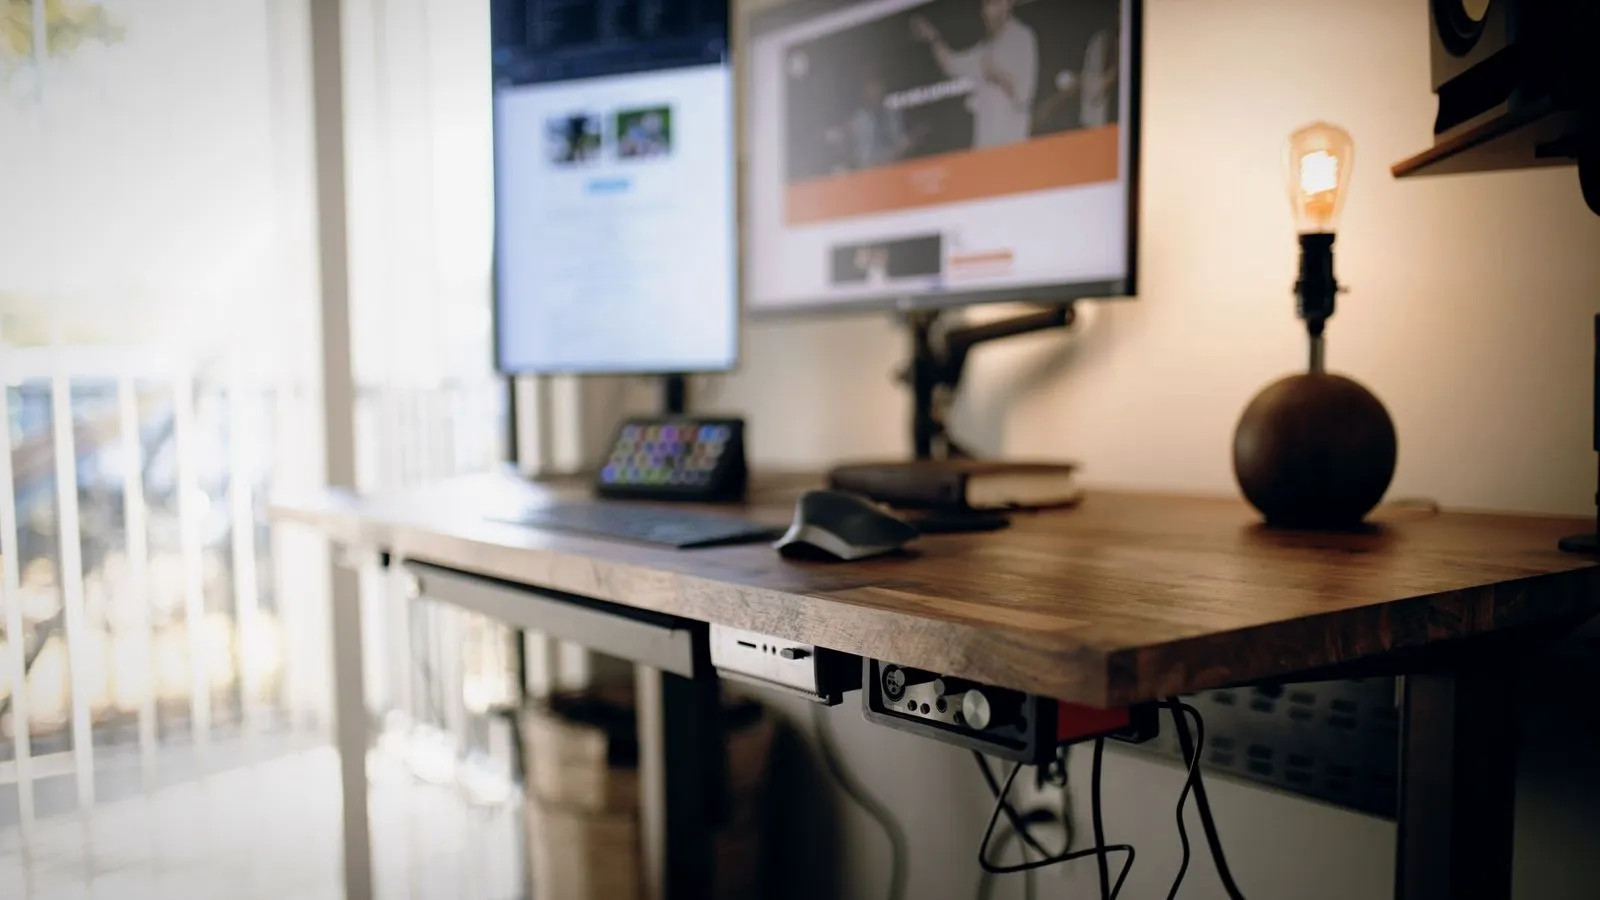
A tray screwed under the desk holds a power strip, chargers and the spare length of every cable, which is where most of the mess lives. Raceways are longer, open channels that carry cables from one side of the desk to the other. Both are usually too long for one print, so good designs split into segments that join with dovetails or screws.
Grommets and pass-throughs
A grommet is a ring that sits in a hole in the desktop, with a cap that leaves a slot for cables. Printing your own lets you match the exact hole diameter and add slots for the cables you actually use. Measure the hole with calipers before you print, because desk holes vary.
Cable combs and sleeves
A cable comb is a small plate with slots that holds several cables side by side, the tidy look used in PC builds and network cabinets. Printed spiral wraps and sleeves bundle cables together along a desk leg; for those, TPU works better than rigid plastic.
Wall channels and cable chains
Wall and baseboard channels are covers that snap over a cable run, often printed in the wall color. Cable chains, also called drag chains, are hinged links that guide cables on anything that moves. You will find them on 3D printer axes, CNC machines and height-adjustable desks, where they stop cables from snagging as the desk rises.
Desk organizers with cable routing
Many desk organizers double as cable management: charging stations with slots for cords, headphone hooks with a cable channel, and monitor-stand drawers with pass-through holes. For modular storage that snaps into a common grid, see the Gridfinity section in our guide to 3D printed tools, which covers the standard in detail.
Where to find cable management models
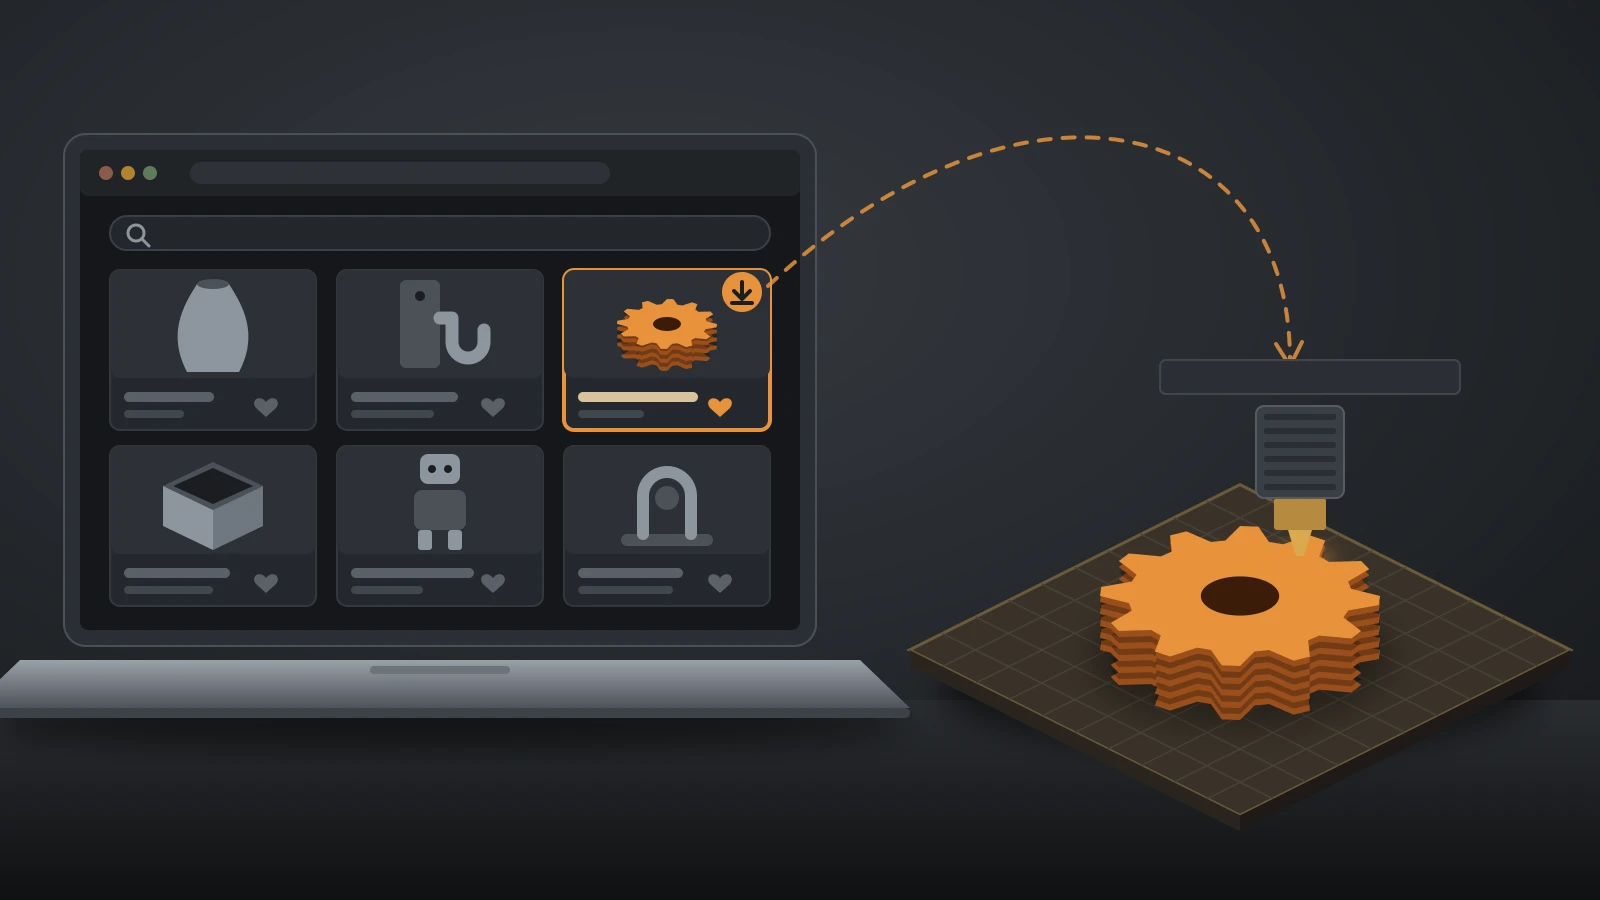
Free models for every part type above are on Printables, MakerWorld and Thingiverse. Search by function, such as “cable clip”, “under desk cable tray” or “desk grommet”, and add your cable or hole size to the search. Favor models with many user prints, photos and comments.
Check the license before you share or sell prints. Many designs use Creative Commons licenses, and the NonCommercial versions forbid commercial use such as selling printed copies. If nothing fits your desk, a remixable parametric model or your own design is usually faster than hunting further.
Best material for 3D printed cable management
PETG is the best all-round filament for printed cable parts. PLA is fine where it stays cool, and TPU suits anything that must flex.
Cable parts see little load, but they often sit next to warm things: power bricks, a PC’s exhaust, a sunny window. Heat deflection temperature (HDT) is the temperature at which a loaded test bar bends by a set amount; the values below come from Prusament’s data sheets (ISO 75, 0.45 MPa).
| Material | Heat deflection | Strengths | Use it for |
|---|---|---|---|
| PLA (Prusament) | 55 °C (131 °F) | Stiff, easy to print, crisp detail | Clips, combs and grommets in cool, dry spots |
| PETG (Prusament) | 68 °C (154 °F) | Tougher, flexes before breaking | Trays, snap clips, parts near chargers or a PC |
| TPU (flexible) | Not comparable: rubber-like | Bends and grips, wear resistant | Cable straps, cord wraps, grippy clips |
Prusament says PLA parts start to lose mechanical strength above 60 °C (140 °F) and describes PLA as somewhat brittle, which is why thin PLA snap arms tend to crack. PETG survived Prusa’s unnotched Charpy impact test without breaking, where PLA broke at 13 kJ/m². For clips you snap on and off, that toughness matters more than stiffness.
For a closer look at how warm PETG can get, including print settings, see our guide to PETG temperature. If you want to stay with PLA but need a less brittle clip, a tougher blend is a middle ground; our PLA+ vs PLA comparison explains the difference.
TPU needs slower printing. Prusa’s guide to flexible materials gives a typical speed of about 20 mm/s, recommends minimal or no retraction and warns that flexible filaments absorb moisture, so dry them before printing.
Design tips for 3D printed cable clips
A clip that is too tight crushes the cable, and one that is too loose falls off. These rules make first prints fit more often.
- Measure the real cable: use calipers on the cable jacket, not the plug, and on the desk edge or wall thickness the clip will grip.
- Add clearance: the University of Florida’s Marston Makerspace suggests 0.20–0.25 mm for sliding fits and 0.30–0.40 mm for loose fits on Prusa MK4 and XL printers. A cable channel with loose clearance lets the cable slide without pinching it.
- Use lead-ins: a chamfer at the opening guides the cable in, and slender flexible arms let a clip snap on without extreme tolerances.
- Round every edge the cable touches: sharp printed edges can scuff a cable jacket over time.
- Orient for layer strength: Prusament PLA measures 51 MPa along its layers but only 17 MPa between them. Print a C-clip lying flat so the arms flex along the layers, not across them.
If fits come out consistently tight or loose, the printer may need tuning; the tolerance test in our guide on how to calibrate a 3D printer shows how to check.
How to design your own cable clip
A simple desk-edge clip is a good first design project, because it takes one sketch and one extrusion. Our guide on how to make 3D models for printing covers the CAD basics; here is the short version for a clip.
- Measure: note the cable diameter and the thickness of the desk edge.
- Sketch the profile in 2D: draw a U-shaped hook that fits over the desk edge, with a round channel for the cable on the underside.
- Size the openings: give the desk hook and the cable channel loose clearance, then make the channel’s entry gap slightly narrower than the cable so it clicks in and stays.
- Extrude and refine: extrude the profile to the clip’s width, chamfer the entry gap and round the inside edges.
- Test print in PLA: check the fit on the real desk and cable, adjust the sketch dimensions and reprint.
- Print the final version in PETG: keep the same orientation, lying flat on the bed.
Because the design is parametric, you can change one number to make a clip for a thicker cable or a different desk in seconds.
Mounting options for printed cable parts
How a part is fixed matters as much as the part itself. Choose the method by the load.
| Mounting method | Best for | Watch out for |
|---|---|---|
| Wood screws | Trays and raceways, anything carrying a power strip | Check the desk material and screw length before drilling |
| Adhesive pads or strips | Light clips on smooth, clean surfaces | Stay within the adhesive maker’s weight rating |
| Desk-edge hooks and clamps | Rented spaces, desks you can’t drill | Measure the edge thickness exactly |
| Magnets glued into pockets | Metal desk frames and monitor stands | Test the hold with the cables attached |
Plastic slowly deforms under a constant load, and faster when warm. A tray holding a power strip carries that load for years, so print it in PETG with thick walls and use screws.
Managing your 3D printer’s own cables
The printer itself is a common cable management project: clips for the spool sensor lead, strain relief for the bed cable and cable chains for moving axes. These are fine to print, with two cautions.
First, keep printed parts near the heated bed, the hotend or inside an enclosure in PETG or ASA rather than PLA, because those areas run warmer than a desk. Second, leave the wiring itself alone unless you are qualified. NIOSH notes that exposed printer parts usually run at 12–24 V, but a unit that is not unplugged during maintenance can still cause shock or injury.
NIOSH also advises checking that any add-on to a printer does not increase fire risk, void the maker’s warranty or break the printer’s approval from a Nationally Recognized Testing Laboratory (NRTL). Cable clips on the frame are harmless; rerouting heater or power supply wiring is not a casual job.
Electrical safety: what not to print
Cable management touches household electricity, so be conservative. The U.S. Fire Administration advises keeping cords out of places where they can be damaged or pinched, such as under a carpet or rug, replacing worn or damaged cords right away and not overloading power strips.
- Never print anything that carries, contacts or insulates mains voltage: plug housings, outlet parts, lamp sockets, power strip shells or covers for damaged cord insulation. Buy certified replacements.
- Don’t pinch power cords: size clips on power cables with loose clearance, and never force a cord into a tight channel.
- Don’t trap heat: leave air around power bricks and power strips instead of sealing them in tight printed boxes.
- Replace, don’t patch: a cracked or frayed cord needs replacing, not a printed sleeve over the damage.
- Keep trays secure: a tray holding a power strip should be screwed in place so it can’t fall and yank on the plugs.
The bottom line
Printed cable management is cheap, fast and made to fit: clips, trays, grommets, combs and cable chains cover almost every desk. Print them in PETG for warm spots and snap clips, TPU for anything that flexes and PLA only where it stays cool. Screw down anything that carries weight, and keep printed plastic away from any part that carries mains voltage.
Sources
- Prusament: PLA material page and technical data sheets for PLA and PETG (heat deflection at 0.45 MPa: PLA 55 °C, PETG 68 °C; PLA loses strength above 60 °C and is brittle; PLA tensile yield 51 MPa horizontal, interlayer adhesion 17 MPa; Charpy unnotched PLA 13 kJ/m², PETG no break)
- Prusa Knowledge Base: Flexible materials (typical speed about 20 mm/s, minimal retraction, moisture absorption, wear resistance)
- University of Florida, Marston Makerspace: Designing for 3D Printing Tolerances on the MK4 and XL (0.20–0.25 mm sliding and 0.30–0.40 mm loose clearances, lead-ins, flexible snap arms)
- U.S. Fire Administration (FEMA): Appliance and electrical fire safety (cords damaged or pinched under carpets and rugs, replacing damaged cords, not overloading power strips)
- NIOSH (CDC): Approaches to Safe 3D Printing, publication 2024-103 (exposed printer voltages usually 12–24 V, shock risk if not de-energized, retrofits must not raise fire risk, void warranties or violate NRTL approval)