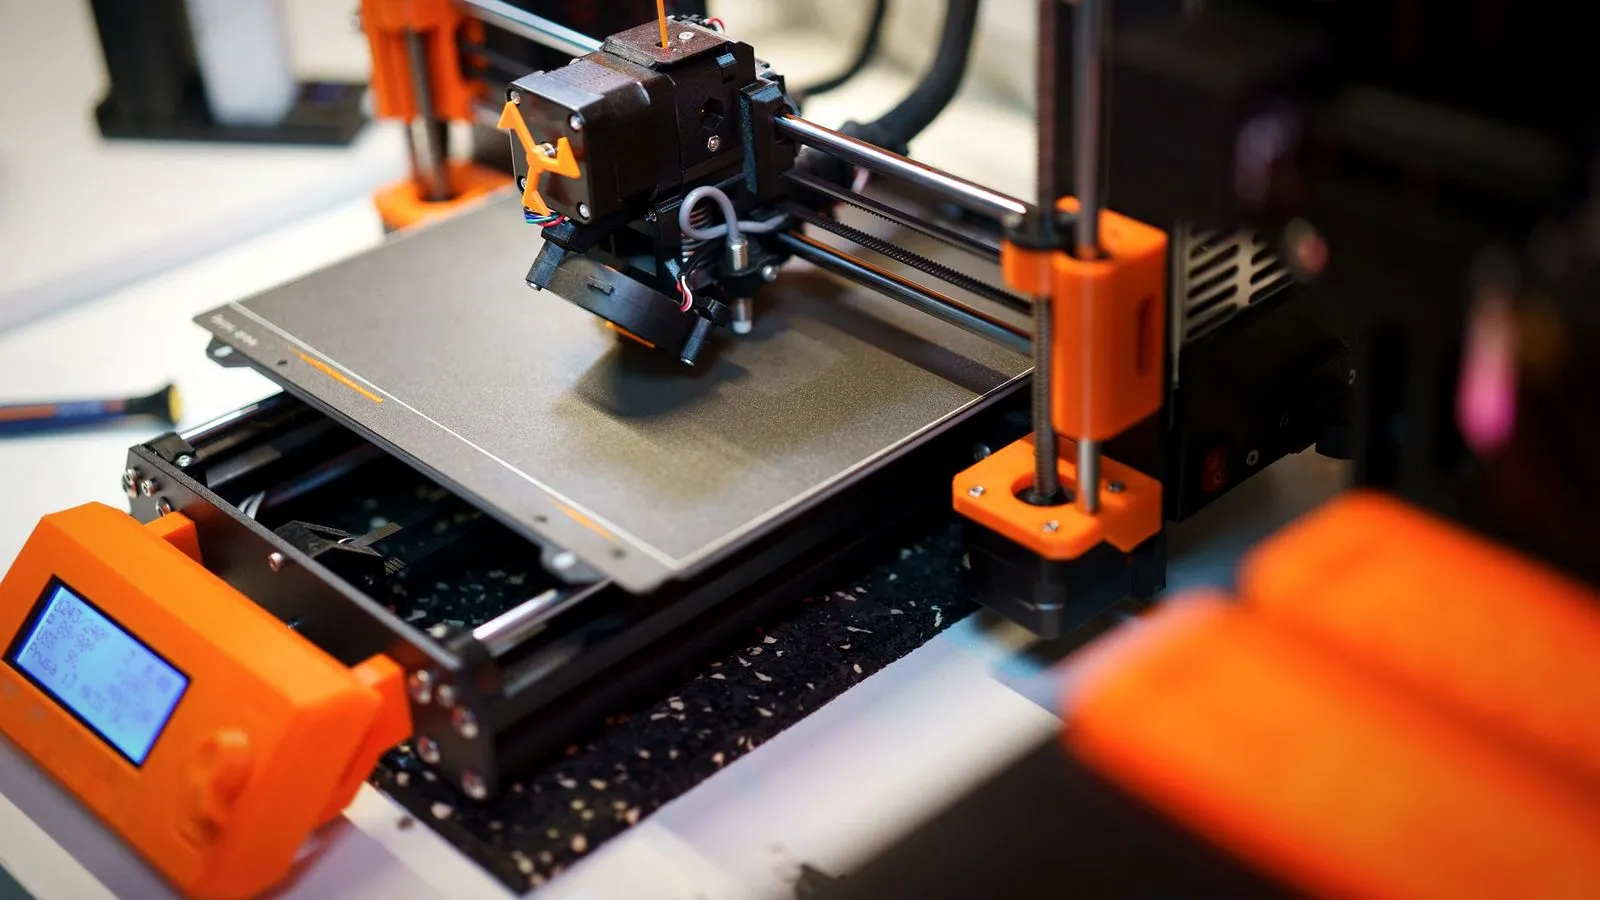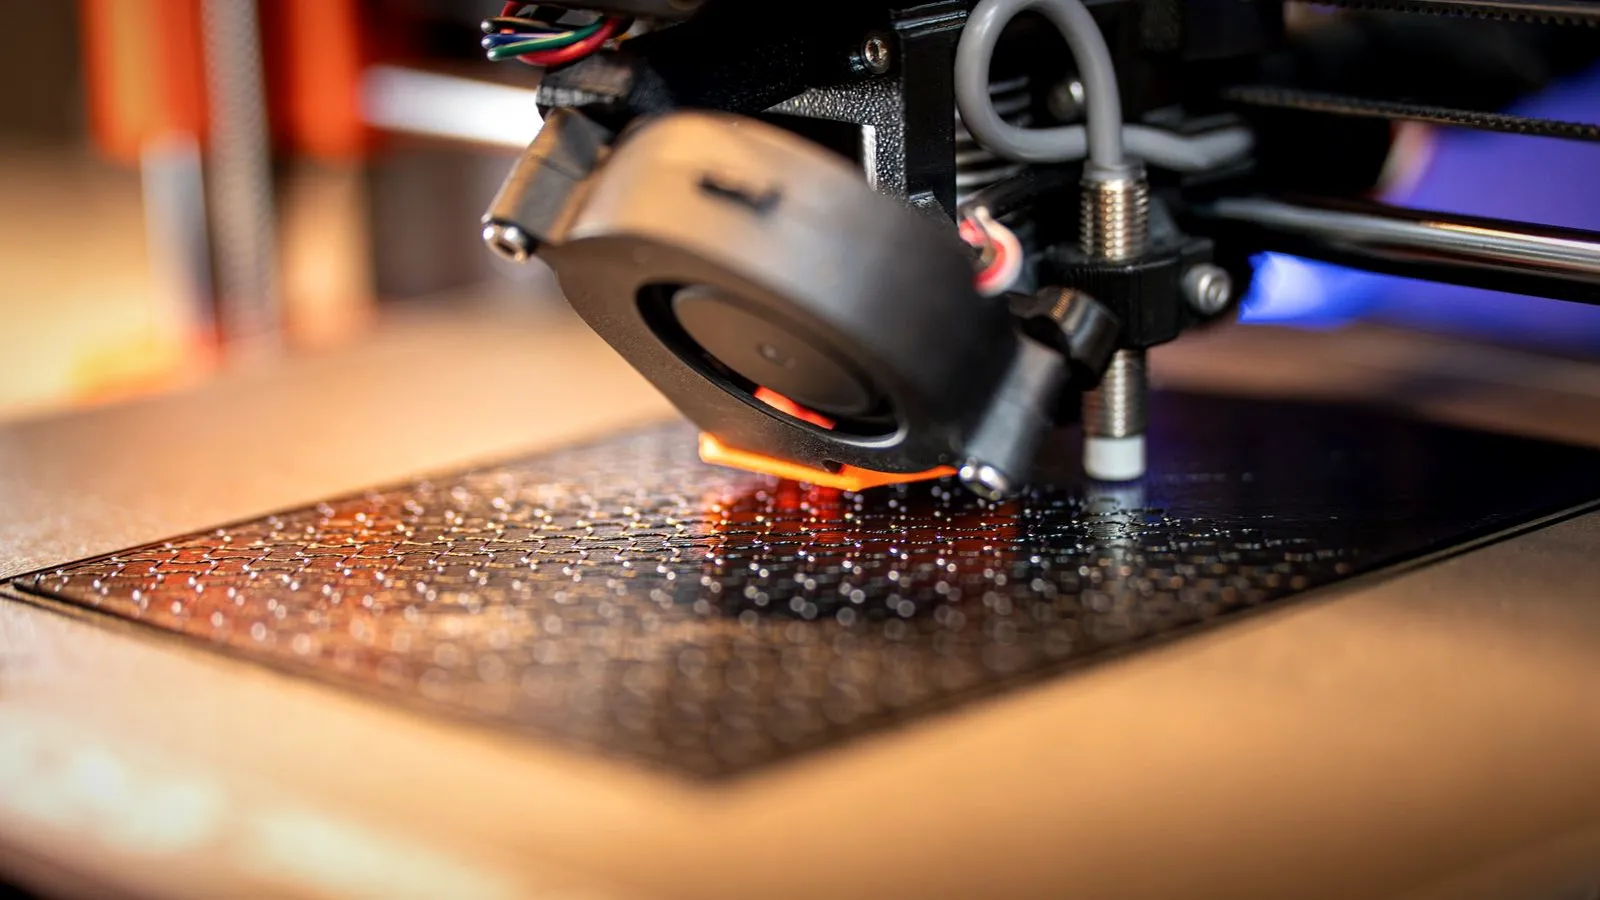
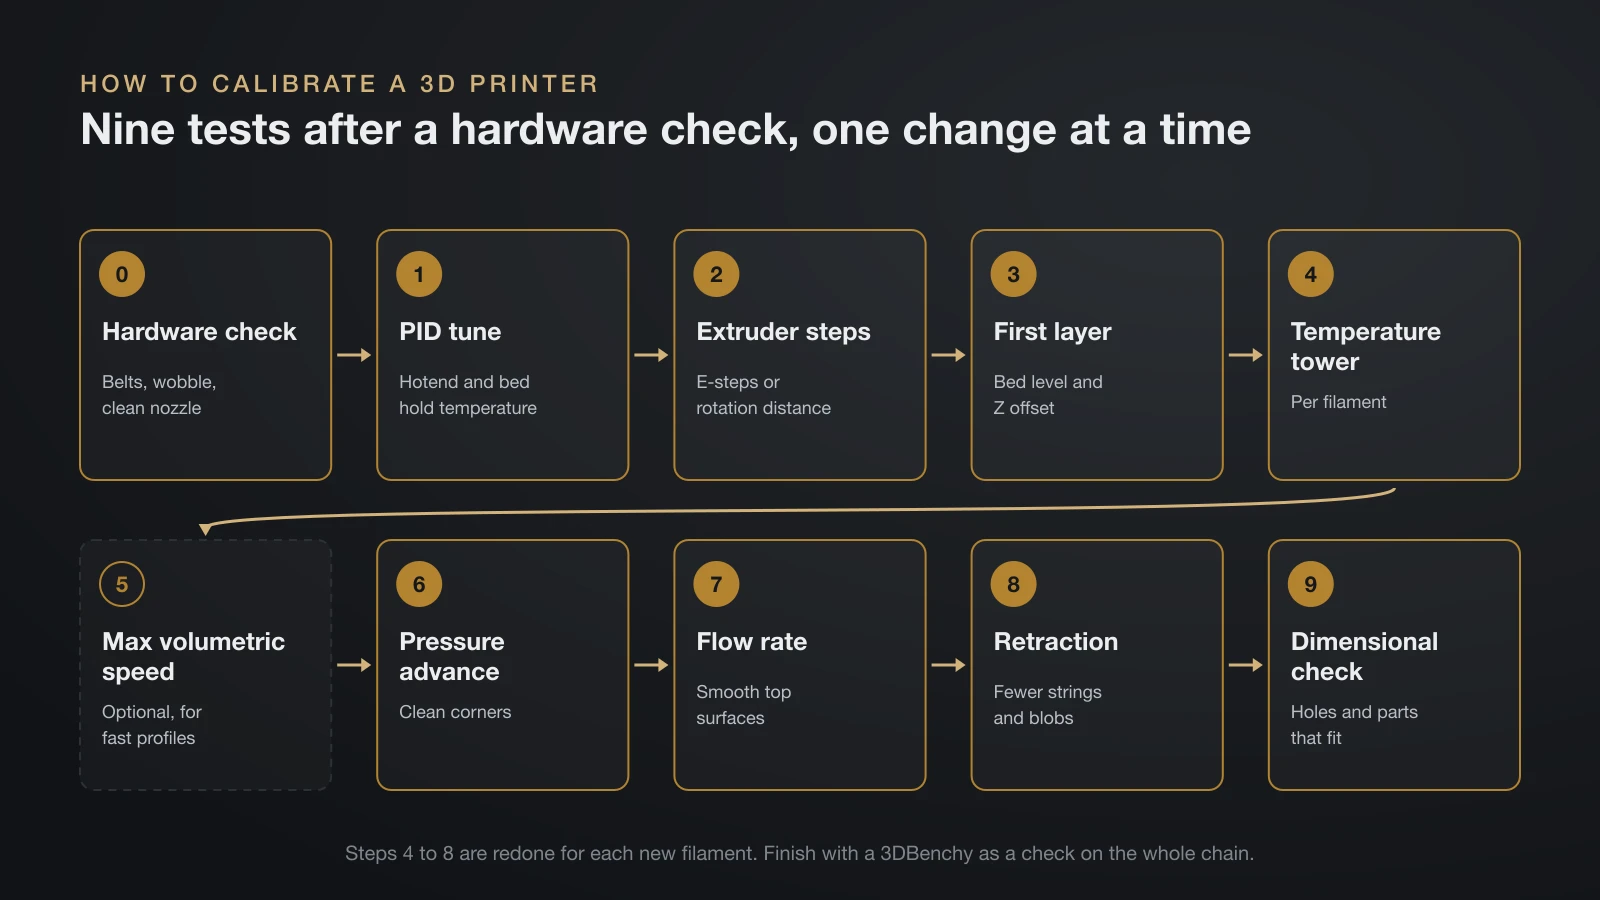
How to calibrate a 3D printer comes down to order. Tune the machine first (heater PID, extruder steps, first layer), then tune each filament: a temperature tower, pressure advance, flow rate and retraction, finished with a dimensional check. Every test assumes the earlier ones are right, so running them out of order means repeating work.
Modern printers from Bambu Lab, Prusa and many Klipper builds automate part of this list, but not all of it. Below, each step has the how-to for Marlin, Klipper and OrcaSlicer or Bambu Studio, plus a clear sign that the step is done. You need only a few tools, mainly a digital caliper, a ruler and a marker, all covered in our list of 3D printer accessories worth buying.
The short answer
| # | Step | What it fixes | Redo it when |
|---|---|---|---|
| 0 | Hardware check | Loose belts, wobble, dirty nozzle | The printer was moved or repaired |
| 1 | PID tune (hotend and bed) | Temperature swings | New heater, thermistor or hotend |
| 2 | Extruder steps (e-steps or rotation distance) | Extruder pushing too much or too little | New extruder or a firmware reset |
| 3 | First layer (bed level and Z offset) | Poor adhesion, over-squished or gappy first layer | New build plate or nozzle |
| 4 | Temperature tower | Stringing, weak layers, droopy bridges | New filament brand or type |
| 5 | Max volumetric speed (optional) | Under-extrusion at high speed | New filament or faster profiles |
| 6 | Pressure advance or linear advance | Bulging or thin corners | New filament or nozzle |
| 7 | Flow rate | Rough or gappy top surfaces | New filament |
| 8 | Retraction | Strings and blobs | New filament or hotend |
| 9 | Dimensional check | Holes too tight, parts that don’t fit | Whenever fit matters |
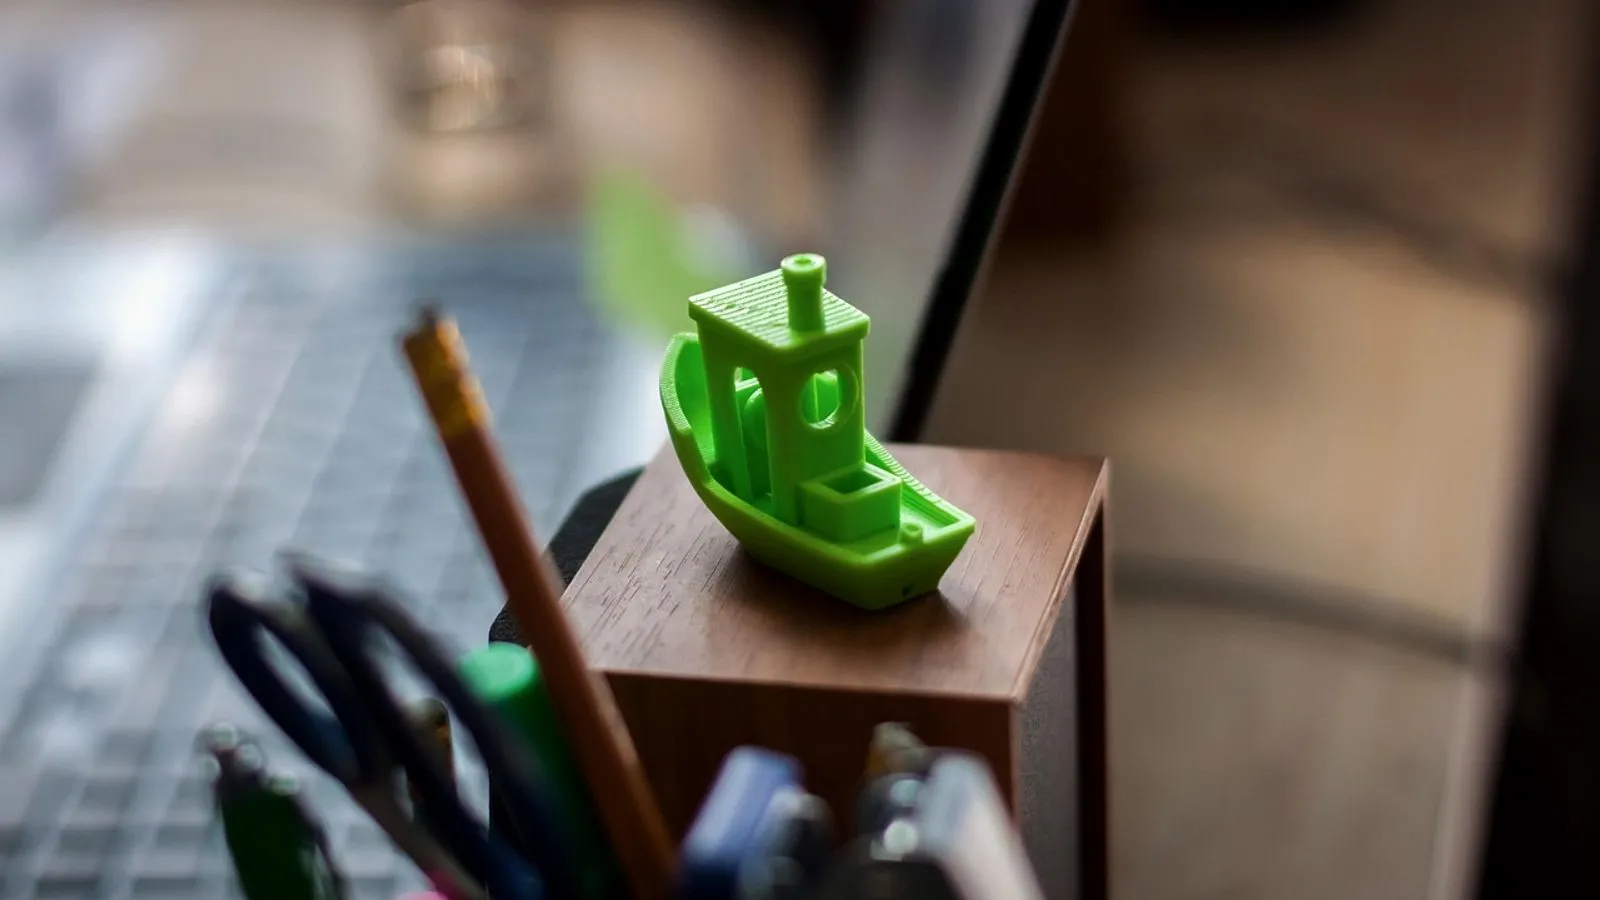
A 3DBenchy comes last, as a check on the whole chain rather than a calibration of its own.
Before you start: check the hardware
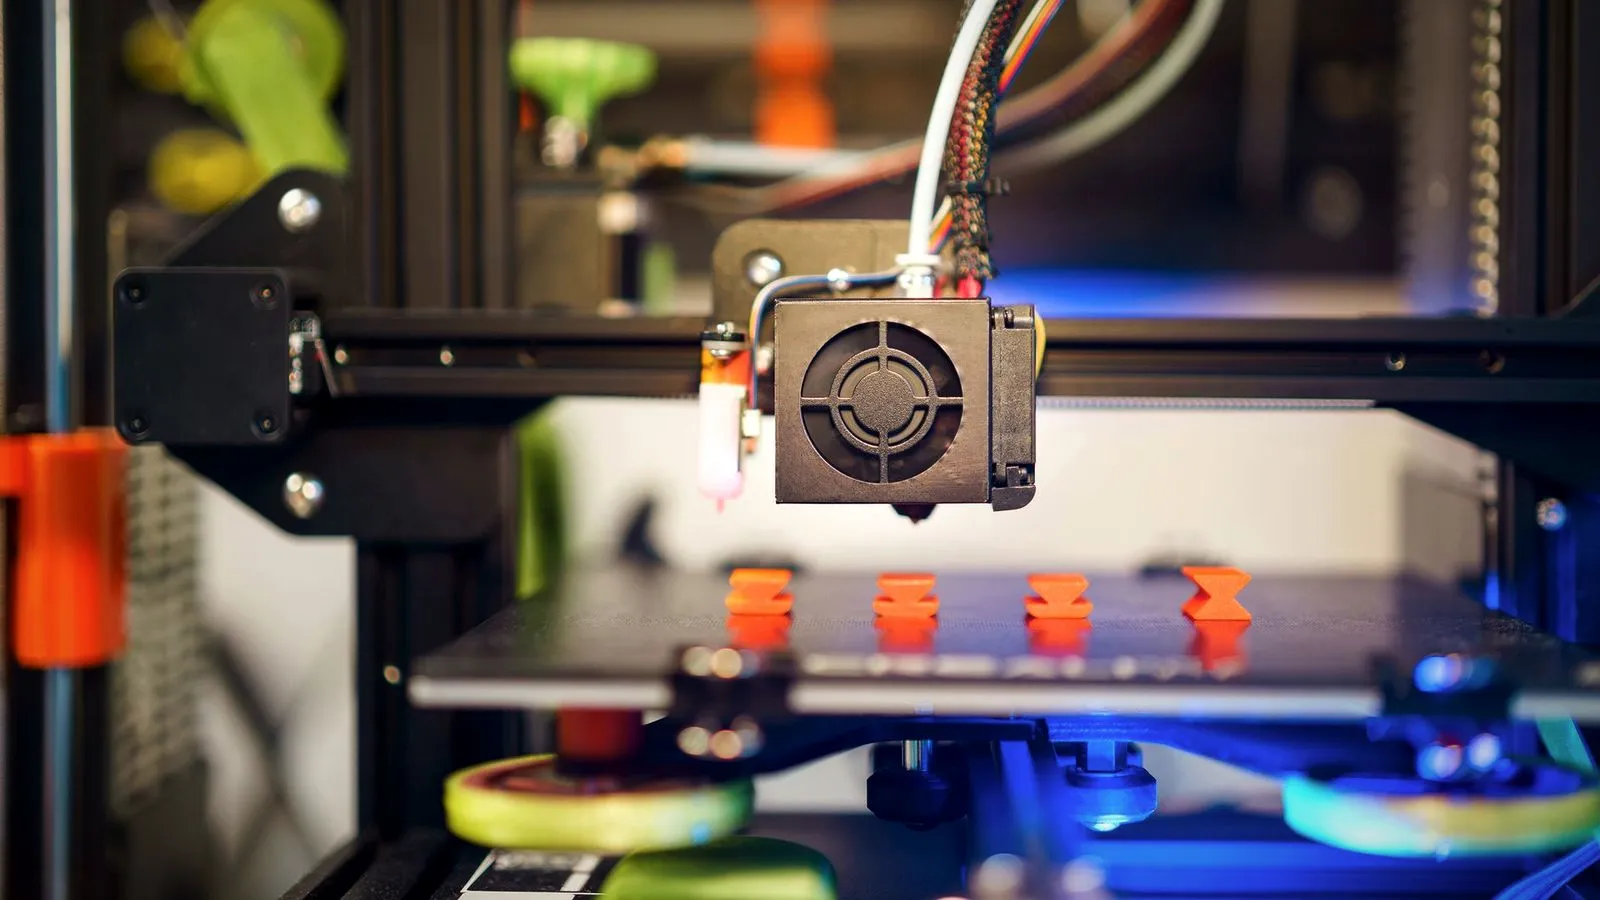
Calibration cannot fix a mechanical fault. A loose belt or a partly clogged nozzle only produces misleading test prints, so spend a few minutes on the machine first.
- Belts: evenly tensioned on both axes, not slack or twanging.
- Frame and carriages: no wobble in the hotend, gantry or bed when you push on them gently.
- Nozzle and plate: no old plastic on the nozzle, and a build plate washed free of fingerprints.
- Filament: dry. Bambu Lab notes that damp filament makes flow calibration results unsuitable for fresh filament.
- Firmware and slicer: update both before you start. Bambu Lab recommends a full printer calibration after every firmware update.
How to calibrate a 3D printer, step by step
Step 1: PID tune the hotend and bed
PID autotune heats and cools a heater several times and calculates control values that hold the temperature steady instead of letting it swing. Do it once, and again after changing the heater, thermistor or hotend.
- Marlin:
M303 E0 S210 C8tunes hotend 0 at 210 °C (410 °F) over 8 cycles, andM303 E-1 S60 C8tunes the bed at 60 °C (140 °F). The default is 5 cycles and the minimum is 3. Save withM500if EEPROM is enabled, or addU1to apply the values right away. - Klipper: run
PID_CALIBRATE HEATER=extruder TARGET=<temperature>andPID_CALIBRATE HEATER=heater_bed TARGET=<temperature>, thenSAVE_CONFIG.
Done when: the temperature graph sits flat at the target instead of oscillating around it.
Step 2: Calibrate the extruder (e-steps or rotation distance)
This step checks that asking for 50 mm of filament actually feeds 50 mm. The Klipper method works on any printer that exposes the setting:
- Heat the hotend and mark the filament about 70 mm above the extruder inlet. Measure the exact distance with calipers.
- Extrude 50 mm slowly:
G91, thenG1 E50 F60(about 50 seconds). - Measure again. Actual extrusion = first measurement minus second measurement.
- Klipper: new
rotation_distance= old value × actual ÷ 50. - Marlin: new e-steps = old e-steps × 50 ÷ actual. Set it with
M92 E<value>and save withM500.
Done when: a repeat run lands within 2 mm of the requested 50 mm. Many sealed consumer machines do not expose extruder steps at all; if yours doesn’t, skip this step. If the gears click, slip or grind during the test, fix that first; our guide to the 3D printer extruder covers how it works and the common faults.
Step 3: Set the first layer
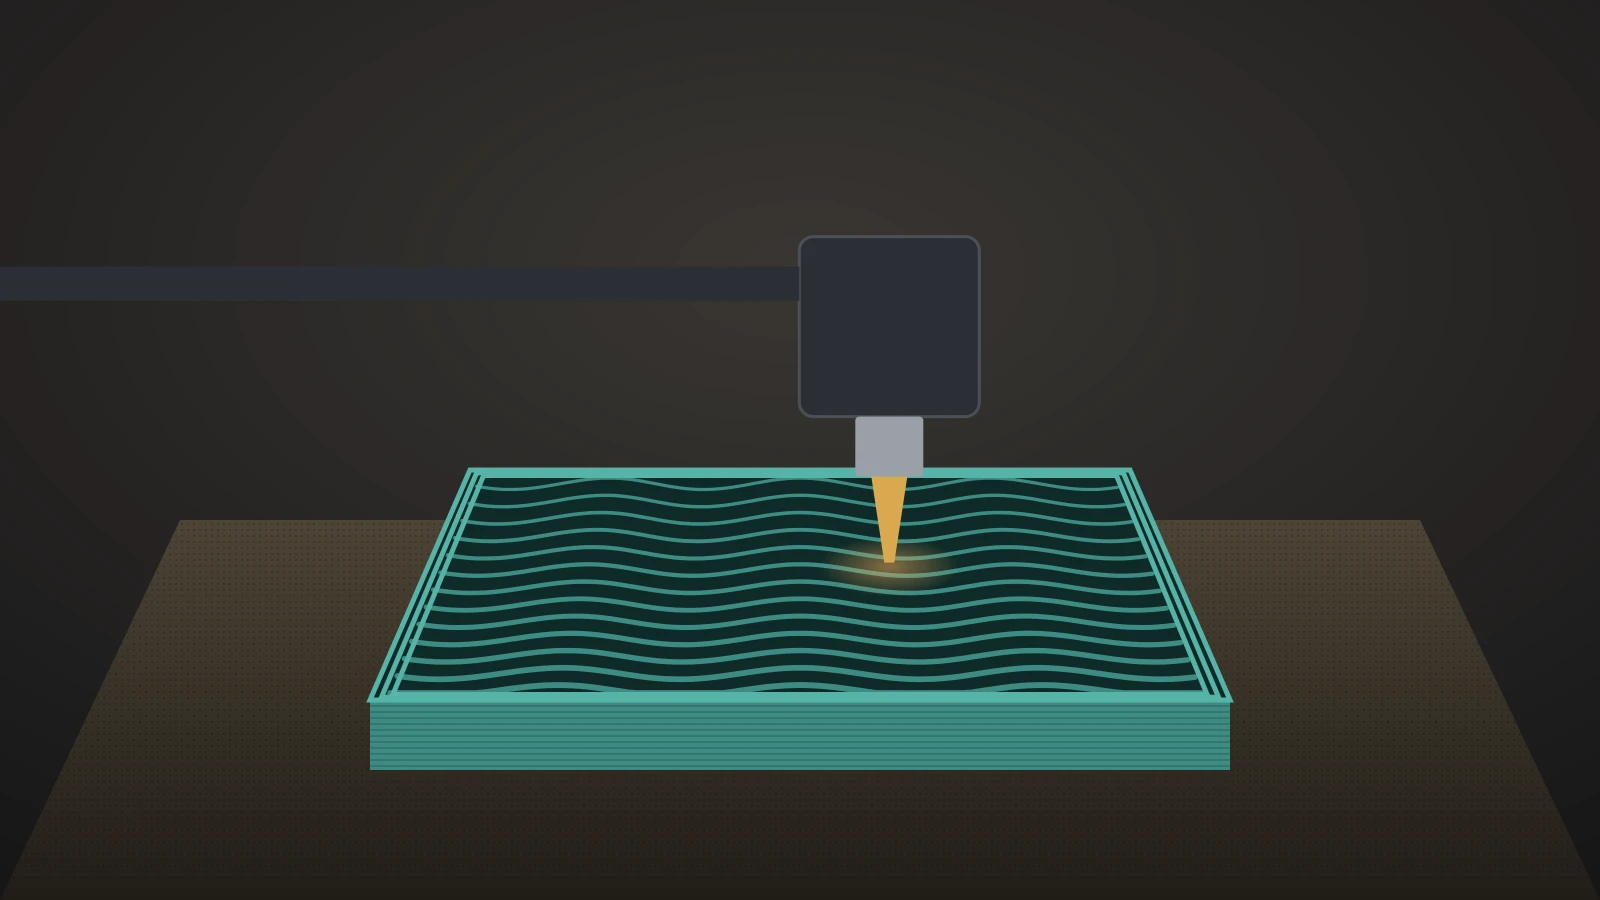
Level or tram the bed (or let auto bed leveling run), then set the Z offset so the first-layer lines are slightly flattened and fused together. Printers with a load cell, such as the Prusa MK4/S, MK3.9/S and XL, check this automatically before every print, and Prusa says manual Live Z adjustment is not necessary on them. On a printer with manual knobs, our guide on how to level a 3D printer bed walks through it step by step.
Done when: a single-layer square prints as one smooth sheet, with no gaps between lines and no ridges. If it won’t, our first layer problems guide matches each symptom to its fix.
Step 4: Print a temperature tower
From here on, every test is per filament. A temperature tower is a stack of blocks printed at different nozzle temperatures, and OrcaSlicer’s calibration guide puts it first because temperature changes how the plastic flows, and therefore every result after it. Start from the range printed on the spool.
Compare stringing, bridges, overhangs and layer bonding. OrcaSlicer suggests the middle of the range that looks good, or the upper end if you print fast. Blends such as PLA+ can behave differently from plain PLA, so test each type separately (see PLA+ vs PLA).
Done when: you have picked a block with clean bridges, little stringing and layers that don’t split when you try to snap them.
Step 5 (optional): Find the max volumetric speed
This matters on fast printers. OrcaSlicer’s test ramps flow from 5 to 20 mm³/s in 0.5 mm³/s steps by default. Measure the height where the surface starts to fail, then calculate start + height × step: at 19 mm, that is 5 + 19 × 0.5 = 14.5 mm³/s.
OrcaSlicer calls this a best case and suggests setting the limit 10–20% lower. Brand and even color of the same material can change the result.
Done when: the filament profile holds a max volumetric speed just below where the test began to fail.
Step 6: Tune pressure advance (linear advance)
When the print head speeds up or slows down, nozzle pressure lags behind: lines start thin and corners bulge. Klipper calls the fix pressure advance, Marlin calls it linear advance (set with M900), and Bambu Lab calls it flow dynamics, with a K value. On Marlin, linear advance must be enabled in firmware, and not every printer ships with it on.
- OrcaSlicer tower method: the value rises with height, so PA = start + step × measured height. Best corners at 8 mm with a 0.002 step gives 0 + 0.002 × 8 = 0.016.
- Bambu Studio manual mode: print the pattern with a 0.002 step and pick the sharpest corner. Bambu Lab rates the straight-line version as less accurate than the pattern.
- Extruder type: OrcaSlicer’s tests come in direct-drive and Bowden versions; pick the one that matches your extruder type.
Done when: corners are sharp, with no bulge and no gap where lines begin.
Step 7: Calibrate the flow rate
Flow rate (flow ratio) scales every extrusion move. OrcaSlicer’s recommended “YOLO” test prints eleven blocks from −0.05 to +0.05 in 0.01 steps. Pick the smoothest top with no gaps, then add its modifier to the old value: 0.98 + 0.01 = 0.99. OrcaSlicer gives 0.95–1.05 as the typical range.
Bambu Studio’s manual test runs coarse blocks from 80% to 120% in 5% steps, then a fine pass in 1% steps. Bambu Lab advises against any block with even faint gaps, because they grow on larger prints. Flow comes after pressure advance in both OrcaSlicer’s order and Bambu Lab’s guide.
Done when: top surfaces look smooth, with no gaps between lines and no raised ridges.
Step 8: Tune retraction
OrcaSlicer’s retraction tower defaults to 0–2 mm in 0.1 mm steps, which suits most direct-drive extruders. For Bowden setups it suggests 1–6 mm in 0.2 mm steps. Choose the shortest length that gives a clean section of the tower.
If PLA or ABS looks clean from the bottom, 0.2–0.4 mm is enough. If strings remain even at the top, OrcaSlicer’s advice is to dry the filament and check the nozzle for leaks, not to keep adding retraction.
Done when: travel moves leave no strings, or only wisps that brush off.
Step 9: Check dimensional accuracy
Print a part that has to fit something real, such as a bolt, a bearing or a hex key. OrcaSlicer’s tolerance test has six hexagonal holes with clearances from 0.0 to 0.4 mm and fits a 6 mm Allen key. Measure the results, then adjust the X-Y hole and contour compensation until parts fit the way you need. Our guide to 3D printing tolerances gives starting clearances for each type of fit.
Done when: your test part fits its mating part at the clearance you designed for.
Final check: print a 3DBenchy
The Benchy boat packs overhangs, bridges, small text and travel moves into one short print. It shows whether the whole chain works, but it gives you no number to enter anywhere. If something looks wrong, go back to the step that controls that defect in the table above.
What auto-calibrating printers do (and what’s left for you)
“Auto calibration” covers the machine, not your filament. Here is how the main platforms split the work, based on their own documentation.
| Printer | Automated | Still up to you |
|---|---|---|
| Bambu Lab (current models) | Bed leveling, nozzle height, vibration compensation and motor noise cancellation; automatic flow dynamics on the X1, A1, H2, P2S and X2D series | Temperature for third-party filament, flow rate (automatic only on the X1 series), retraction, fit |
| Bambu Lab P1 series | The same machine routine; flow dynamics is manual only | Pressure advance (K value), flow, temperature, retraction, fit |
| Prusa MK4/S, MK3.9/S, XL | First layer via the load cell, checked before each print | Filament tests in the slicer, fit |
| Klipper printers | Depends on the build: bed meshes and input shaping if a probe and accelerometer are fitted | PID, rotation distance, pressure advance, all filament tests |
Bambu Lab also notes that its flow dynamics results jitter by about 10% between runs, and that its default values give good results in most cases. Rerun the machine calibration after moving the printer, a firmware update, belt tensioning or any hardware change. Vibration compensation is Bambu Lab’s name for input shaping, which our input shaping guide explains.
3D printer calibration per filament: what to redo and when
You don’t have to repeat everything. Match the change to the tests it affects.
| What changed | What to redo |
|---|---|
| New filament brand or type | Temperature tower, pressure advance, flow, retraction |
| New or worn nozzle | Pressure advance, first layer |
| New hotend, heater or thermistor | PID tune, then the filament tests |
| New extruder | E-steps or rotation distance, then pressure advance |
| Faster print profile | Max volumetric speed, pressure advance |
| Printer moved, firmware updated, belts adjusted | Machine calibration (leveling, vibration compensation) |
| Quality suddenly dropped | Dry the filament and clean the nozzle first, then retest |
Engineering filaments are more sensitive to drafts and chamber heat, so test them in the conditions you will print in. For ASA and other outdoor-grade filament, that usually means inside one of the enclosed 3D printers built for them.
Why is my 3D printer not accurate?
Small dimensional errors rarely come from the motors. More often the cause is extrusion or the first layer:
- Over-extrusion makes outer walls bulge and holes shrink. Fix flow first.
- An over-squished first layer flares out at the base (elephant’s foot). Raise the Z offset slightly.
- Plastic shrinks as it cools, by an amount that differs between materials. OrcaSlicer offers shrinkage settings per filament.
- Bulging corners point to pressure advance, not to axis steps.
Don’t adjust X or Y steps from a measured cube. Klipper’s documentation says “measure and trim” is not accurate enough for the X, Y and Z axes and will likely make things worse. Belt-driven axes are set by hardware: a 2 mm pitch belt on a 20-tooth pulley gives a rotation distance of 40.
The bottom line
Calibrate in order: hardware check, PID, extruder, first layer, then temperature, pressure advance, flow and retraction for each filament, and finish with a fit test. Auto-calibrating printers take care of leveling and vibration, but temperature, flow and fit are still yours to check, especially with third-party filament. Save every result in a named filament profile so you only run each test once.
Sources
- OrcaSlicer Wiki: Calibration guide and the test pages it links (test order and all OrcaSlicer test values and ranges)
- Klipper documentation: Rotation distance (extruder procedure, formula and belt-axis values)
- Marlin documentation: M303 PID autotune (commands, cycles and saving)
- Bambu Lab Wiki: Printer Calibration Guide, Flow Dynamics Calibration and Flow Rate Calibration (automatic vs manual calibration, Bambu Studio test values)
- Prusa Knowledge Base: Loadcell (MK4/S, MK3.9/S, XL) (automatic first layer)