
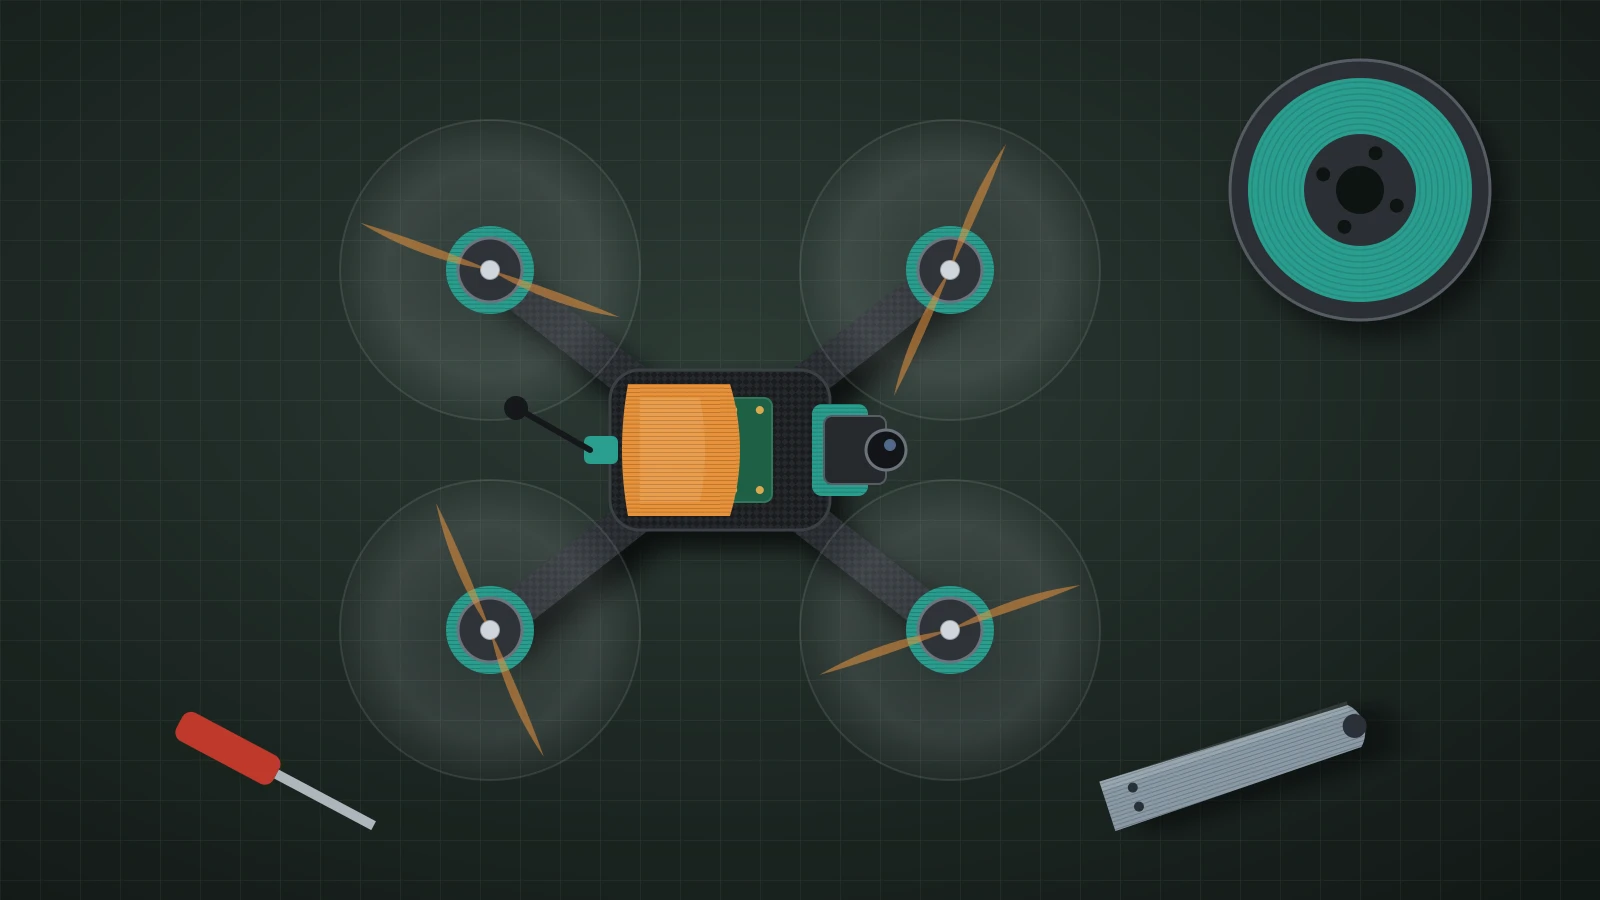
A 3D printed drone is usually a drone whose frame, arms, mounts and guards come off a home printer, flown with standard bought electronics. Printing works well for custom camera and antenna mounts, landing gear, prop guards and whole fixed-wing airframes. The motors, flight controller, battery and propellers should still be bought, and the finished drone must follow FAA rules.
Printing lets you change a frame in an afternoon, replace a broken arm for the cost of a few grams of plastic and fit odd cameras or sensors. The trade-off is weight: printed plastic is less stiff than cut carbon fiber plate, so the material and print settings matter more than on most projects. Our guide to carbon fiber filament explains the stiff composites that close part of that gap.
The short answer
| Question | Answer |
|---|---|
| What prints well | Frames for small and slow drones, arms, canopies, camera and antenna mounts, landing gear, prop guards, fixed-wing airframes |
| What to buy | Motors, electronic speed controllers, flight controller, receiver, lithium polymer battery, propellers |
| Material | TPU 95A for mounts and bumpers; PETG, ASA or carbon fiber nylon for structure; PLA for test fits |
| Main limit | Printed frames are heavier than carbon fiber plate for the same stiffness |
| FAA rules (recreational) | Free TRUST test for every pilot; register, mark and broadcast Remote ID at 250 g or more |
What 3D printed drone parts can you make?
You can print almost every structural and cosmetic part of a drone, and the most useful parts are the ones you cannot buy in the exact shape you need. Small add-ons are the easiest start because they do not carry flight loads.
| Part | Why print it | Typical material |
|---|---|---|
| Action camera mount | Angle and fit for your camera and frame | TPU 95A |
| Antenna mounts and holders | Keep antennas away from propellers | TPU 95A |
| Canopy and electronics cover | Protect the flight controller from dirt and rain | PETG or ASA |
| Landing gear and skids | Raise the camera, absorb landings | TPU or PETG |
| Prop guards and bumpers | Protect props and walls on indoor flights | TPU or PETG |
| Replacement arms | Swap a broken arm in minutes | Carbon fiber nylon or PETG |
| Complete frame | Custom size and layout | Carbon fiber nylon, PETG or PLA-CF |
| Fixed-wing airframe | Printed wing and fuselage sections, often with thin walls | Lightweight designs in PLA or PETG |
3D printed drone kits
A 3D printed drone kit is usually a set of printable files plus a list of electronics to buy, not a box of finished parts. Check that the bill of materials names motor size, propeller size and battery voltage, because a frame only works with the components it was designed for.
Where to find 3D printed drone designs
Most drone frames and accessories come from free model libraries such as Printables and Thingiverse, where designers post files with build notes and photos of flown drones. Search for your exact motor size or camera model, and prefer designs with posted makes, print settings and a parts list.
Read the license before you remix or sell anything: many files are free to print but restricted to noncommercial use. Our guide to Thingiverse 3D prints shows how to find and filter models and where each license appears.
Best materials for a 3D printed drone
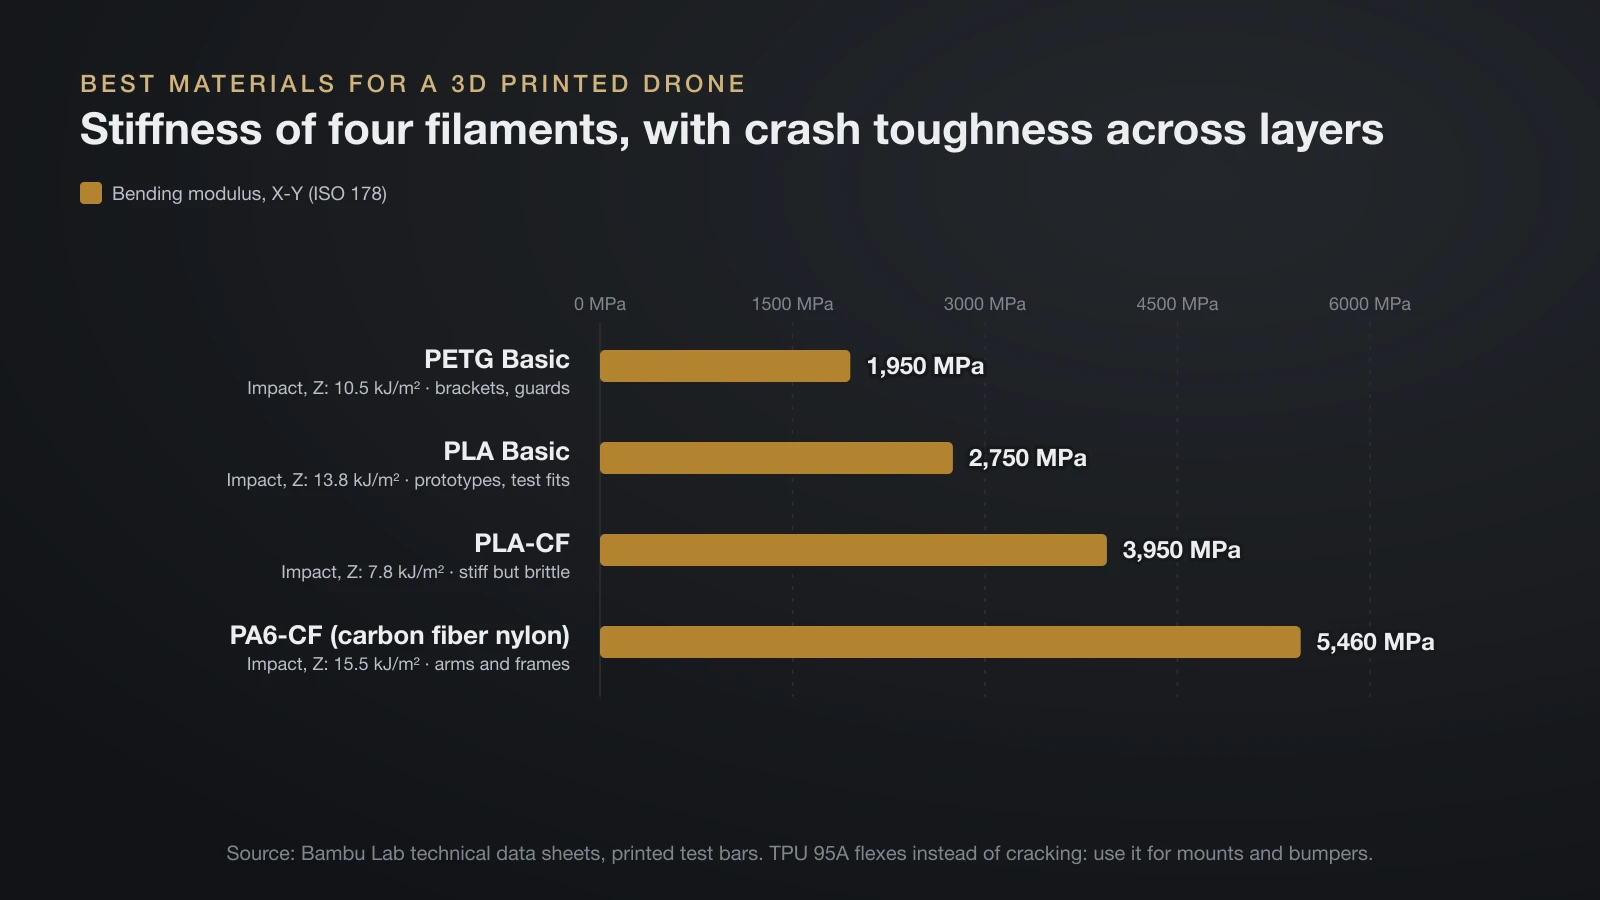
The right material for a 3D printed drone depends on whether a part must be stiff, tough or flexible. Stiff parts such as arms resist vibration, tough parts survive crashes and flexible parts absorb impacts so the frame does not have to.
| Material | Bending modulus, X-Y (ISO 178) | Impact strength, Z (ISO 179) | Heat deflection, 1.8 MPa | Drone use |
|---|---|---|---|---|
| PLA Basic | 2,750 MPa | 13.8 kJ/m² | 54 °C (129 °F) | Prototypes, test fits, indoor frames |
| PLA-CF | 3,950 MPa | 7.8 kJ/m² | 54 °C | Stiff but brittle; light-duty frames |
| PETG Basic | 1,950 MPa | 10.5 kJ/m² | 68 °C (154 °F) | Brackets, guards, canopies |
| PA6-CF (carbon fiber nylon) | 5,460 MPa | 15.5 kJ/m² | 164 °C | Arms and frames that must stay stiff |
All values are from Bambu Lab’s technical data sheets for its own filaments, measured on printed test bars. The Z column is the strength across layers, which is where printed parts break in a crash.
- TPU 95A: a rubber-like filament that bends instead of cracking; the standard choice for camera mounts, antenna holders and bumpers. Our TPU filament guide covers printing it.
- ASA: prints much like ABS but handles sunlight better, which suits canopies and mounts that live outdoors; see our guide to ABS filament for the enclosure and fume precautions both need.
- Nylon: very tough, but it absorbs moisture and must be dried; our nylon filament guide explains the types.
Carbon fiber filled filaments wear brass nozzles, so they need a hardened nozzle. Bambu Lab also warns that they can carry microscopic splinters and recommends cut-resistant gloves and safety goggles when removing supports or sanding.
3D printed drone frames vs carbon fiber frames
Cut carbon fiber plate stays the benchmark for small racing and freestyle frames because it is light and stiff. A printed frame of the same weight bends more, which lets more vibration reach the flight controller and camera.
A 2019 conference paper in AIP Conference Proceedings makes the gap concrete. The authors copied a 4-inch racing frame in PLA and found it needed optimization to match the carbon frame’s mass and stiffness. Their best design doubled the frame thickness and then removed material with topology optimization.
Printed frames win in other places:
- Custom shapes: ducts, enclosed bodies, camera cages and fixed-wing airframes that plate cannot make.
- Cheap repairs: reprint one arm instead of buying a new frame.
- Fast iteration: change a dimension and print again the same day.
- Mounts on carbon frames: many builders keep a carbon frame and print only the TPU and PETG accessories.
Print settings for strong drone parts
The strongest printed drone parts come from extra walls, sensible infill and careful part orientation, not from 100% infill alone. Arms and frames take bending loads, so the outer walls carry most of the force.
- Add walls first: raise the wall count before raising infill density, because walls add more strength per gram.
- Use moderate infill: a load-bearing part needs more than a decorative one; our guide to 3D printing infill lists density ranges by use.
- Orient arms flat: print arms lying on the bed so the layers run along the arm, not across it, because parts break most easily between layers.
- Dry the filament: Prusa notes that moist nylon prints with bubbles and uneven layers; dry PETG too before structural prints.
- Check the weight: the slicer shows grams per part, which tells you how a design affects the drone’s total weight before you print it.
- Test before flight: flex each arm by hand and look for cracks along layer lines after every crash.
Electronics you still need for a 3D printed drone
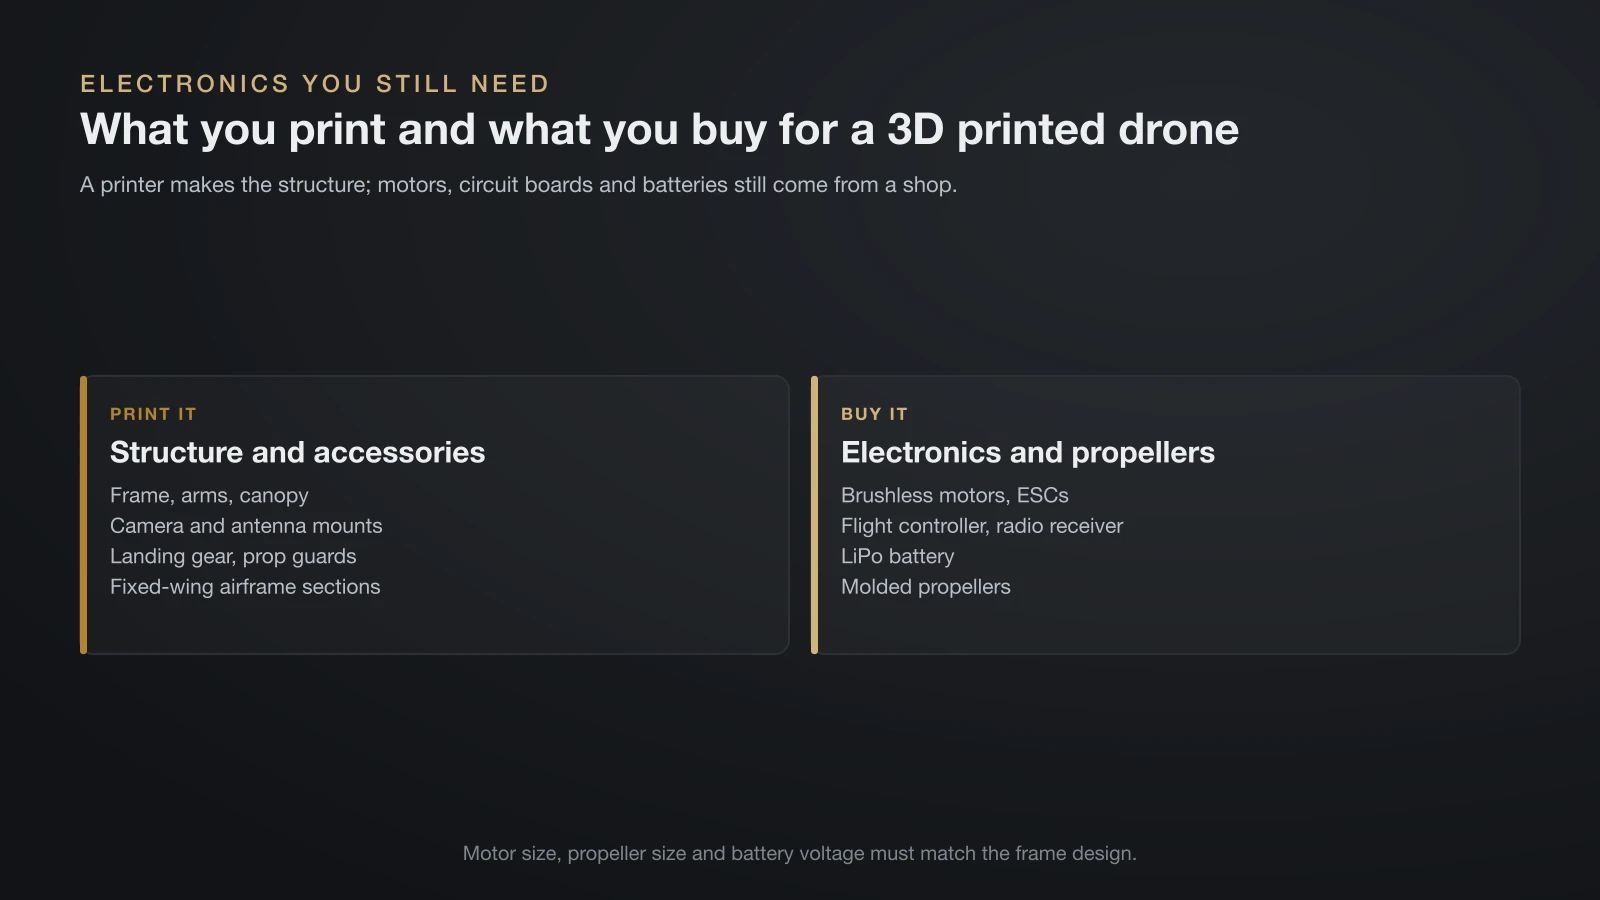
Every 3D printed drone still needs bought electronics, because a printer cannot make motors, circuit boards or batteries. A multirotor drone usually needs the parts below.
- Brushless motors: one per arm, sized to the frame and propellers.
- Electronic speed controllers (ESCs): drive the motors; often combined into one board.
- Flight controller: the board with sensors and firmware that keeps the drone stable.
- Radio receiver: links the drone to your transmitter.
- Lithium polymer (LiPo) battery: the usual power source for small multirotors.
- Propellers: molded props matched to the motors.
- Optional: a camera and video transmitter for first-person view (FPV) flying, and a GPS module.
Fixed-wing models use one or two motors plus servos that move the control surfaces. Check the design’s parts list, because motor size, propeller size and battery voltage must match the airframe.
LiPo battery and propeller safety
LiPo batteries store a large amount of energy and can catch fire if they are damaged, overcharged or short-circuited. Reedy, a LiPo maker, gives these rules in its safety instructions:
- Charge only with a charger made for LiPo batteries, and always use its balance charging mode.
- Never leave a battery unattended while charging, and charge it in a fireproof container away from anything flammable.
- Never store or charge a battery inside a car or in extreme temperatures.
- Stop using a battery that swells, leaks, smells or gets hot, move it to a safe spot outside and watch it for at least 15 minutes.
- Dispose of damaged packs at a hazardous waste or recycling center, not in the trash.
For air travel, the FAA requires spare lithium batteries in carry-on bags only, with the terminals protected against short circuits. Propellers are the other hazard: remove them whenever you work on a powered drone, and keep printed parts well clear of the propeller arc.
FAA rules for flying a 3D printed drone
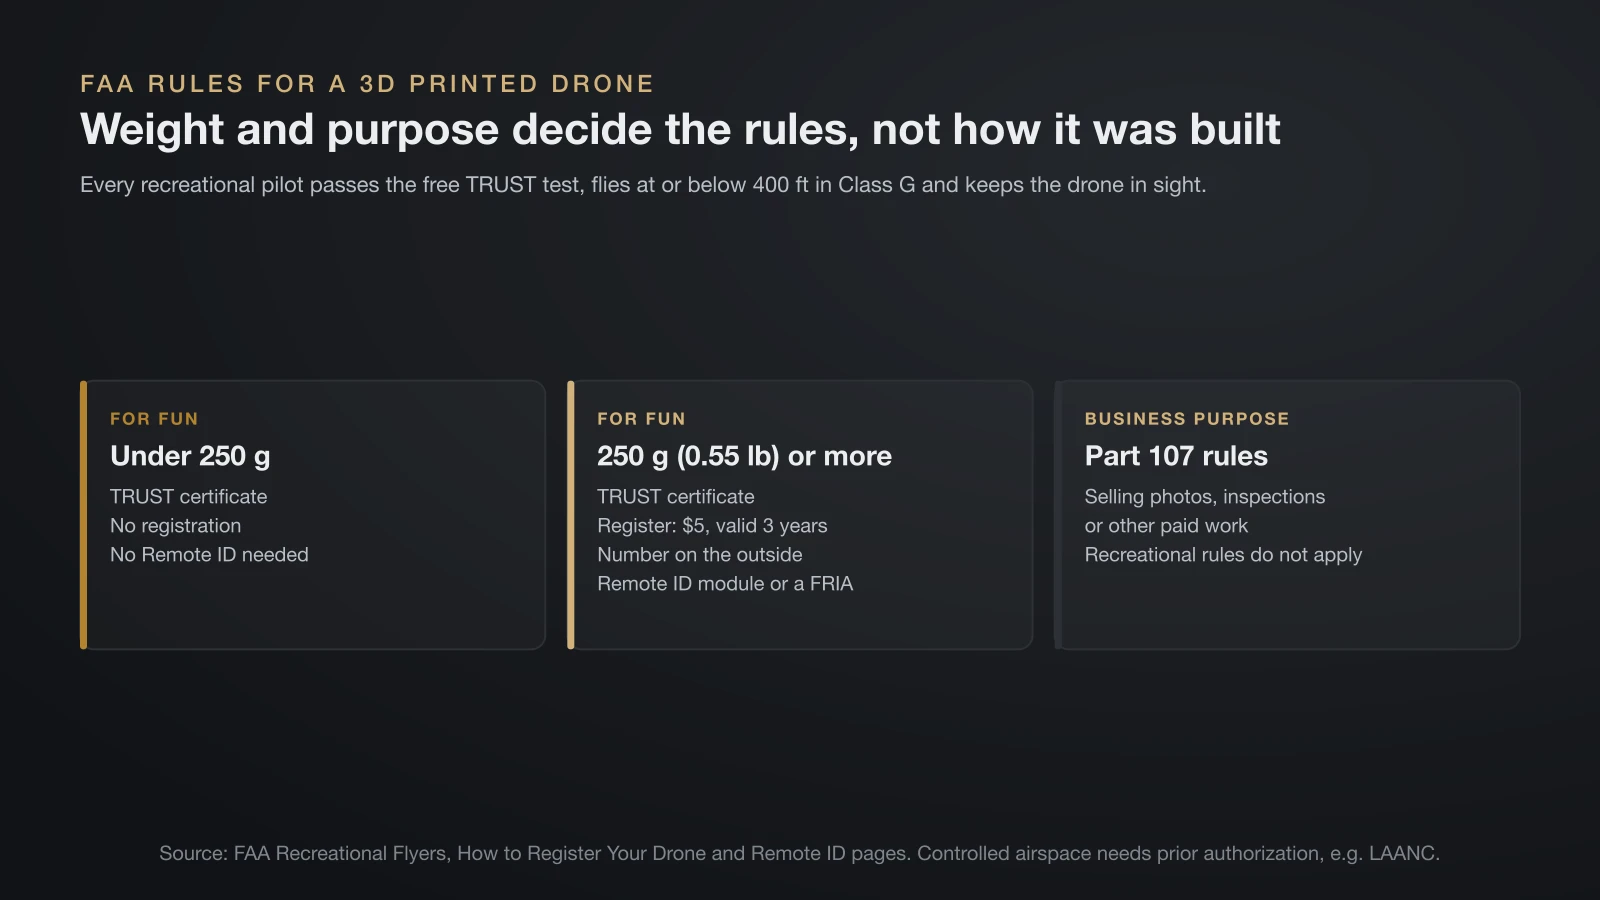
The FAA rules for a 3D printed drone are the same as for any other drone, because they depend on weight and purpose, not on how it was built. For flying purely for fun in the United States, the FAA’s recreational rules apply.
| Rule | What the FAA requires of recreational flyers |
|---|---|
| Test | Pass The Recreational UAS Safety Test (TRUST), free and online, and carry proof |
| Registration | Register if the drone weighs 250 grams (0.55 lb) or more; $5, valid 3 years, covers all your recreational drones |
| Marking | Put the registration number on the outside of the drone |
| Remote ID | Drones that must be registered must broadcast Remote ID, or fly inside an FAA-Recognized Identification Area (FRIA) |
| Altitude | At or below 400 feet in uncontrolled (Class G) airspace |
| Controlled airspace | Fly only with prior authorization, for example through LAANC |
| Line of sight | Keep the drone in your own visual line of sight or use a visual observer next to you |
The 250 gram class and Remote ID
A printed frame adds weight fast, so weigh the finished drone with its battery and camera fitted. Under 250 grams, a recreational drone needs no registration and no Remote ID. A home-built drone is not a Standard Remote ID drone, which the FAA defines as one produced with built-in broadcast capability, so once it must be registered it needs a Remote ID broadcast module or must fly inside a FRIA.
If a flight is not purely for fun, such as taking photos to help sell a property or doing roof inspections, the FAA treats it as non-recreational, and almost all such flying falls under Part 107. Those who want to sell drone parts rather than fly for hire can read our guide to starting a 3D printing business.
The bottom line
A 3D printed drone makes most sense as printed mounts, guards, canopies and frames carried by bought motors, electronics, propellers and batteries. Use TPU 95A for parts that take impacts and carbon fiber nylon or PETG for structure, and expect a printed frame to weigh more than carbon fiber plate. Treat LiPo batteries with care, and follow the FAA’s TRUST, registration and Remote ID rules once the drone reaches 250 grams.
Sources
- Federal Aviation Administration: Recreational Flyers and Community-Based Organizations (TRUST, 250 g / 0.55 lb registration threshold, visual line of sight, 400 ft in Class G, LAANC authorization, marking, Remote ID from September 16, 2023), How to Register Your Drone ($5, three years, all drones in a recreational inventory), Remote ID (standard Remote ID, broadcast module, FRIA) and PackSafe: Lithium Batteries (spare batteries in carry-on only, terminals protected)
- Associated Electrics / Reedy: LiPo Safety Instructions and Warnings (LiPo charger and balance charging, never unattended, fireproof container, not in a car, observe a damaged pack for at least 15 minutes, disposal)
- Bambu Lab: technical data sheets for PLA Basic, PETG Basic, PLA-CF and PA6-CF plus the PLA-CF and PA6-CF product pages (bending modulus ISO 178, impact strength ISO 179, heat deflection at 1.8 MPa ISO 75, hardened nozzle, splinter warning, gloves and goggles)
- Prusa Knowledge Base: Polyamide (nylon) material guide (hygroscopic, must be kept dry, tough in large volumes) and ASA material guide (more UV resistant than ABS, suits outdoor parts)
- Saputro, Wikarta and Muhtar, AIP Conference Proceedings 2187 (2019): Topology optimization on geometry of 3D printed racing quadcopter frame with polylactic acid material (PLA frame needed doubled thickness and optimization to approach the carbon fiber frame’s mass and stiffness)