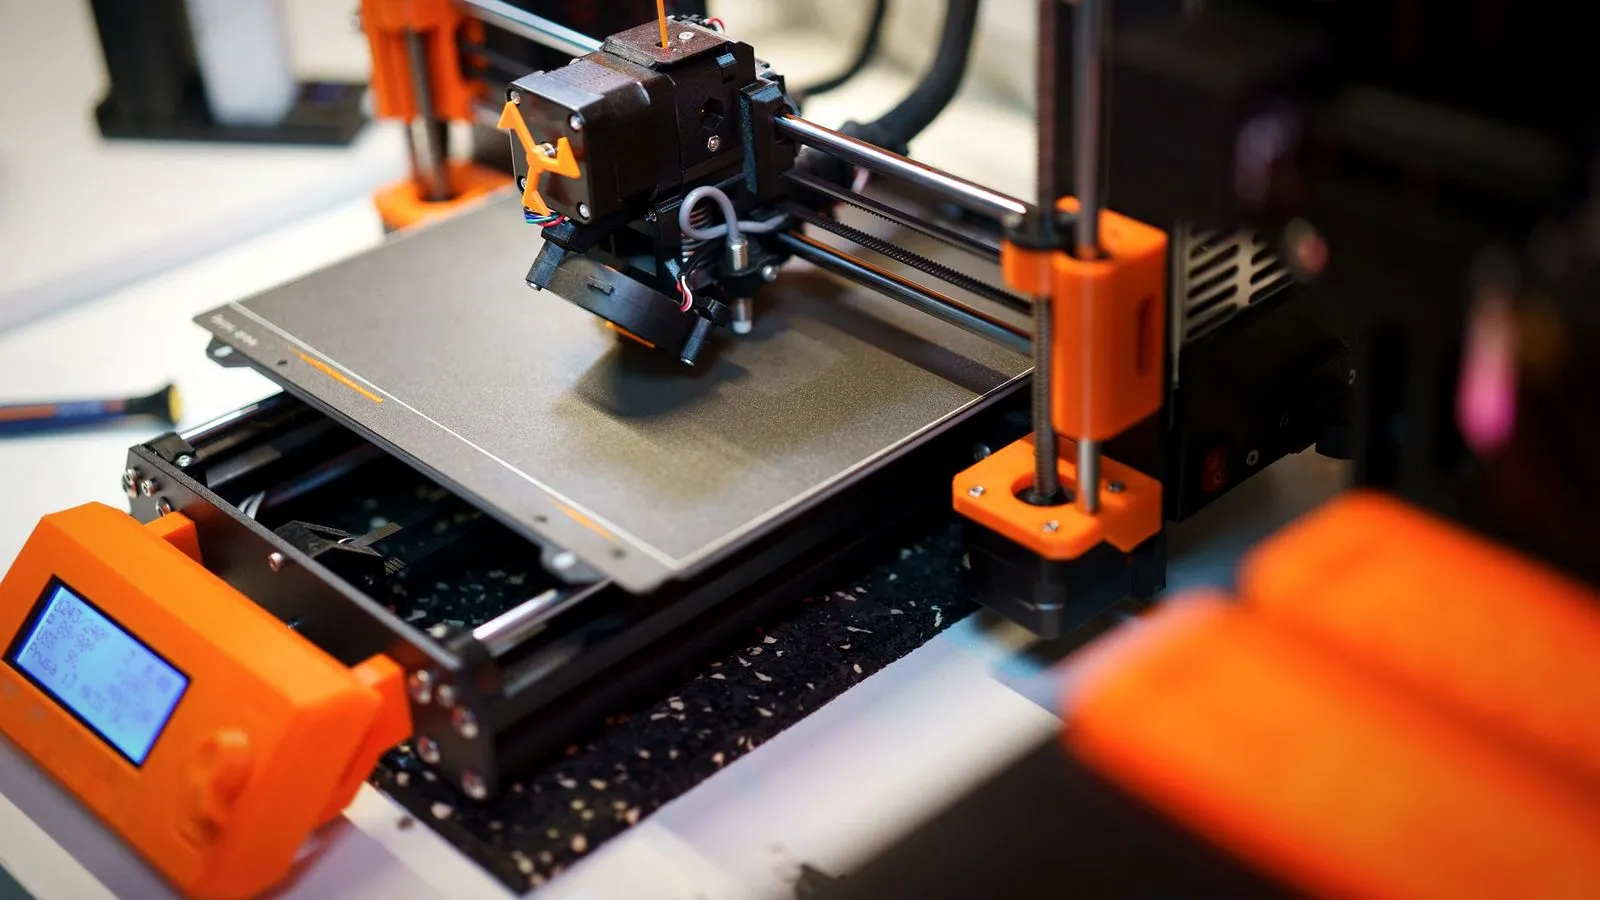
3D printer bed leveling sets the nozzle at the same small gap from the build surface everywhere it prints. On a manual bed, you turn the corner screws until a sheet of paper drags slightly under the nozzle, then fine-tune the Z offset. Printers with a probe map the bed automatically, but the Z offset still has to be right.
Leveling comes after the hardware check and before any filament tests in our guide on how to calibrate a 3D printer. Below: the paper method step by step, how auto leveling probes work, tramming vs mesh, and how to check the result.
The short answer
| Your printer | What to do | When to redo it |
|---|---|---|
| Manual bed with screws or knobs | Tram the corners with paper, then set the Z offset | After moving the printer, swapping the plate or a change in the first layer |
| Probe plus adjustment screws (BLTouch or CR Touch style, many Klipper builds) | Tram once, run a bed mesh, set the probe Z offset | Mesh before prints; tram again only if the mesh shows a strong tilt |
| Fully automatic (Bambu Lab, Prusa MK4/S, MK3.9/S, XL, CORE One) | Let the printer probe the bed; tram only when the maker’s guide tells you to | After moving the printer, a plate or hotend change, or long storage |
- Tool you need: a sheet of plain office paper, about 0.1 mm thick.
- Order: tram first, mesh second, Z offset last, then a first-layer test.
What does bed leveling do on a 3D printer?
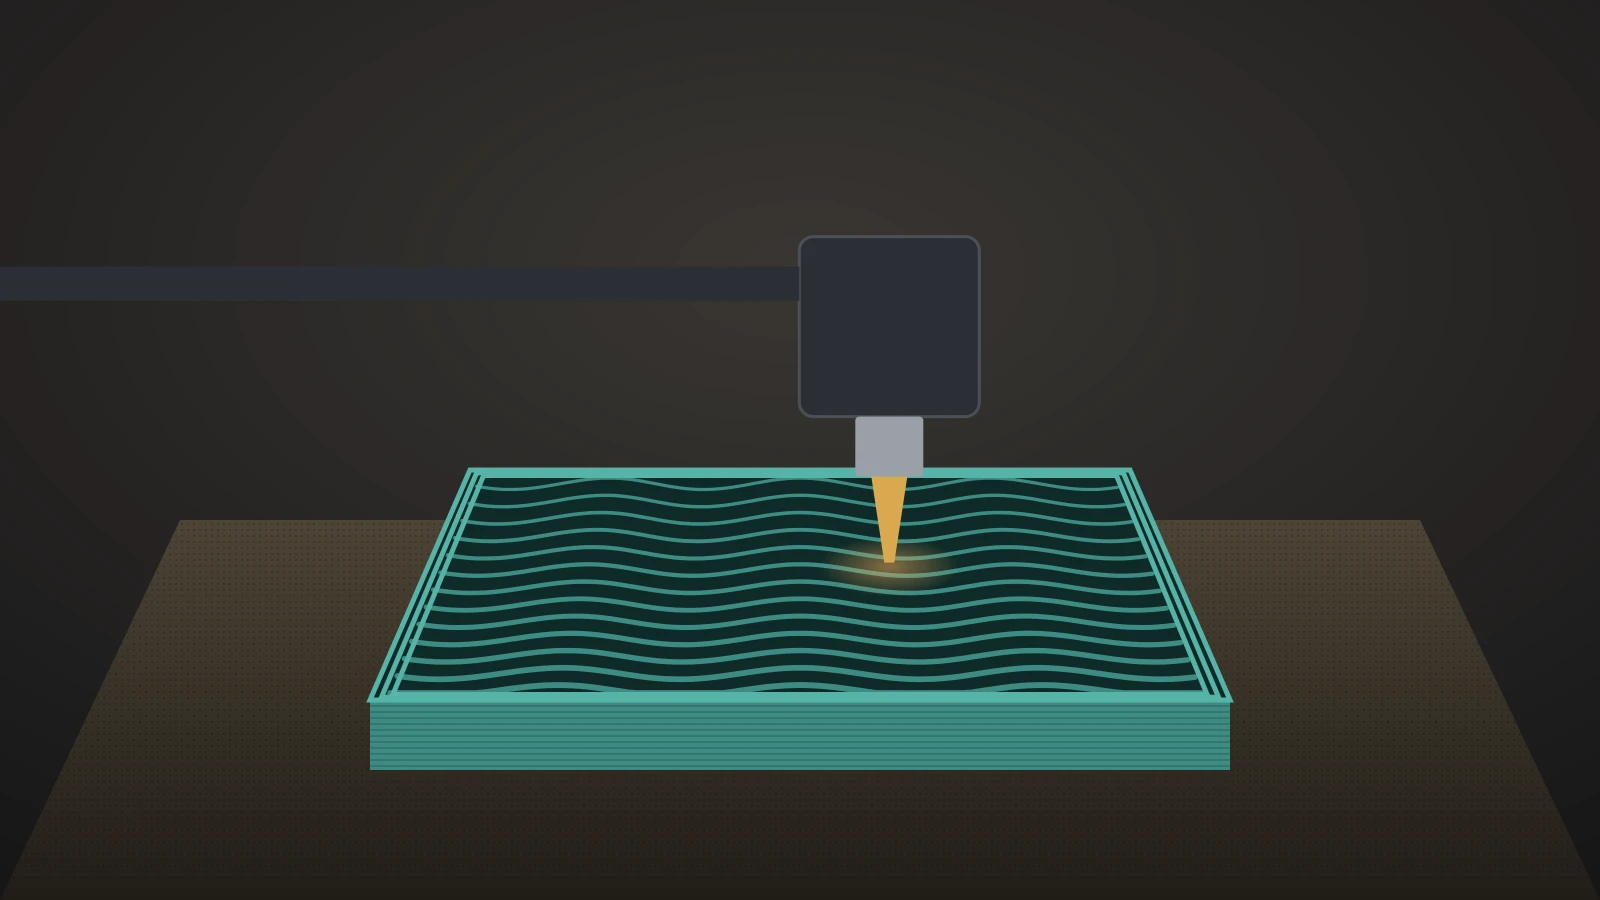
Bed leveling keeps the nozzle-to-bed distance identical across the print area. In Klipper’s words, a nozzle told to go to Z = 10 mm should sit exactly 10 mm above the bed and stay there during a long horizontal move, accurate to within about 25 microns (0.025 mm).
Too big a gap and the first lines don’t press into the surface. Too small and, as Prusa warns, the plastic can’t flow out, which risks a clog. Despite the name, the bed doesn’t need to be level with the floor, only parallel to the nozzle’s path.
Tramming vs mesh leveling: what’s the difference?
Tramming turns the bed’s screws until the whole surface sits parallel to the nozzle’s path. Mesh leveling uses a probe to measure the bed and lets the firmware follow the small dips and bumps that remain.
| Tramming (mechanical) | Mesh leveling (software) | |
|---|---|---|
| What it does | Tilts the bed with screws until its plane matches the nozzle’s path | Measures a grid of points and moves Z up and down during the print |
| Fixes | A tilted bed | Small dips and bumps across the surface |
| Can’t fix | A warped or bowed plate | Loose parts, wobble or other mechanical faults |
| Needs a probe | No | Yes, or manual measuring at every grid point |
Tramming is the paper-and-knobs job; Bambu Lab calls its manual procedure “bed tramming”. Mesh leveling builds a height map, and Marlin’s mesh modes adjust Z on the fly with bilinear interpolation between measured points. Klipper adds that software can only approximate the bed’s shape and can’t compensate for mechanical or electrical problems.
That’s why Marlin’s auto bed leveling guide tells owners of Cartesian printers to level the corners with the paper method first. A mesh works on top of a trammed bed, not instead of one.
Before you start
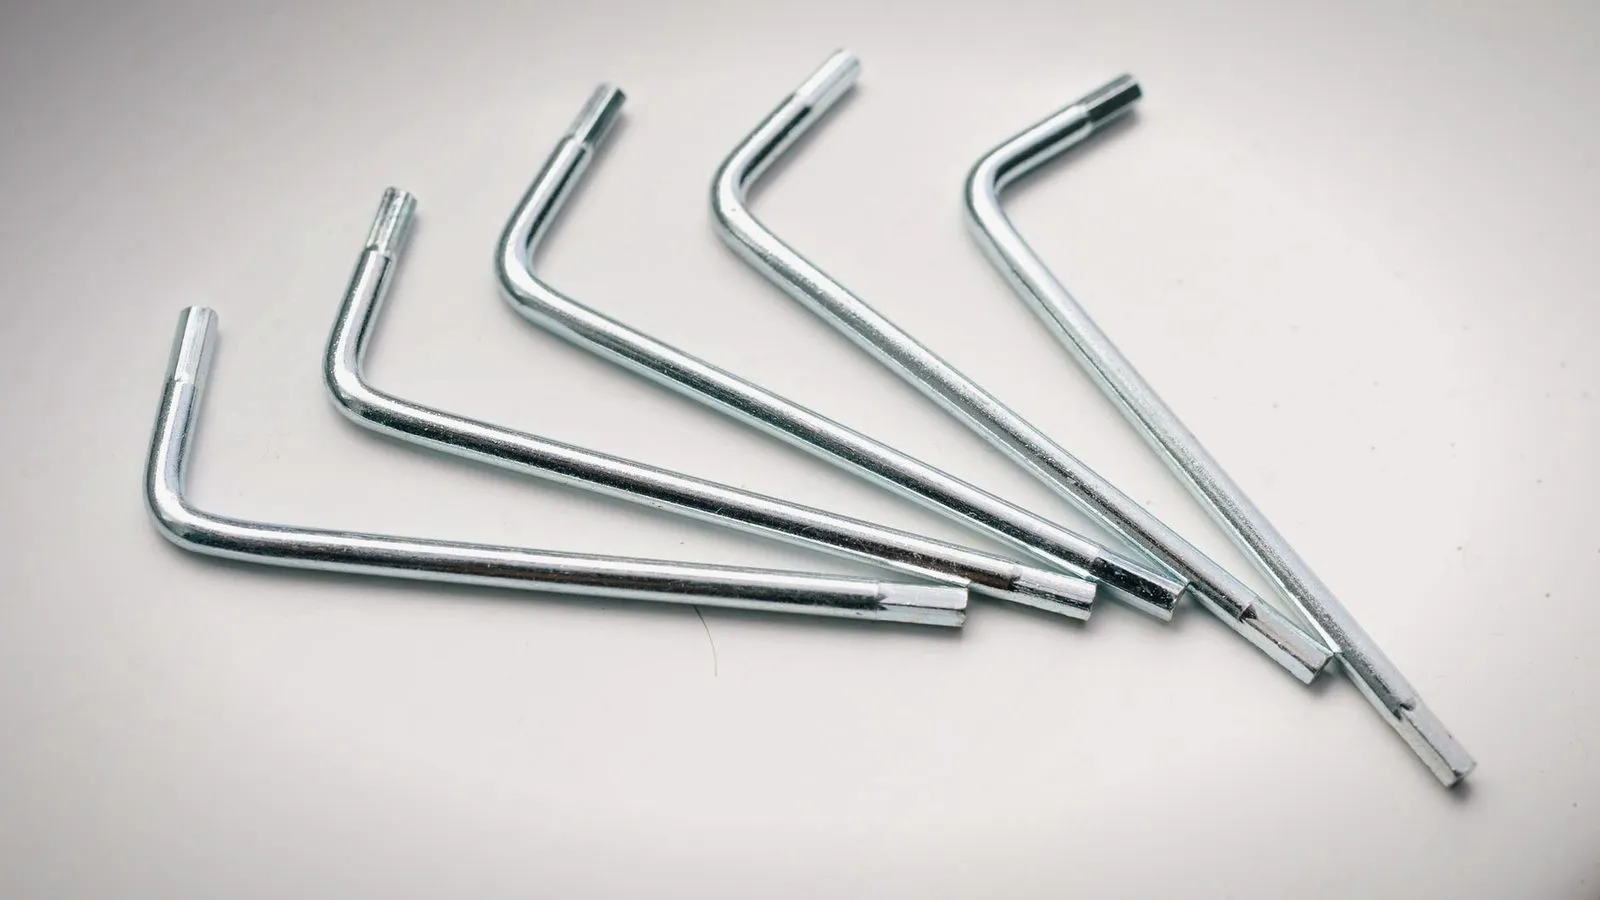
Before you level a 3D printer bed, clean the nozzle, let the printer cool to room temperature, fit the plate you actually print on and have a few simple tools within reach.
- Clean the nozzle tip. Bambu Lab lists residue on the nozzle as a cause of wrong leveling heights.
- Let everything cool. Klipper recommends the paper test at room temperature: a hot nozzle smears plastic on the paper. Heating shifts the nozzle’s position by roughly 100 microns, a stable amount corrected later by the Z offset.
- Fit the plate you print on. Klipper says to redo the test for each surface, and Prusa’s first-layer value for its smooth sheet doesn’t carry over to the textured one. Our guide to 3D printer build plates compares the common surfaces.
- Gather the tools: office paper, the hex key for your bed screws and a flashlight. Our list of 3D printer accessories covers the rest.
How to level a 3D printer bed with paper, step by step
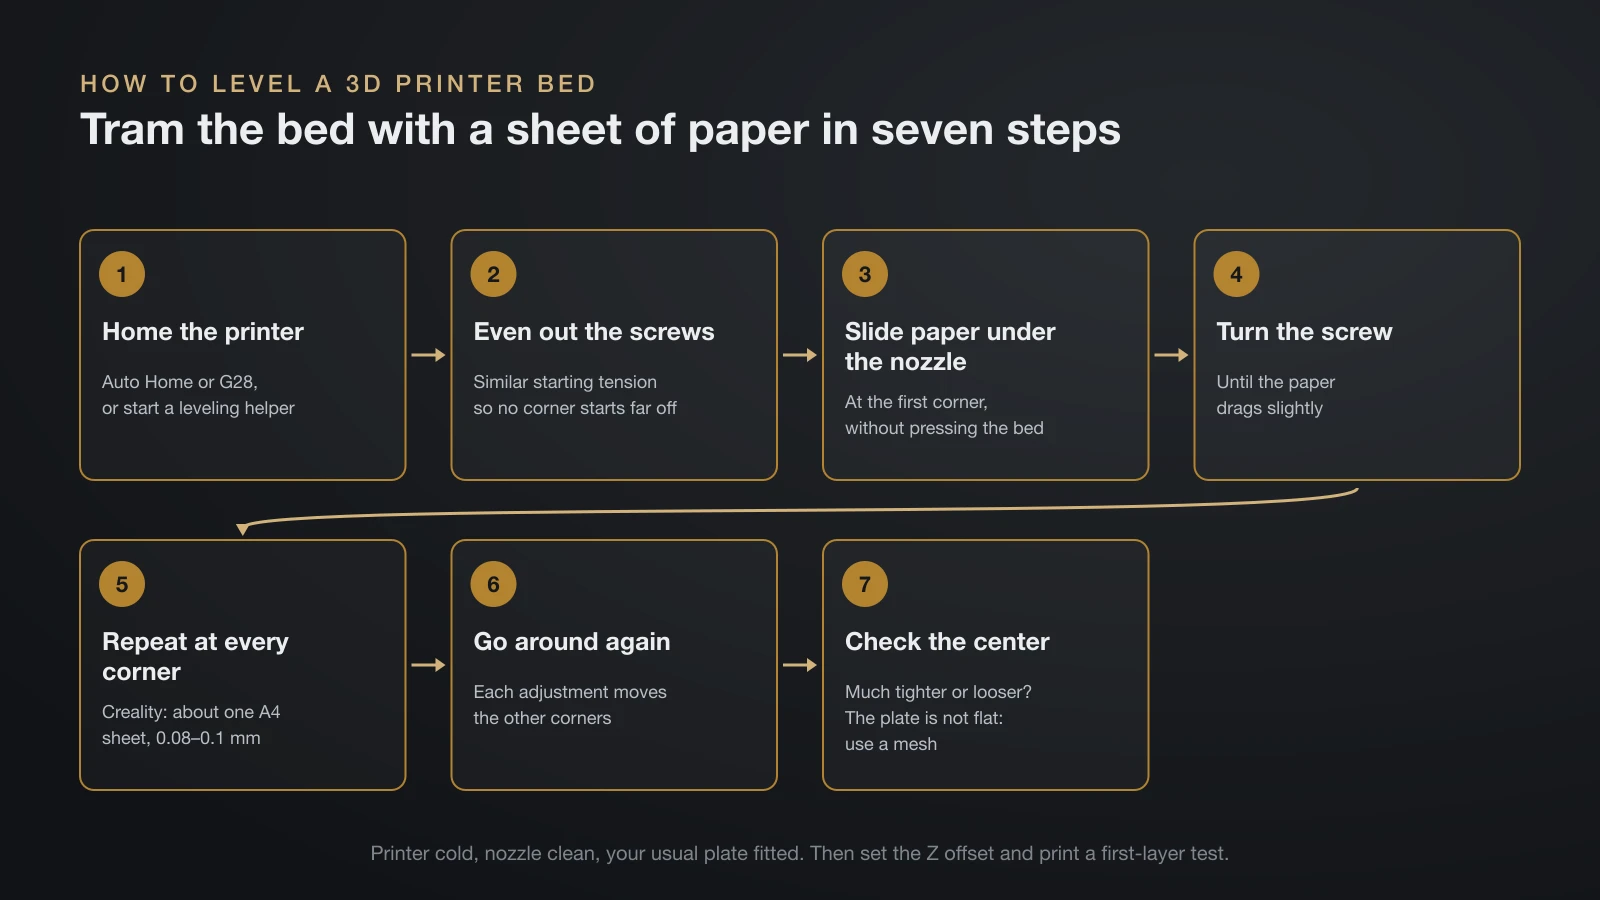
This manual method, also called tramming, works on any bed with adjustment screws or knobs.
- Home the printer with Auto Home or
G28. If the firmware has a helper, such as Creality’s Assisted Leveling or Klipper’sBED_SCREWS_ADJUST, start it: it moves the nozzle to each adjustment point for you. - Set all screws to a similar starting tension so no corner starts far off. Bambu Lab’s procedures begin from a defined screw position for the same reason.
- Slide the paper under the nozzle at the first corner, without pressing down on the bed.
- Turn the screw until the paper drags slightly, “a small amount of friction” in Klipper’s words. Check which way raises the bed: on Bambu Lab’s A1, X1 and P1, clockwise increases the gap.
- Repeat at every corner. Creality’s Ender-3 S1 Pro manual sets all four corners to about the thickness of A4 paper (0.08–0.1 mm).
- Go around again, because each adjustment moves the other corners. Klipper suggests another pass whenever a screw needed more than about 1/8 of a turn; Bambu Lab’s tramming files run the full round three times.
- Check the center. If the corners are right but the center drags much more or less, the plate isn’t flat. More tramming won’t fix that; a mesh will.
On Klipper printers with a probe, SCREWS_TILT_CALCULATE does the measuring. It prints how far to turn each screw as clock-face time: “adjust CW 01:15” means one full turn plus a quarter, clockwise.
Set the Z offset (live Z)
Tramming makes the gap even; the Z offset makes it correct by raising or lowering the nozzle over the whole bed at once. It matters most with a separate probe, which triggers at a different height than the nozzle tip.
- Prusa MK3S and MINI: the first-layer calibration prints a pattern while you turn the knob. With Live adjust Z, a more negative number brings the nozzle closer.
- Creality with CR Touch: after auto leveling, the Ender-3 S1 Pro manual has you set the Z-axis compensation to about one sheet of A4 paper.
- Bambu Lab: its P2S first-layer guide changes the offset in 0.01 mm steps, up to a maximum of 0.05 mm.
- Load cell printers: on the Prusa MK4/S, MK3.9/S and XL, Prusa says manual Live Z isn’t necessary, because the values are checked before each print.
Automatic bed leveling: how 3D printer probes work
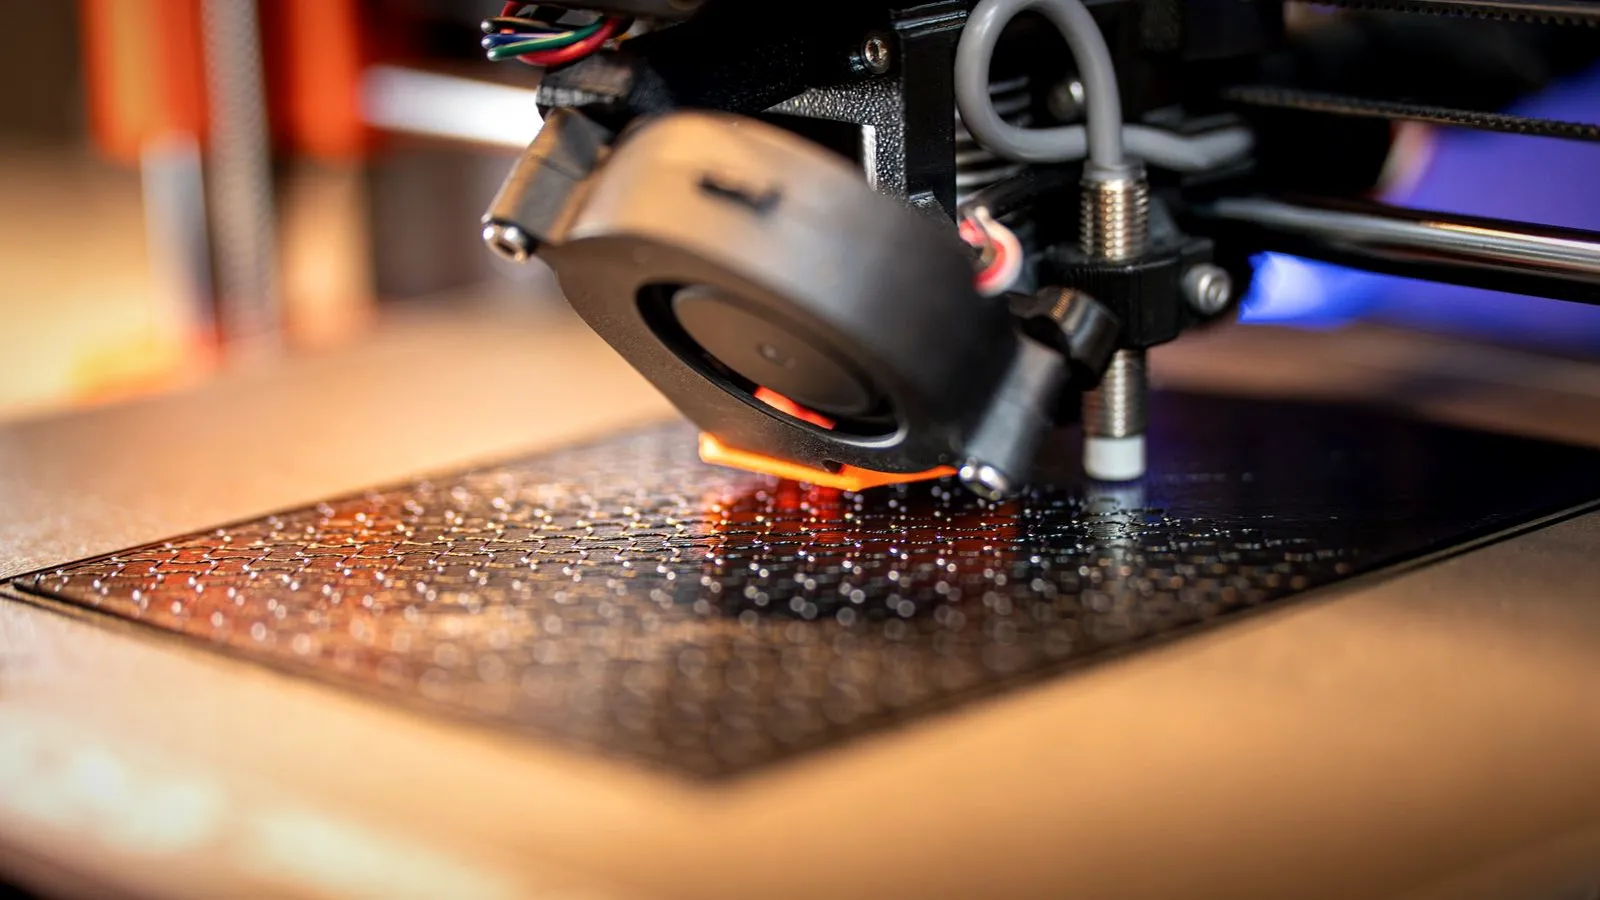
Auto leveling doesn’t turn your screws. A sensor measures a grid of points, and the firmware corrects for the differences while it prints.
| Probe type | How it senses the bed | Examples |
|---|---|---|
| Inductive | Detects the metal of a steel sheet without touching it | Prusa PINDA and SuperPINDA (MK3S/+, MINI+) |
| Touch probe | A retractable pin taps the surface and triggers a switch | BLTouch (Marlin), Creality CR Touch |
| Load cell | The nozzle touches the sheet and a sensor measures the force | Prusa MK4/S, MK3.9/S, XL, CORE One |
| Nozzle contact sensing | The nozzle descends until a sensor above the hotend detects contact | Bambu Lab A1 (eddy current sensor) |
Probes that sense with the nozzle measure exactly where the plastic comes out. Inductive and pin probes sit beside it, so they need a Z offset, and Prusa notes that a PINDA printer needs its live Z readjusted when you switch sheets.
Grid sizes vary. Prusa’s MK3S/+ probes 3×3 points by default and up to 7×7 (49 points), while its load cell models probe only the area of the current print. Bambu Lab’s A1 measures 21×21 points in a full calibration (18×18 on the A1 mini). With Bambu Studio 1.9 and firmware 1.03 or later, its pre-print check probes only the area under the model.
Bambu Lab trams its beds at the factory and reserves manual tramming for beds knocked out in shipping, failed auto leveling or a replaced heatbed. On Klipper, BED_MESH_CALIBRATE probes a grid; on Marlin, G29 runs whichever leveling type the firmware was built with.
Can you add auto leveling to an older printer?
Often, yes. BLTouch-style touch probes are a common add-on, and Marlin supports them alongside inductive, servo-arm and nozzle-contact probes. You need firmware built for the probe and a measured probe-to-nozzle offset, which Marlin stores with M851.
How often should you level a 3D printer bed?
Not before every print on a manual bed, as long as the first layer stays consistent. Level again when something changes:
- The printer was moved or stored for a long time. Bambu Lab says leveling must be rerun in these cases.
- You changed the nozzle, hotend, heatbed or plate. Prusa lists nozzle changes and relocation as reasons to redo the first-layer calibration.
- You switched surface type, or the first layer suddenly looks different in one area.
Probe printers repeat part of the job for you. Prusa’s mesh runs before each print. On Bambu Lab printers, the Auto Bed Leveling switch in the print dialog adds a quick check before each job, and the full calibration data is stored and reused.
Check the result with a first-layer test
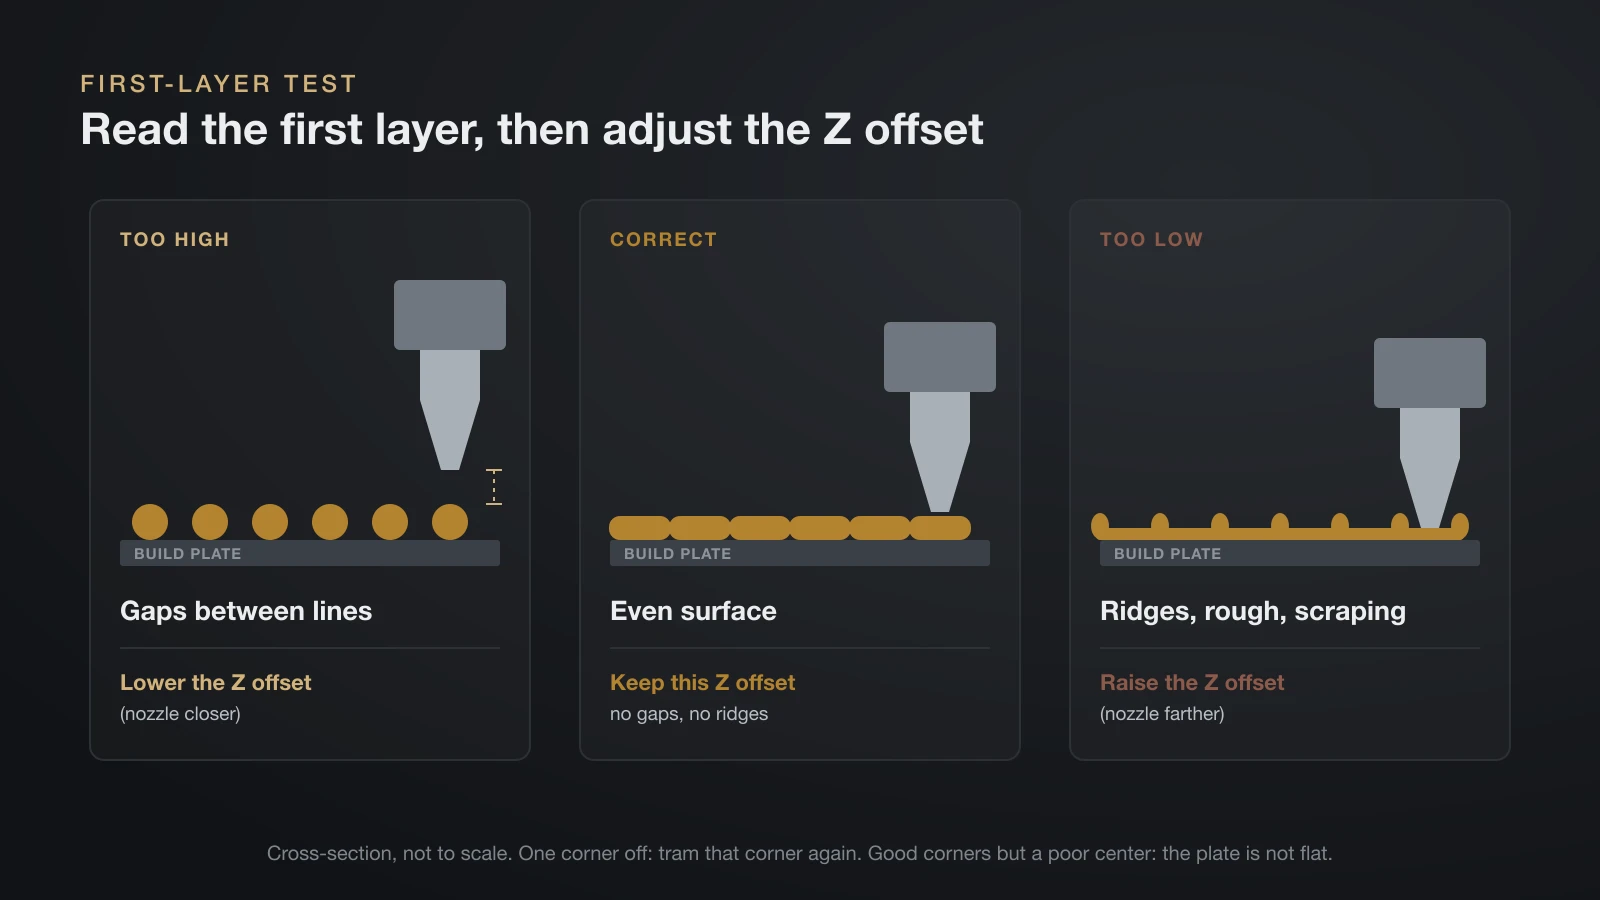
The paper shows the gap is even; only a print shows it’s correct. Print a single-layer pattern that reaches all four corners and the center, at your usual settings for that filament (our PLA temperature guide is a starting point).
Prusa’s calibration prints a zig-zag and then a square. Gaps between lines mean the nozzle is too high, ridges or curling edges mean it’s too low, and an even surface with neither is correct.
| What you see | Where | What to change |
|---|---|---|
| Gaps between lines | Everywhere | Lower the Z offset (nozzle closer) |
| Ridges, rough surface, scraping | Everywhere | Raise the Z offset |
| Gaps or ridges in one corner only | One side | Tram that corner again |
| Good corners, poor center | Middle of the bed | The plate isn’t flat: use a mesh or a flatter plate |
If lines still won’t stick to a clean, correctly leveled bed, look at the surface or the filament settings next, not the screws. Our guide to first layer problems matches each symptom to its fix.
Why can’t I get my bed level?
A bed that won’t level usually has one of five problems: plastic on the nozzle, a screw out of travel, a loose bed, a misplaced Z endstop or a warped plate.
- Plastic on the nozzle. Bambu Lab lists stuck filament as a common reason for failed leveling.
- A screw out of travel. Bambu Lab’s A1 guide turns all screws fully in, then backs them out a set number of turns and starts again. The same reset suits most knob beds.
- A loose or wobbly bed. Bambu Lab links an unstable heatbed to repeated probing errors. Tighten the bed and check the rails.
- The Z endstop is out of position. If Z homes too high or too low, the knobs run out of travel. Klipper suggests an endstop that triggers a small distance above the bed, about 0.5 mm.
- A warped plate. Tramming can’t flatten it. Use a mesh or replace the plate.
The bottom line
Tram the bed with paper at every screw, going around at least twice, then set the Z offset and confirm it with a single-layer test print. Probes and meshes correct small dips and bumps, but they work best on a trammed bed and can’t fix loose or warped hardware. Recheck whenever the printer moves or you change the nozzle, plate or surface type.
Sources
- Klipper documentation: Bed leveling (25 microns, 0.1 mm paper test, room temperature, 100 microns expansion), Manual leveling (screw helpers, 1/8 turn, 0.5 mm endstop) and Bed mesh
- Marlin documentation: G29 bed leveling and Automatic bed leveling (probe types, corners first, M851)
- Prusa Knowledge Base: Mesh bed leveling, First layer calibration (i3), Live adjust Z, Loadcell and Textured steel sheet
- Bambu Lab Wiki: A1 bed tramming, X1/P1 bed tramming, A1 homing and leveling (grid sizes, partial leveling) and P2S first-layer guide (Z offset steps)
- Creality Wiki: Ender-3 S1 Pro user manual (0.08–0.1 mm, CR Touch, Z-axis compensation) and Ender-3 V3 SE user manual