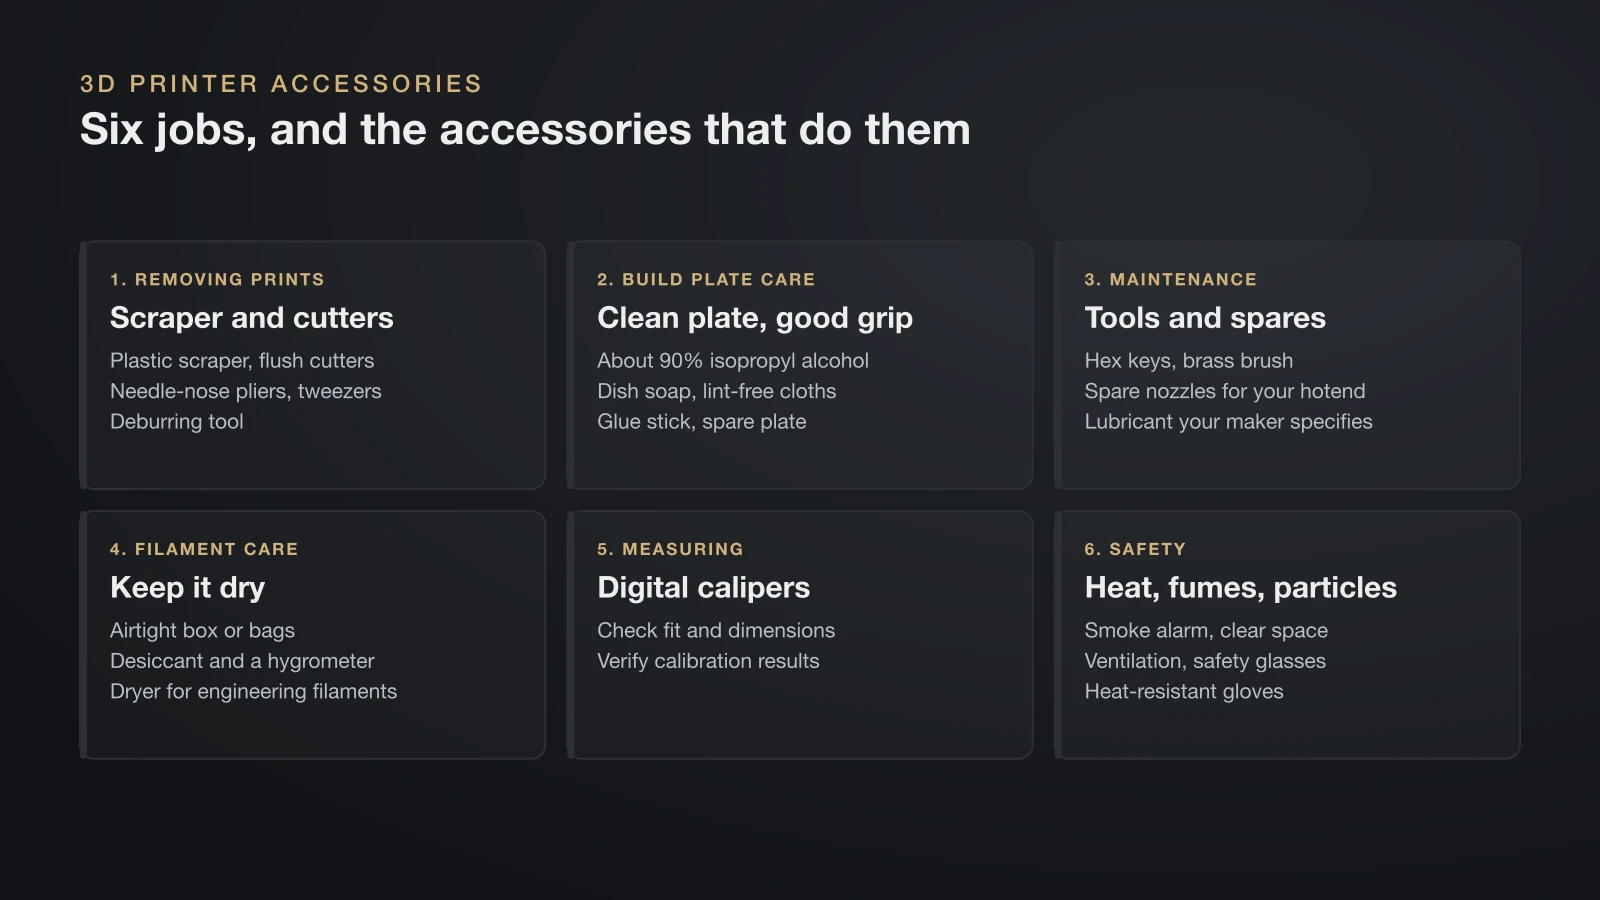
The 3D printer accessories worth buying are the ones that fix everyday problems: a plastic scraper and flush cutters for removing prints, isopropyl alcohol and dish soap for the build plate, hex keys and a spare nozzle for maintenance, an airtight box for filament, digital calipers, and a smoke alarm in the room.
Many printers ship with a few basic tools, so start there and fill the gaps. This checklist groups accessories by job, explains why each one matters based on the printer makers’ own maintenance guides and flags the upgrades that are not worth buying before you calibrate your 3D printer. There are no brand shopping lists here, just what to look for.
The short answer
| Job | Accessories | Why it matters |
|---|---|---|
| Removing prints | Plastic scraper, flush cutters, needle-nose pliers, tweezers, deburring tool | Frees prints and supports without scratching the plate or gouging the part |
| Build plate care | About 90% isopropyl alcohol, dish soap, lint-free cloths, glue stick, spare plate | Oils and residue ruin adhesion, and plate coatings wear out |
| Maintenance | Hex keys, brass brush, spare nozzles, the lubricant your printer maker specifies | Keeps the hotend clean and the axes moving smoothly |
| Filament care | Airtight box or bags, desiccant, hygrometer, dryer for engineering filaments | Damp filament strings, bubbles and prints weaker |
| Measuring | Digital calipers | Checks fit, dimensions and calibration results |
| Safety | Smoke alarm, clear space, ventilation, safety glasses, heat-resistant gloves | Hot parts, fumes and particles |
Print removal and cleanup tools
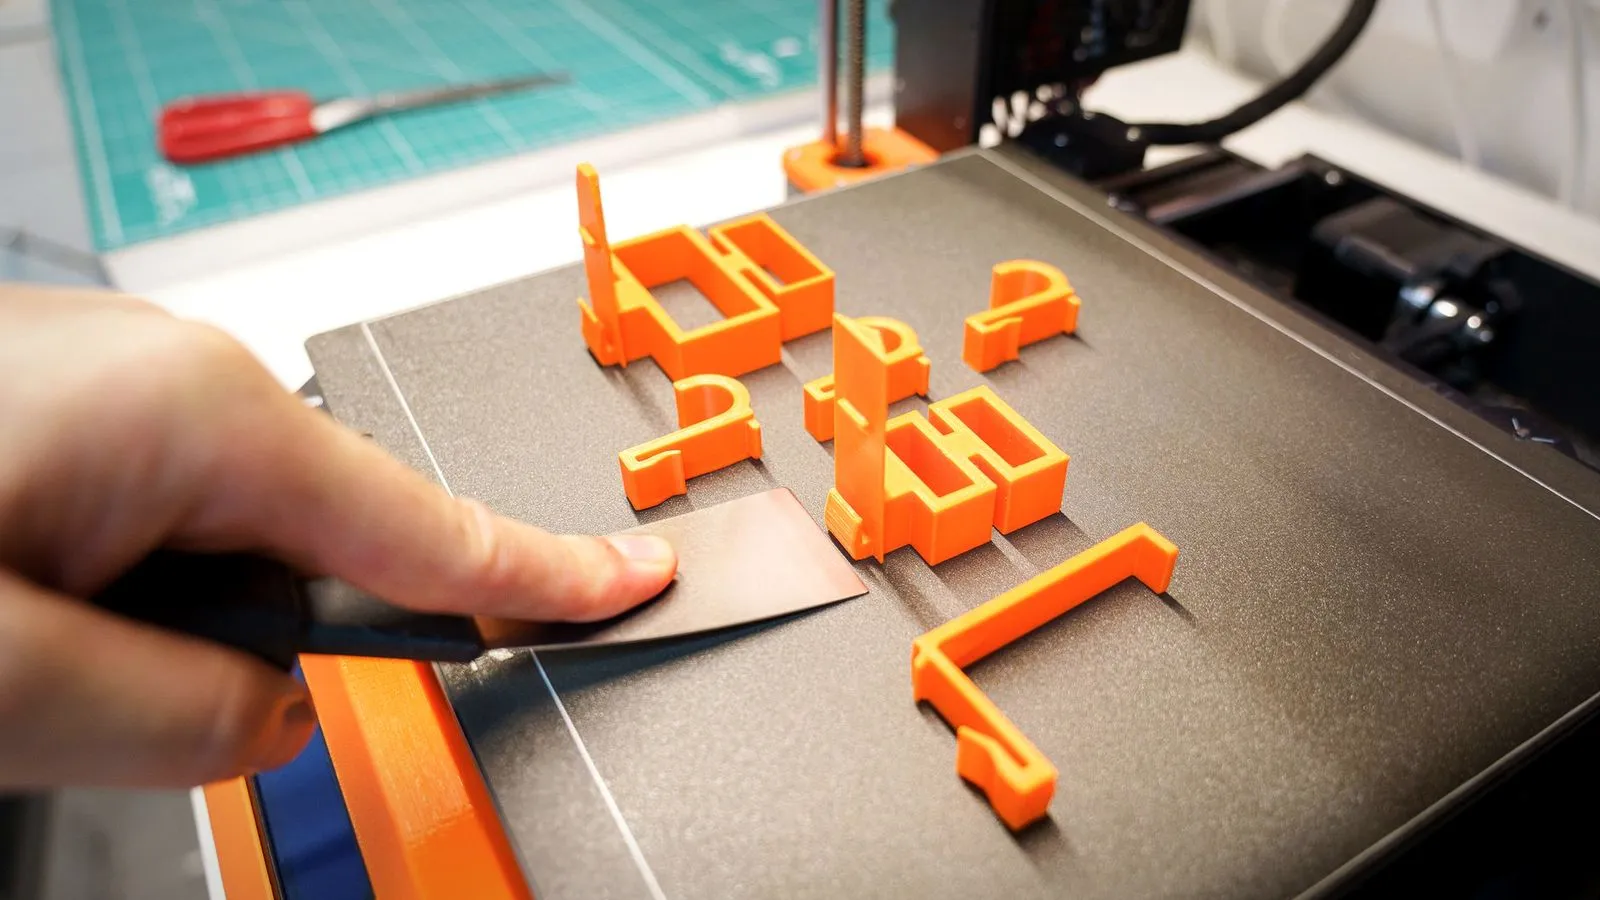
Removing a finished print is when build plates get scratched and parts get gouged. The right hand tools, and a little patience, prevent both.
- Wait for it to cool. Bambu Lab advises waiting until the bed and print have cooled to room temperature before removing a print, to avoid burns and damage. On a flexible plate, bending the plate is often enough to pop the part off.
- Plastic scraper or spatula. Coated plates scratch easily. Prusa says its textured sheet is not scratch resistant, warns against metal spatulas and recommends a printed plastic one. You can print your own; see our guide to 3D printed tools.
- Flush cutters and needle-nose pliers. For snipping supports, brims and filament ends cleanly. Bambu Lab recommends removing supports soon after a print finishes, within 2 hours for moisture-prone nylon filaments.
- Tweezers. For pulling strings and small support pieces out of holes and for clearing debris from the printer.
- Deburring tool. A swivel blade that shaves sharp edges and the flared first layer from a part in one pass.
- Heat gun or hair dryer. Bambu Lab suggests a quick pass of hot air to remove fine strings. Keep it moving, or you will soften the part.
- Sandpaper in several grits. For support scars and layer lines.
Wear safety glasses when cutting, trimming or sanding. NIOSH recommends eye protection for cutting, grinding, sanding and solvent work.
Cleaning supplies and a spare build plate
Adhesion problems are often just a dirty plate. Oils from fingers, glue film and dust all reduce grip, so handle plates by the edges. If a plate is worn out, our 3D printer build plate guide compares PEI, glass, G10 and other surfaces.
| Supply | How printer makers use it |
|---|---|
| Isopropyl alcohol, about 90% | Prusa’s routine clean for textured sheets, applied when the sheet is cold |
| Dish soap and warm water | Bambu Lab’s method for removing glue film, grease and dust; dry with a clean towel |
| Lint-free cloths or paper towels | Wiping without leaving fibers behind |
| Glue stick | A separation layer for ASA, ABS, nylon and PC blend on Prusa’s textured sheet |
Two warnings from Prusa matter here. Never use acetone on textured or satin sheets, because it permanently damages the surface, and never clean with anything made for skin, such as hand wipes, which can contain oils or sugars that ruin adhesion.
A spare build plate is one of the best 3D printer supplies to own. Prusa treats its print sheets as consumables whose coatings diminish over time, and a second surface type can suit different materials: Prusa’s textured sheet, for example, is designed for PETG and flexible TPU.
3D printer tools and spare parts to keep on hand
Prusa’s maintenance guide lists the usual tools as Allen keys, needle-nose pliers, isopropyl alcohol and paper towels, plus a few extras. Together they cover most routine jobs.
- Hex keys (Allen keys) in your printer’s sizes. For frame screws, pulley set screws and most adjustments. A driver with hex bits is faster for regular work.
- Small brass brush. Prusa’s method for cleaning the nozzle and heater block is to heat the nozzle for three to five minutes at 250 °C (482 °F), brush off old plastic while avoiding the hotend cables, then wait about 10 minutes for it to cool.
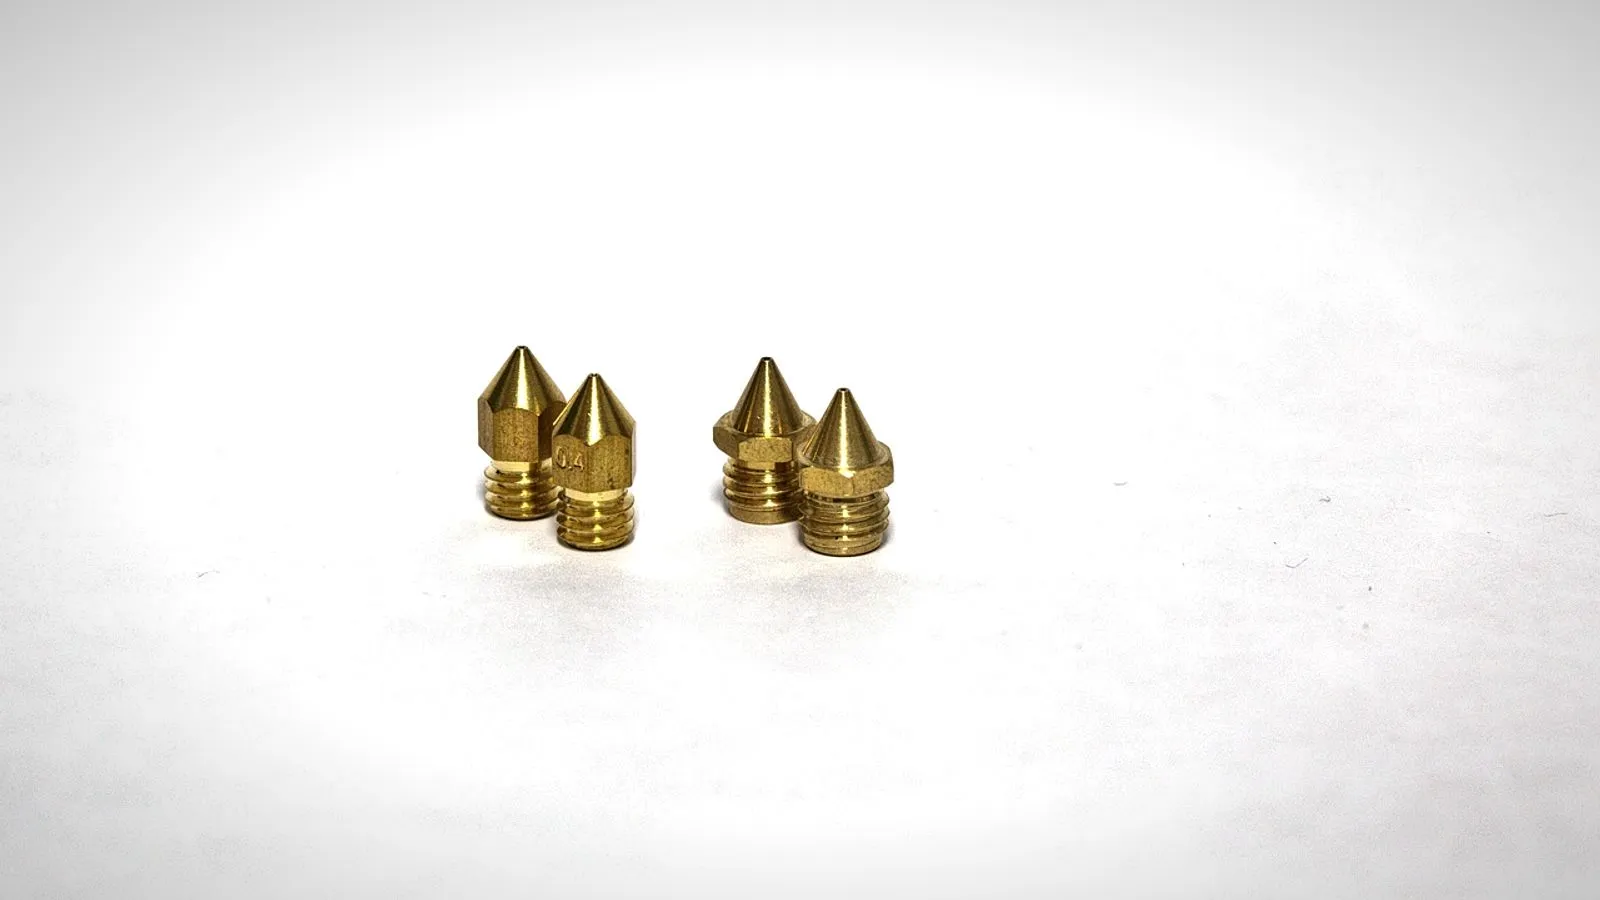
- Spare nozzles. Nozzles clog and wear, and swapping in a spare is faster than clearing a stubborn clog. Buy the exact type your hotend uses, and a hardened steel nozzle only if you print abrasive filaments such as carbon fiber blends.
- Nozzle cleaning needles. Thin needles for clearing a partial clog through the tip of a hot nozzle.
- The lubricant your printer maker specifies. Lubrication rules differ between printers, so use the product and the points in your manual. Prusa, for example, says not to put lubricant on the MK4’s threaded Z lead screws.
- Soft brush and canned air. For dust and filament bits around the fans. Prusa warns never to blow compressed air on a running fan or to hold the can upside down.
Build a simple routine. Prusa recommends checking axes, belts and pulleys every 200 hours of printing, and cleaning the fans every few hundred hours.
Filament care: boxes, desiccant and a hygrometer
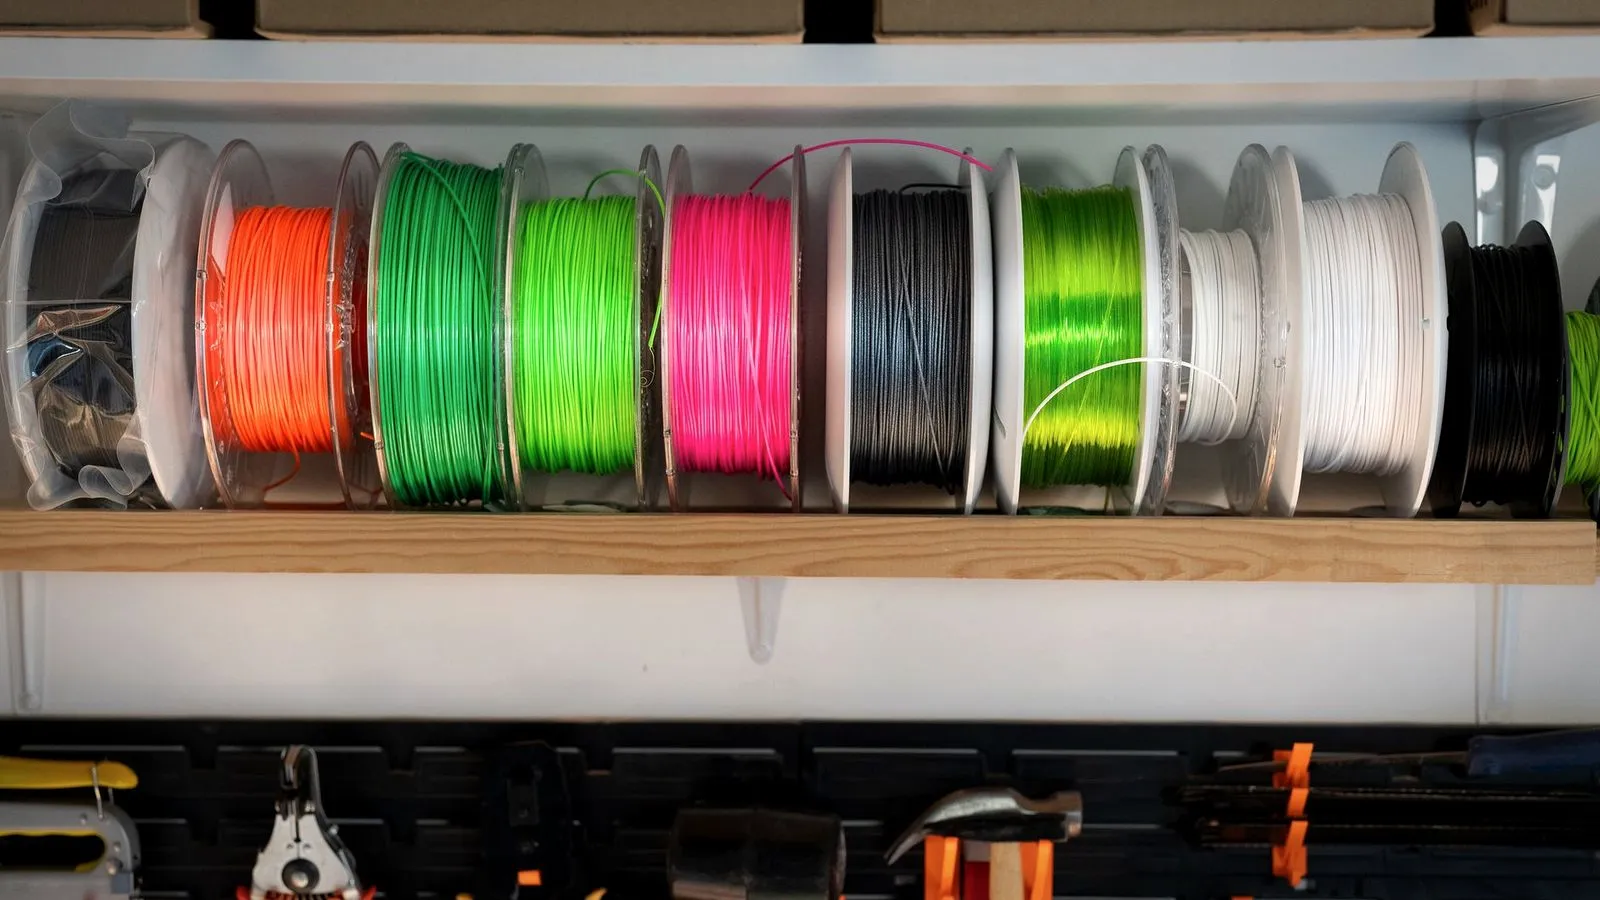
Filament absorbs moisture from the air. Bambu Lab explains that the water turns to steam in the hot nozzle, which causes bubbles, stringing, oozing, holes, rough surfaces and weaker prints. The effect grows with humidity and with how long the spool sits open.
The fix is proper filament storage first and drying second:
- Airtight box or resealable bags for every open spool.
- Desiccant packs inside, replaced or regenerated when spent.
- A small hygrometer in the box so you can see when the desiccant has stopped working.
- A filament dryer once you print moisture-sensitive materials such as PETG, nylon or ASA regularly. Dry at the temperature on your filament’s data sheet, and check that the spool itself can take the heat.
Digital calipers and measuring tools
Digital calipers are the most useful measuring tool you can own for 3D printing. They tell you whether a printed hole, peg or wall came out at the size you designed.
Use them to:
- Check the filament diameter against the spool label.
- Measure calibration prints such as single-wall cubes and dimensional test parts.
- Measure an existing object before you model a replacement part.
Calipers are what turn calibration from guesswork into numbers. A basic digital model is enough; look for a zero button, a metric display and smooth jaws.
Safety accessories for a 3D printer
A 3D printer is a hot machine that often runs unattended and releases particles and fumes. NIOSH’s guide on safe 3D printing gives clear, practical advice for small workshops that applies at home:
- Fire detection: place printers in areas with fire detection and suppression, and keep clearance from combustible materials. At home, that means a working smoke alarm in the room and nothing flammable around the printer.
- Lowest workable temperature: hotter nozzles release more emissions, so NIOSH advises the lowest print temperature that gives good results.
- Enclosure and filtration: a filtered enclosing hood over a printer cut particle emissions by 97% to 99% in one study NIOSH cites. If you print ABS or ASA, an enclosed 3D printer with filtration or venting is worth considering.
- Clearance time: the UK Health and Safety Executive research NIOSH cites suggests leaving an enclosure closed for about 20 minutes after printing before opening it.
- Personal protection: heat-resistant gloves for hot printer heads, nitrile gloves for solvents and resins, and safety glasses for cutting and sanding.
- Distance: NIOSH suggests watching prints by video camera instead of standing next to the printer.
NIOSH also suggests choosing printers that carry approval from a Nationally Recognized Testing Laboratory (NRTL), the independent labs that certify electrical products for North America.
3D printer upgrades: worth it and not worth it
Upgrades are tempting, but many “fix” problems that calibration would solve for free.
Usually worth it:
- A second build plate with a surface suited to the materials you print.
- A camera or remote monitoring, so you check prints without standing next to them.
- An enclosure with filtration or an exhaust, if you print ABS or ASA regularly.
- A multi-material unit, if you want colors without swapping spools by hand. Our guide to multi-color 3D printers explains how the main systems work.
Usually not worth it, at least at first:
- Replacement parts bought to cure print problems before you have calibrated the printer. A new extruder rarely fixes a clog, wet filament or wrong settings; our 3D printer extruder guide explains when an upgrade actually pays off.
- Generic upgrade kits for parts that already work on your machine.
- Changes to heaters, wiring or power supplies. NIOSH says any retrofit should be checked so it does not increase fire risk, violate NRTL approval or void the warranty.
A starter checklist of 3D printer accessories
If you are buying in order of priority, this sequence covers most needs:
- Smoke alarm in the printer’s room and a clear, non-flammable space around it
- Plastic scraper, flush cutters and needle-nose pliers
- Isopropyl alcohol, dish soap and lint-free cloths
- Hex keys in your printer’s sizes and a small brass brush
- One or two spare nozzles for your exact hotend
- Airtight filament box with desiccant and a hygrometer
- Digital calipers
- Deburring tool, tweezers and sandpaper
- Later: spare build plate, filament dryer, camera, filtered enclosure
For more printer guides, browse the printers category.
The bottom line
The 3D printer accessories that matter most are simple tools and supplies: a plastic scraper, cutters, pliers, isopropyl alcohol, dish soap, hex keys, a spare nozzle, an airtight filament box and digital calipers. Put a working smoke alarm near the printer before anything else. Save bigger upgrades until the printer is calibrated and you know which problem you are actually solving.
Sources
- Bambu Lab Wiki: Work After Printing Finished (removing prints after cooling, scraper, cleaning the plate with water and detergent, supports within 2 hours for nylon, removing strings with hot air, sanding)
- Bambu Lab Wiki: Filament Drying (how moisture causes bubbles, stringing and weaker prints; sealed storage with desiccant)
- Prusa Knowledge Base: Regular printer maintenance (MK4/S, MK3.9/S) (tools list, nozzle cleaning at 250 °C for 3–5 minutes, 10 minutes to cool, lubricant rules, 200-hour checks, fans)
- Prusa Knowledge Base: Textured steel sheet (about 90% IPA when cold, no acetone, no skin products, no metal spatulas, glue stick for ASA/ABS/nylon/PC blend, sheets as consumables)
- NIOSH: Approaches to Safe 3D Printing, publication 2024-103 (fire detection, clearance, lowest temperature, 97–99% particle reduction with a filtered hood, 20-minute clearance time, PPE, NRTL)