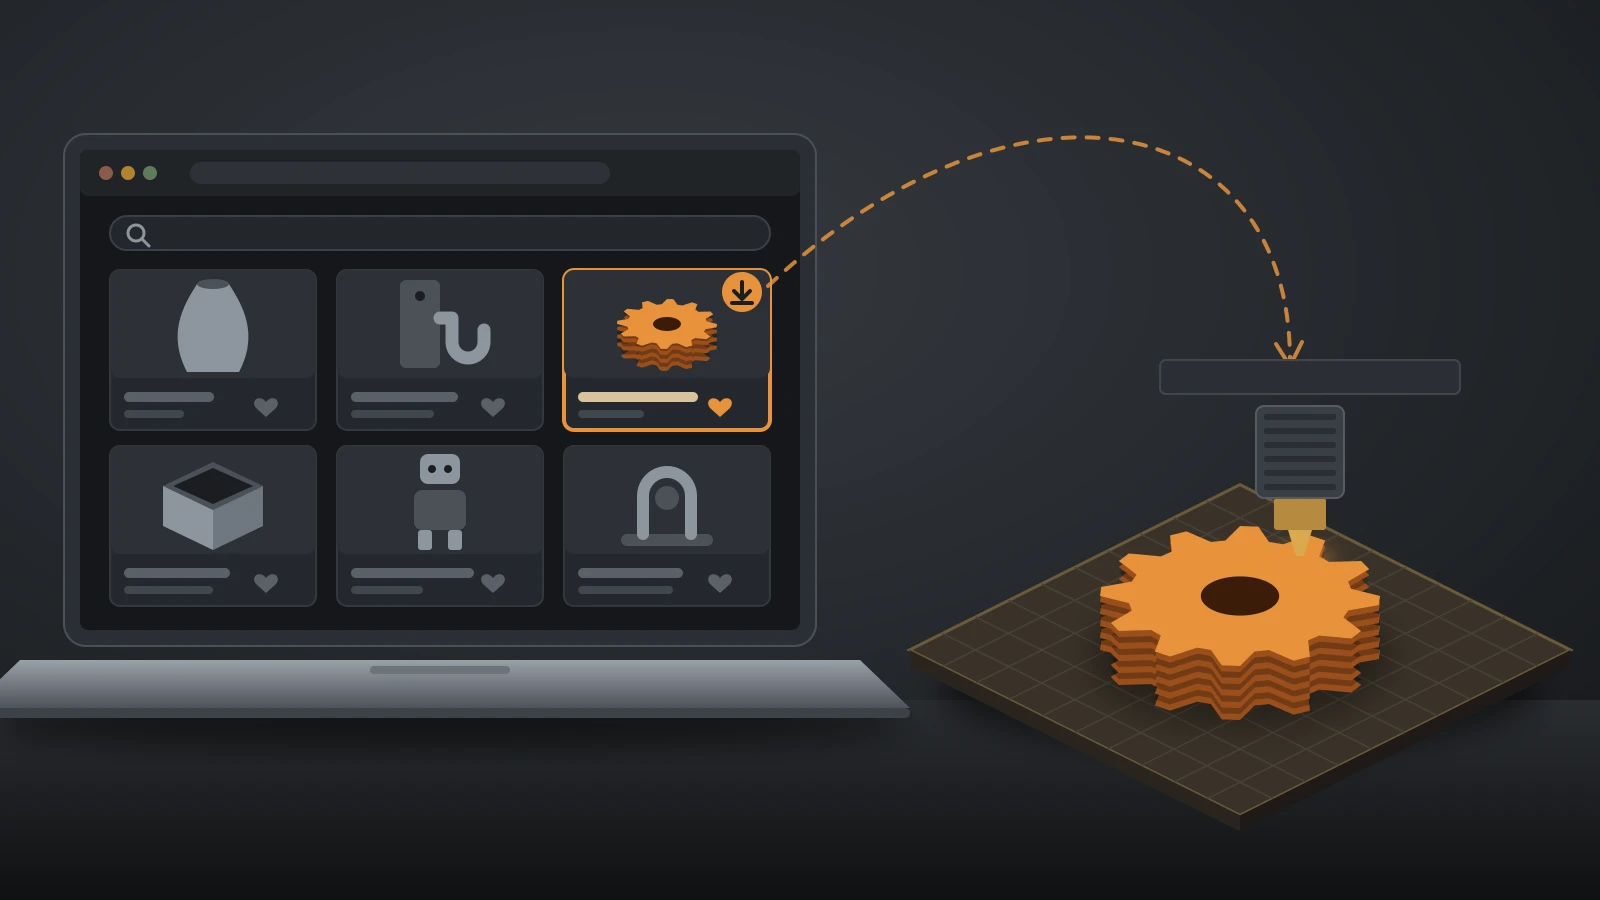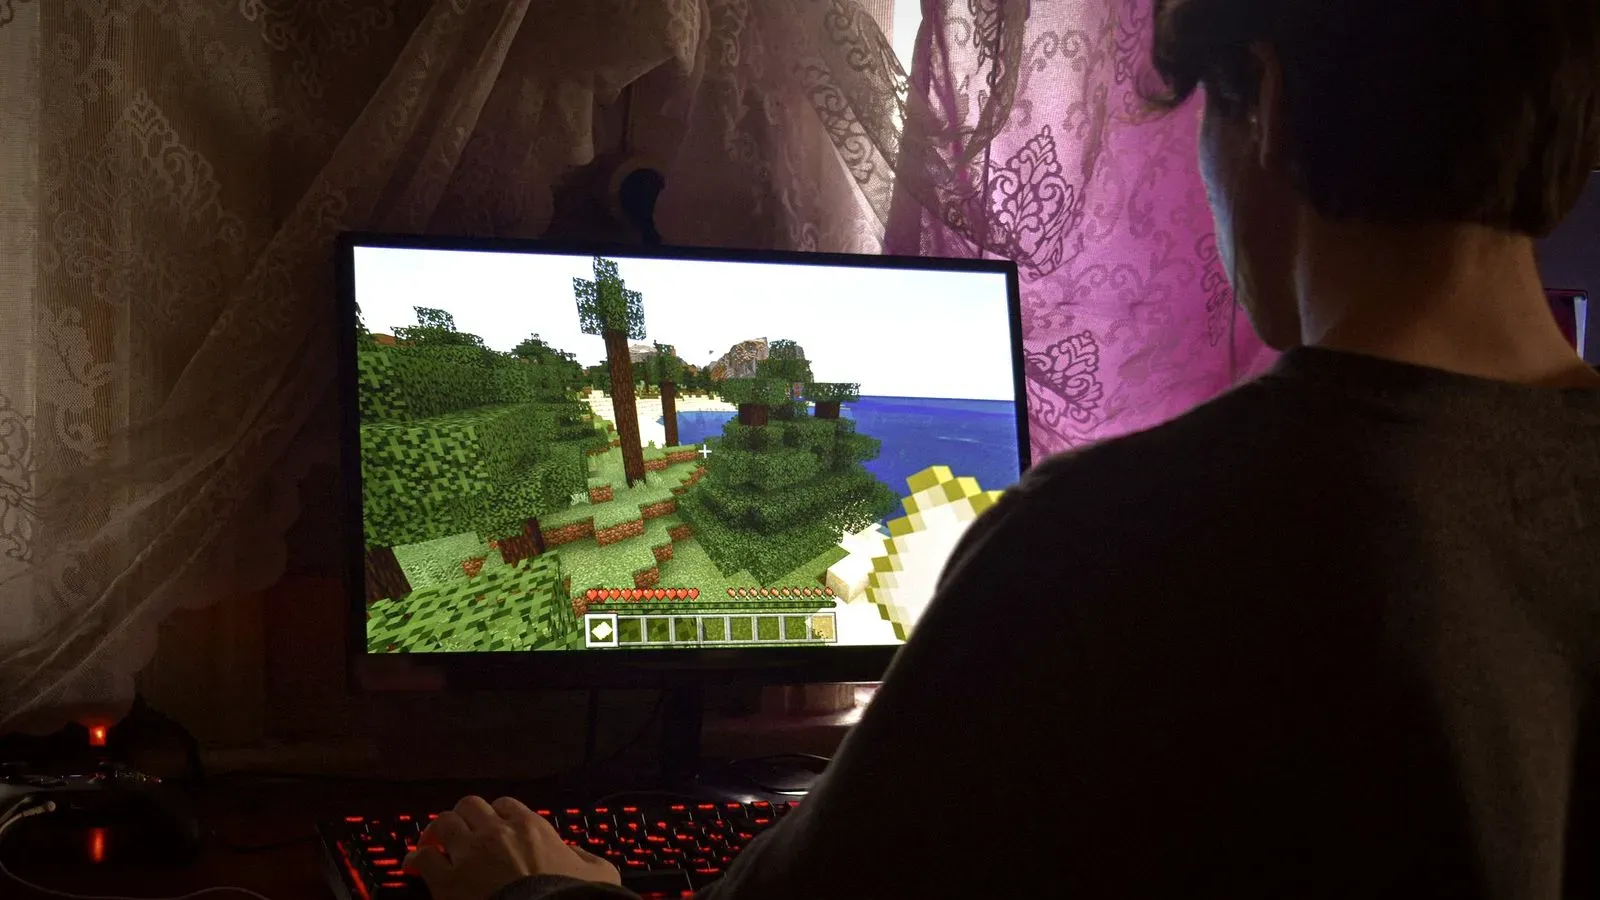
A Minecraft 3D print comes from one of two places: your own world, exported to an STL or OBJ file with a free tool such as Mineways, or a ready-made creeper, block, sword or lamp from a model site. Blocky shapes print well on almost any FDM printer, and sizing is simple: you choose the millimeters per block.
Printing a real build from your own world takes a few extra steps, so it gets the most space here. If you would rather design Minecraft-style pieces yourself, our guide on how to make 3D models for printing covers the basics.
The short answer
| Goal | Route | Key setting |
|---|---|---|
| Print your own build or world | Export with Mineways (Java Edition) | Millimeters per block, cleanup options on |
| Print a creeper, Steve or other mob | Download a fan-made model | Split into parts, print flat faces down |
| Print blocks, ores or lamps | Download a model or draw a cube | Color change by layer, or paint |
| Print a sword or pickaxe | Download a flat model | Lay it flat; display only |
| Design your own character | Blockbench or CAD, export STL | Keep every part a closed solid |
Two ways to get a Minecraft 3D print
Ready-made models are the fastest route. Model sites host a huge range of fan-made Minecraft models, from single blocks and ore lamps to articulated mobs and pixel swords. Search a model repository for “Minecraft”, check the license, and print. These are fan creations: none is an official Mojang product.
Your own world is the more personal route. An exporter reads your save file and turns a selected area into a solid 3D model, block for block. That means your castle, redstone machine or survival base, printed as a physical model you can put on a shelf.
How to 3D print your Minecraft world with Mineways
Mineways is a free, open-source program by Eric Haines that exports Minecraft: Java Edition worlds, version 26.3 and earlier, for rendering and 3D printing. It runs on Windows; the Mac build is usually a few versions behind, and on Linux it runs under WINE.
- Download and open your world. Unzip Mineways, run it and open a world from your saves folder. The map shows your world from above.
- Select the area. Drag a box around your build, then set the lowest height so you don’t export the whole underground. The spacebar picks a sensible depth automatically.
- Export for 3D printing. Choose Export Model for 3D Printing (Ctrl+P). Printing needs a solid, closed model, so Mineways treats every block as a full block: stairs and slabs print as cubes unless you enable the riskier “export lesser blocks” option.
- Pick a file type. Binary STL is the usual choice for a home printer. ASCII STL is larger and cannot include color, and VRML or OBJ are mainly for color print services.
- Set the size. Use “Make each block N mm high” (see the scale table below), or set a total height in centimeters. Leave “Z is up” checked, the norm for 3D printing.
- Keep the cleanup defaults. Mineways processes the model heavily by default to fix common printing problems (see below).
- Slice it. Open the STL in your slicer, check the size and layer preview, and add supports where needed.
What the cleanup options do
- Fill air bubbles: fills enclosed hollow spaces; “seal off entrances” closes one-block doors and windows so rooms fill in.
- Connect parts sharing an edge: welds blocks that touch only diagonally, so they don’t print as loose pieces.
- Delete floating objects: removes small floating groups (fewer than 16 blocks) and loose tree parts at the edge of your selection.
- Hollow out bottom of model: removes buried interior blocks to save material.
- Melt snow blocks: lets you place snow as a temporary seal for wide openings; it is removed on export.
Printing a Bedrock world
Mineways reads only Java Edition saves. For a Bedrock world, convert it to Java Edition first; the Mineways documentation recommends the free converter Chunker, with Amulet as an alternative. Marketplace worlds cannot be converted. Bedrock also does not save chunks that were never modified, so untouched terrain may be missing, although anything you built or changed should come through.
Other tools
The Mineways documentation also points to jmc2obj, which runs on more platforms, and MiEx. To design your own characters instead, Blockbench is a free, open-source low-poly editor built around cuboids for “that Minecraft aesthetic,” and it exports STL. Whatever you export, you can resize, cut or merge the result later with the methods in our guide on how to edit STL files.
Minecraft 3D print scale: how big is a block?
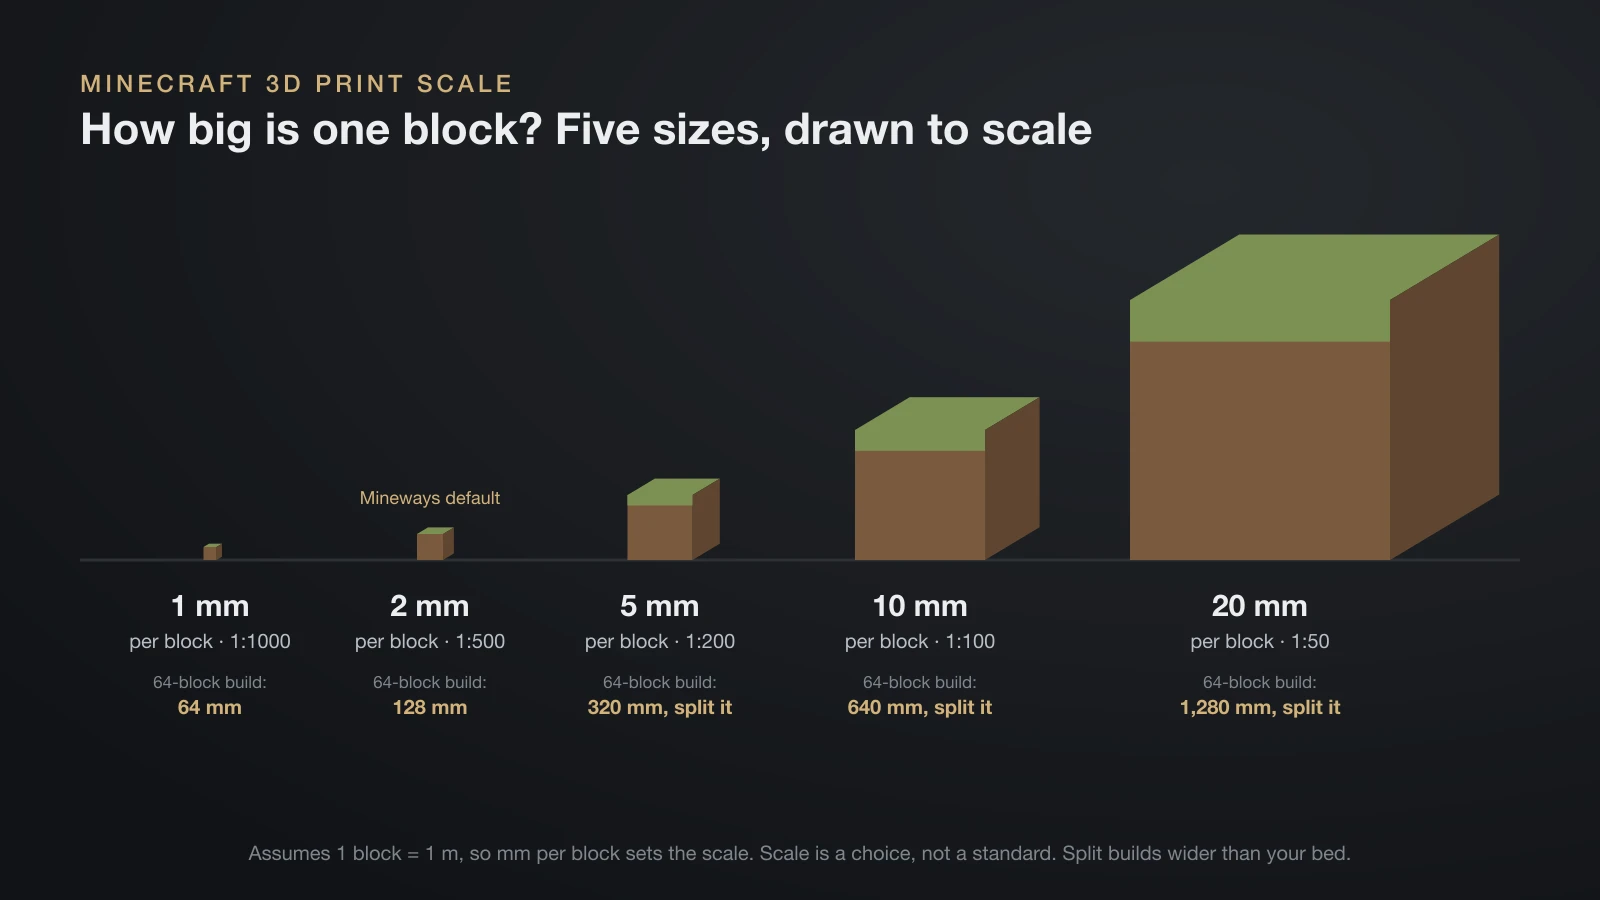
There is no official print scale. The one real choice is millimeters per block, and a handy convention turns that into a scale ratio. In an article on minecraft.net, a builder treats one block as 1 m, because the player model is 2 blocks tall. Using that assumption:
| mm per block | Scale (1 block = 1 m) | A 64-block-wide build | Most blocks across a 256 mm bed |
|---|---|---|---|
| 1 mm | 1:1000 | 64 mm | 256 |
| 2 mm (Mineways default) | 1:500 | 128 mm | 128 |
| 5 mm | 1:200 | 320 mm (split it) | 51 |
| 10 mm | 1:100 | 640 mm (split it) | 25 |
| 20 mm | 1:50 | 1,280 mm (split it) | 12 |
The bed width is an example: Bambu Lab’s guide to splitting large models uses 256 mm as the limit for its A1, P1 and X1 series. Remember that volume grows with the cube of the block size. The Mineways documentation notes that at 1 mm per block you can print 8 times as many blocks as at 2 mm, for the same material.
Detail sets the lower limit. In test prints shown in the Mineways documentation, fences and thin pillars sheared off at 1 mm per block, while a 2 mm per block print survived mostly intact. Single blocks and mobs have no fine detail to lose, so pick whatever size suits your shelf, such as 10 or 20 mm per block.
Printing ready-made Minecraft models
| Model | How to print it | Watch out for |
|---|---|---|
| Creeper and other mobs | Head, body and legs as separate parts, each on a flat face | Overhangs where the head sits on the body |
| Grass, dirt and ore blocks | One cube, flat side down | Seams between colors |
| Ore or block lamps | White or translucent PLA shell over an LED | Use a low-heat LED, never a hot bulb |
| Swords and pickaxes | Lying flat on the bed | Thin blades snap; display only |
| Keychains and magnets | Flat, one or two colors | Small parts are a choking hazard for small kids |
A creeper printable is a good first project: all flat faces, no curves, and it prints in about any color of green. Print large mobs in parts and glue them. Bambu Lab’s splitting guide recommends super glue for PLA and suggests adding peg connectors when you cut a model.
For posable mobs and figure-style prints, the joint and support tips in our guide to 3D printed action figures apply directly.
Best print settings for Minecraft 3D prints
Minecraft models are easy to print because they have no curves: every face is flat and every edge is square.
- Material: PLA. UltiMaker describes it as easy to print at low temperatures with minimal shrinkage, ideal for concept and display models. It is not heat resistant and can turn brittle over time, which matters for swords, not shelf models.
- Layer height: blocky models don’t need fine layers. In UltiMaker’s example, the same model took 7 h 27 min at 0.1 mm, 3 h 46 min at 0.2 mm and 1 h 47 min at 0.3 mm. Pick a layer height that divides your block size evenly (at 2 mm per block, 0.2 mm layers give exactly 10 layers per block) so every block edge lands on a layer line.
- Supports: the 45-degree rule means any block hanging over empty space needs support, because its underside is flat. Short gaps between two blocks can bridge.
- Orientation: put the largest flat face on the bed. Lay swords and flat signs down, and print tall builds upright only if they are sturdy.
- Walls: at 1 mm per block, a one-block wall is still wider than a standard 0.4 mm nozzle, the minimum UltiMaker recommends, but it is fragile.
Do you need a special Minecraft 3D printer?
No. Any FDM printer that prints PLA reliably can print Minecraft models, and a larger bed only matters for big builds at large scales. What changes the result most is color. A multi-color printer can print grass, ore and creeper textures in one go, and Bambu Studio can assign filaments by painting areas of the model; see our guide to multi-color 3D printers.
Adding color: filament swaps vs painting
Without a multi-color printer, you still have two good options:
- Color change at a layer: blocks with a colored top, like a grass block (brown dirt, green top), are perfect for a single pause-and-swap at one height.
- Painting: print in one color, prime and paint the pixel textures by hand. It takes longer but gives the most detail; our guide on how to paint 3D prints covers primer, brushes and sealing.
Mineways can also write colors into binary STL files, using formats made for professional print services. For a home printer, plan colors in the slicer instead.
Selling Minecraft 3D prints: what Mojang’s guidelines allow
This is general information, not legal advice. Printing Minecraft models for yourself is a normal hobby. Selling them is covered by the Minecraft Usage Guidelines, which allow fans to sell a limited number of handcrafted products under strict conditions:
- The product must be your own unique design, and Minecraft brand or assets cannot be the dominant part. The guidelines approve a crocheted blanket with a creeper texture pattern, but not a box showing Steve’s face in Minecraft textures.
- No mass production and no major retailers.
- No more than 20 items of the same or a substantially similar design.
- Sales only through a channel that records quantities sold, and no more than $5,000 USD per calendar year.
- A clear disclaimer, similar to “NOT AN OFFICIAL MINECRAFT PRODUCT. NOT APPROVED BY OR ASSOCIATED WITH MOJANG OR MICROSOFT.”
A print that simply reproduces a mob, block or tool from the game is unlikely to count as your own design. Fan models also carry their own licenses, and some forbid selling prints, so check both before you list anything.
The bottom line
A Minecraft 3D print is one of the easiest projects on an FDM printer: flat faces, square edges and PLA. For your own world, export it with Mineways (convert Bedrock saves first), keep the cleanup options on and choose millimeters per block from your bed size, with about 2 mm per block as a practical lower limit for detail. For mobs, blocks and tools, print in parts with flat faces down, and add color with filament swaps, a multi-color printer or paint.
Sources
- Mineways by Eric Haines: project page and README and documentation (Java Edition 26.3 and earlier, platforms, file types, block size options and 2 mm default, cleanup options, 16-block floating objects, Bedrock conversion, 1, 2 and 3 mm per block test prints)
- Minecraft.net: Minecraft Usage Guidelines (handcrafted products, 20-item and $5,000 limits, disclaimer) and Remarkable Rocket (1 block treated as 1 m)
- UltiMaker: How to design for FFF 3D printing (layer heights and print times, PLA properties, 45-degree rule, 0.4 mm nozzle and minimum wall)
- Bambu Lab Wiki: Splitting and printing large files (256 mm limit, connectors, super glue for PLA) and Text Shape (filament assignment and color painting)
- Blockbench: official site and STL exporter source (free, open source, cuboid modeling, STL export)