3D printed action figures come out best on a resin (MSLA) printer when fine detail matters most, and on an FDM filament printer when you want larger, tougher figures that survive posing and play. Either way, success comes from the same few things: a model designed for printing, fine layers, smart supports, correct joint clearances, and a proper primer-and-paint finish.
This guide walks through each of those steps, from choosing between resin and FDM to getting print-in-place joints to move and painting a figure so the layer lines disappear. If you are still looking for your first project, our list of 3D print ideas has plenty of easier starting points.
Tabletop miniatures for games like Warhammer or D&D are a related but separate hobby with their own tricks; this guide focuses on action figures, figurines and statues.
The short answer
| Your goal | Best approach |
|---|---|
| Small, highly detailed statue or bust | Resin (MSLA) printer, fine layers, tree supports |
| Posable figure you handle often | FDM printer with PLA+ or PETG, print-in-place or peg joints |
| Large display figure | FDM, split into parts, sanded and painted |
| Colorful figure without painting | Multi-color FDM printer with a color-separated model |
| Selling your prints | Original designs, or files with a commercial license |
Resin vs FDM for action figures
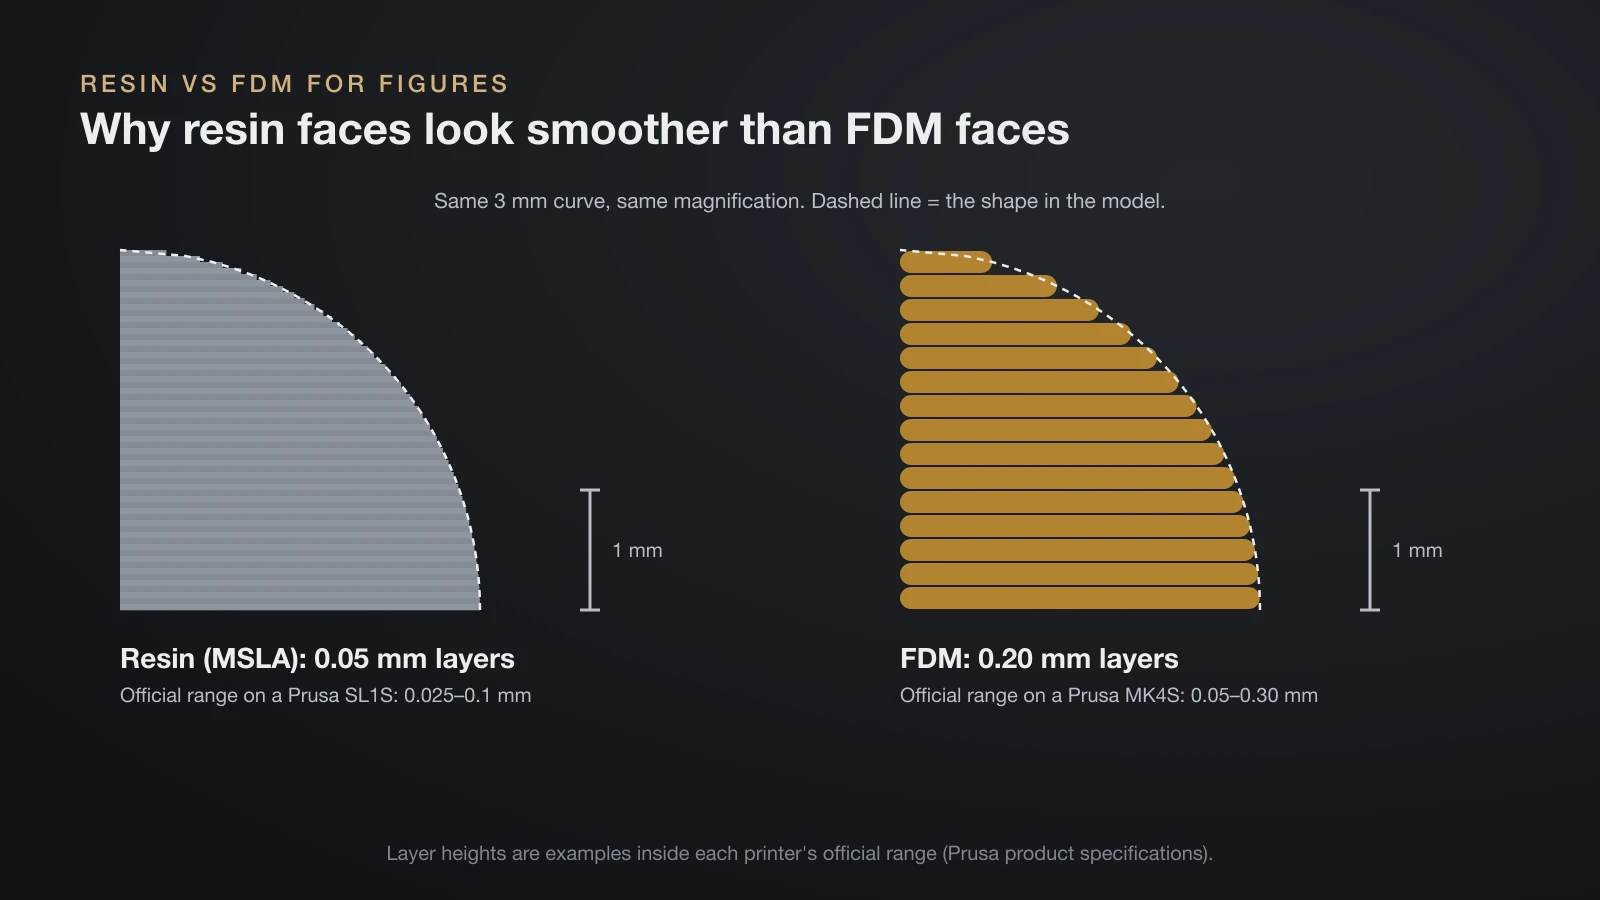
The two printer types build figures in very different ways. A resin printer cures liquid photopolymer layer by layer with UV light (the Prusa SL1S, for example, uses 405 nm resin). An FDM printer melts a plastic filament and draws each layer with a nozzle. Our guide to resin vs filament compares the two for all kinds of projects, not only figures.
The practical difference is how fine the layers can go and how smooth the surface looks. Official specs show the gap clearly: Prusa lists supported layer heights of 0.025–0.1 mm for its SL1S resin printer and 0.05–0.30 mm for its MK4S filament printer.
| Resin (MSLA) | FDM (filament) | |
|---|---|---|
| Example layer heights (official specs) | 0.025–0.1 mm (Prusa SL1S) | 0.05–0.30 mm (Prusa MK4S) |
| Fine detail (faces, fingers, hair) | Excellent | Good with a small nozzle and thin layers |
| Visible layer lines | Barely visible | Visible, need sanding or filler primer |
| Toughness | Standard resins are fairly brittle | PLA+ and PETG handle drops and posing better |
| Typical figure size | Small to medium | Small to very large |
| Post-processing | Wash, UV cure, remove supports | Remove supports, sand |
| Workspace | Ventilated room, gloves, chemical handling | Ordinary room for PLA |
Resin wins for small figures where a face or a hand has to look sharp at arm’s length. FDM wins for larger figures, for kids’ toys that get dropped, and for articulated designs where joints need to flex without snapping.
Many hobbyists end up with both: resin for heads, hands and accessories, FDM for bodies and limbs. That split also keeps resin use, and its mess, to the small parts that need it.
Resin safety basics
Uncured resin is a chemical, not a craft supply. Prusa’s official resin guidance tells users to wear gloves to avoid skin contact, keep the room ventilated during printing, and recommends a simple respirator. If resin touches your skin or eyes, wash with soap and water; if itching or a rash appears, stop using the printer and see a doctor, because some people become allergic to resin.
Keep bottles away from children and pets, and never pour liquid resin down the drain or throw bottles into regular trash. Treat it as a hazardous chemical and follow your local disposal rules. Fully cured prints are much easier to handle than liquid resin, but still wear gloves while washing and removing supports.
Articulated action figures: joint types that work
Posable figures live or die by their joints. A joint that is too tight will fuse or snap; one that is too loose lets the figure flop over. Most designs use one of these:
| Joint type | How it works | Printing tip |
|---|---|---|
| Ball joint | A ball sits in a socket and rotates in every direction | Print the socket slightly oversized and test the fit before printing the full set |
| Peg or pin | A separate peg slides through two parts | Pegs are the weak point; print them lying flat so layers run along their length |
| Hinge | Rotates on one axis, like an elbow or knee | Good for FDM; add a ratchet if you want poses to hold |
| Ratchet (click) joint | Teeth catch at fixed angles | Holds heavy poses well; needs accurate dimensions |
| Print-in-place | The joint prints already assembled, with a small gap | Needs a calibrated printer; break joints free gently after printing |
Every joint relies on a small clearance chosen by the designer. Your printer has to reproduce it faithfully, so over-extrusion, a squashed first layer or a loose belt can fuse print-in-place joints solid. Before a long print, run the designer’s test joint if one is included, and make sure your printer is dialed in with our 3D printer calibration guide.
Assembled joints are more forgiving than print-in-place ones. If a peg is too tight you can sand it; if it is too loose, a thin coat of clear nail polish or varnish adds friction. Print-in-place figures save assembly time, but a fused joint usually means reprinting the part.
Scale, layer height and orientation
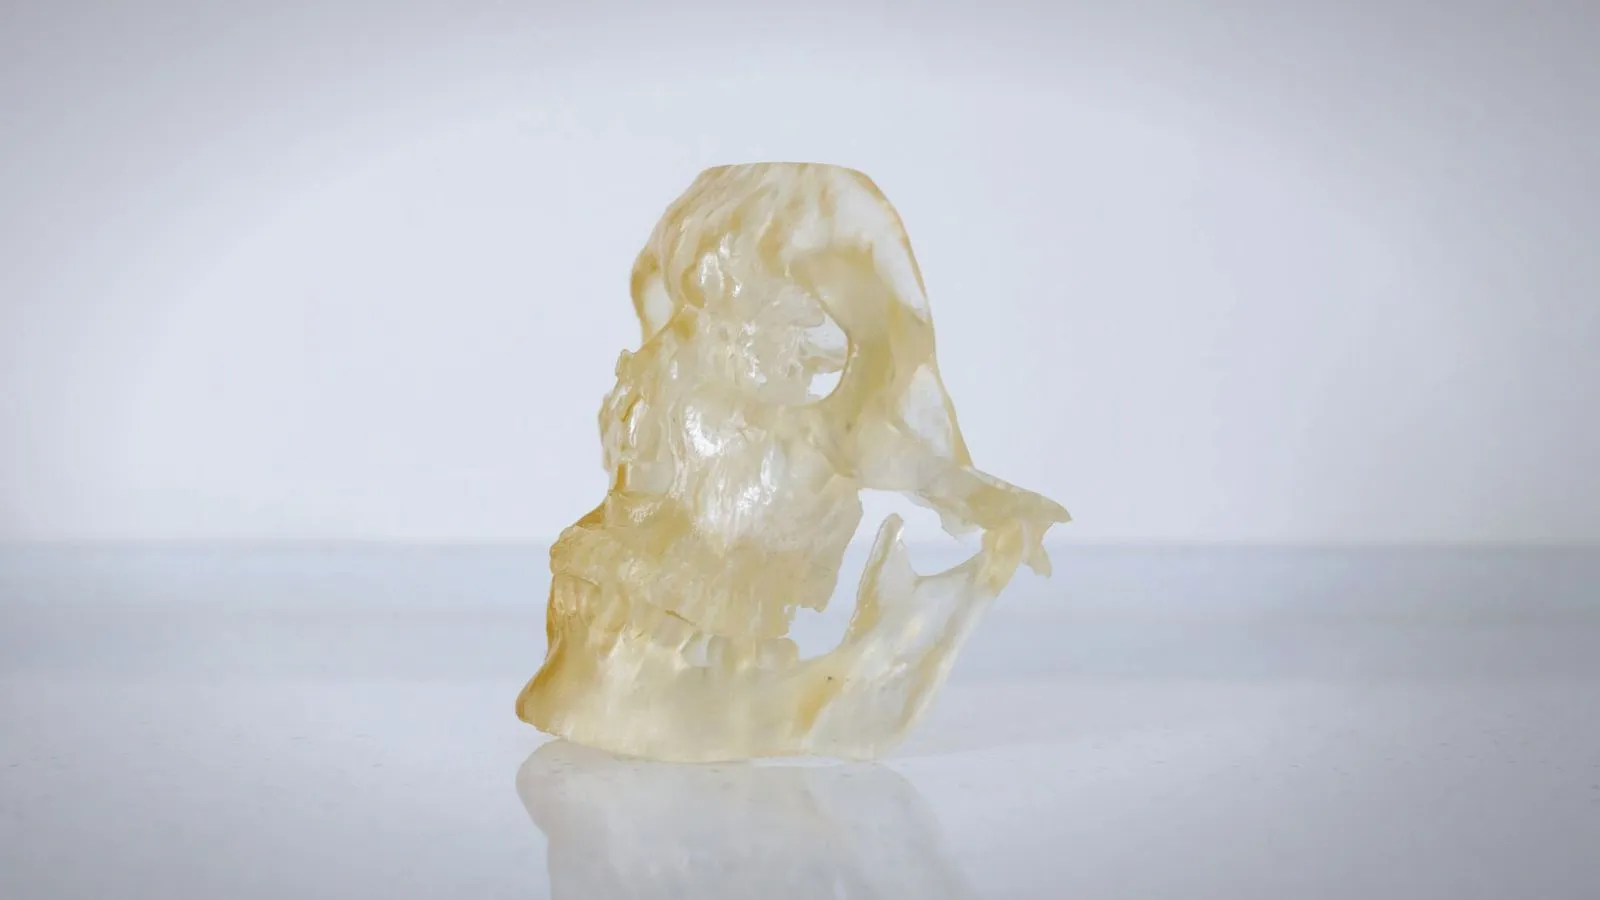
Scale decides how much detail survives. Collectible figures are often described by scale: at 1:12, a character 1.8 m (about 5 ft 11 in) tall becomes a 150 mm figure; at 1:6 the same character is 300 mm. Smaller scales shrink faces and fingers down to a size where only resin, or a very fine FDM setup, can hold them.
- Layer height: go as fine as your printer reliably allows for heads and hands, and use thicker layers for simple limbs and bases to save time.
- Nozzle size: on FDM, a smaller nozzle sharpens details. Prusa, for example, recommends its 0.25 mm nozzle for very intricate models.
- Orientation: angle parts so layer lines do not cut across faces, and so thin pieces such as swords or antennae print along their length rather than across it.
- Splitting: large statues print better cut into parts with keyed joints, then glued. Many figure files already come split.
On resin printers, larger solid parts are often hollowed to save resin. Hollow parts need drain holes so liquid resin can escape during washing; trapped resin can leak or crack the part later.
Supports for figures: tree and organic supports
Figures are full of overhangs: outstretched arms, chins, capes and weapons. Supports hold those areas up while printing, and how you place them decides how much cleanup you face.
- Tree or organic supports: most current slicers offer branching supports that touch the model at small points and grow around it. PrusaSlicer calls its version organic supports; Bambu Studio and OrcaSlicer list them as tree supports. They leave fewer scars on curved figure surfaces than straight grid supports.
- Paint-on or blocker tools: add supports only where they are needed and keep them off faces and visible surfaces.
- Resin supports: tilt the part, use light supports on detailed areas and heavier ones on the base, and remove them after washing and post-curing, as Formlabs recommends, because thin parts can warp during curing without them.
Support scars are easiest to hide on the back, under the feet or where parts join. Clip supports flush with small cutters first, then sand the nubs rather than twisting supports off.
Finishing 3D printed figures: sanding, priming and painting
Paint is what turns a printed part into a finished figure. The basic sequence is the same for resin and FDM; FDM just needs more sanding first.
- Clean up: remove supports, sand off nubs and test-fit all parts. For resin, make sure parts are washed and fully cured before any sanding.
- Sand: start with a coarse grit to flatten layer lines and support marks, then move to finer grits. Wet sanding keeps dust down, which matters for resin.
- Fill: a filler primer or spot putty hides remaining FDM layer lines. Sand again after it dries.
- Prime: a thin, even coat of primer shows every flaw and gives paint something to grip.
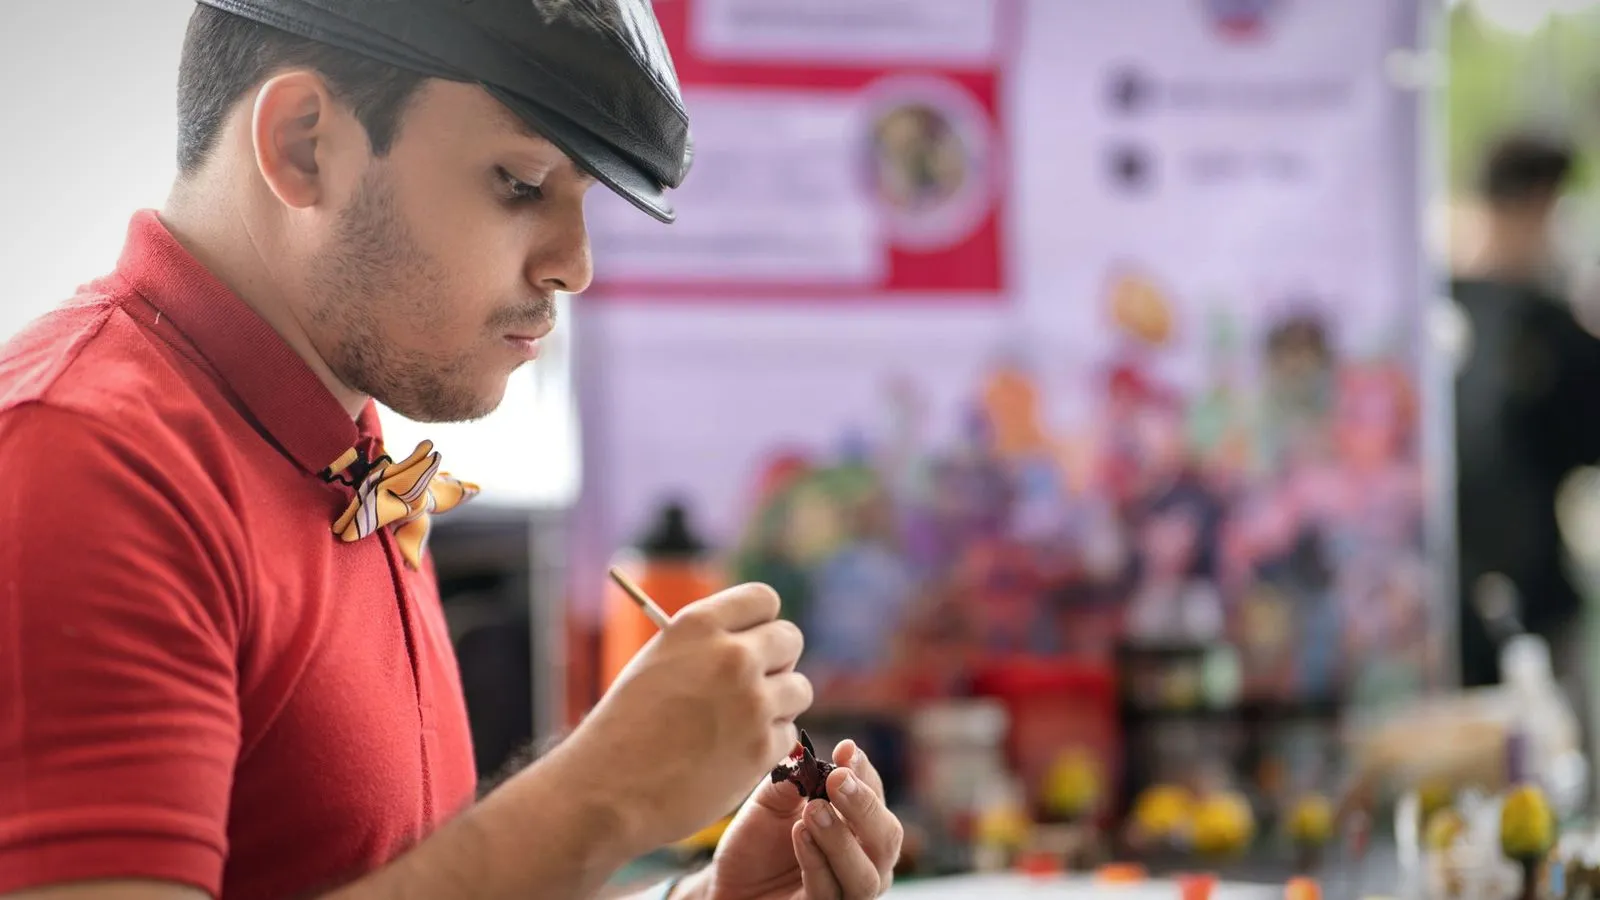
- Base coat: use thin layers of acrylic paint rather than one thick coat, so fine details stay crisp.
- Shade and highlight: a wash settles into recesses, and dry brushing picks out raised edges.
- Seal: finish with a matte or satin varnish, but keep it thin on joints so they still move.
Paint moving parts lightly. Thick paint on a ball joint or peg rubs off quickly and can lock the joint. For paint types, spray technique and material-specific tips, see our full guide on how to paint 3D prints.
Multi-color printing vs painting
A multi-color FDM printer can print a figure in several filament colors, which skips painting entirely. It suits stylized characters, chibi figures and toys with clean color blocks. You need a model that is already split by color, and each color change creates purge waste and adds print time.
Painting still wins for realistic figures: skin shading, weathering and tiny details like eyes are beyond what color-switching filament can do. For a closer look at the machines and their tradeoffs, see our guide to multi-color 3D printers.
Where to find action figure models and what the license allows
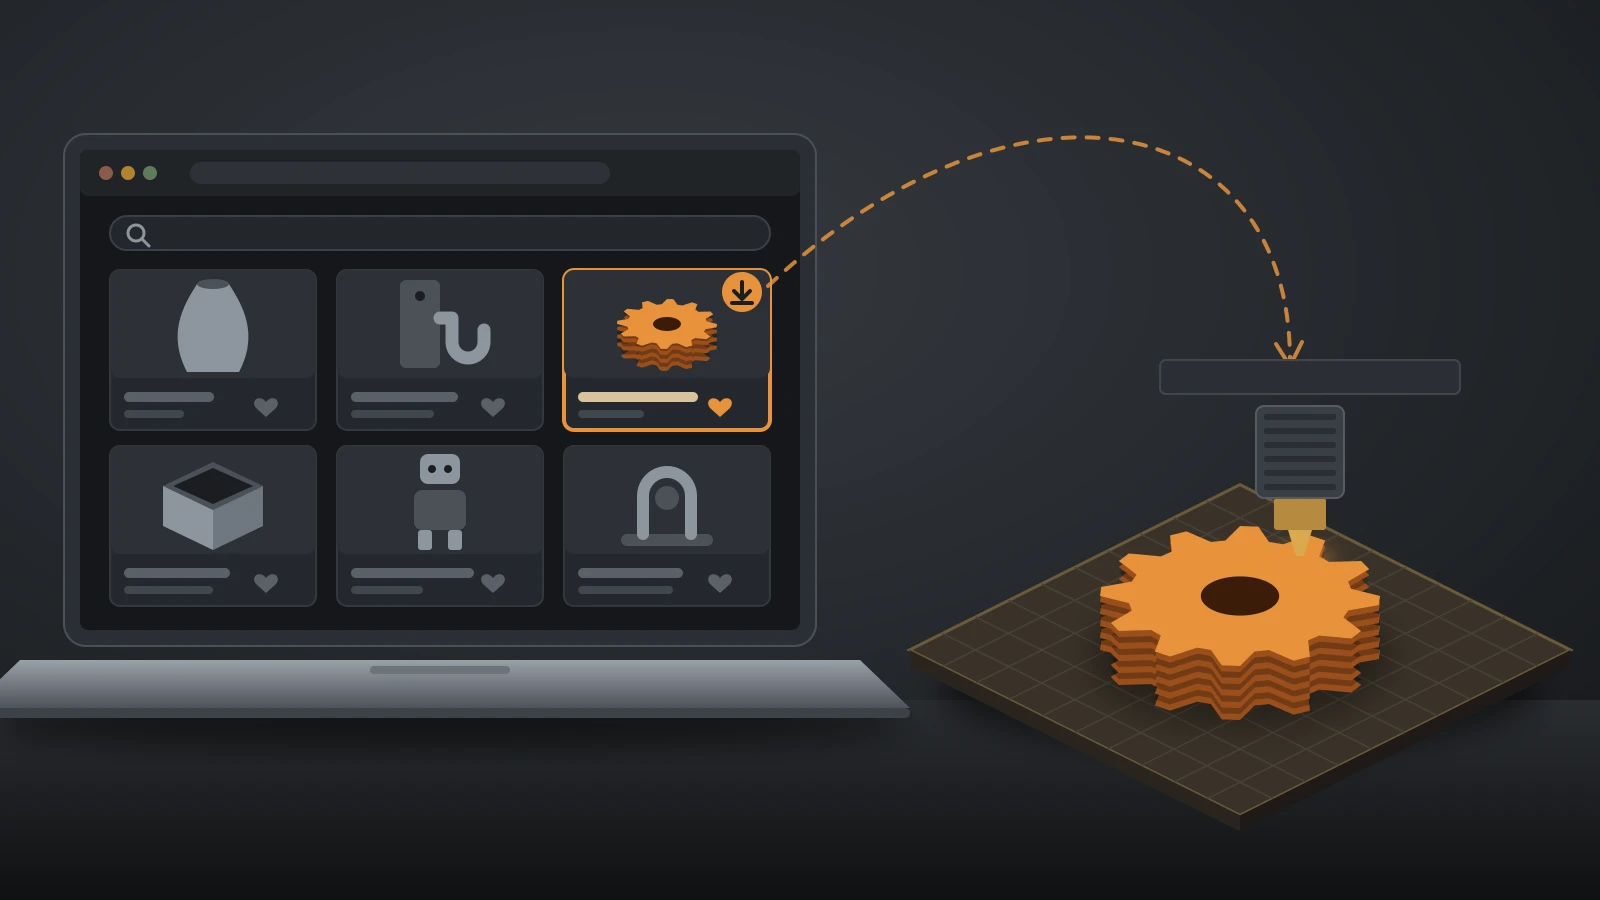
Most figure files come from model repositories such as Printables, Thingiverse, MakerWorld, MyMiniFactory and Cults, plus designers who sell their own files. Before printing, check two things: whether the model was designed for resin or FDM, and what license it carries.
Many free models use Creative Commons licenses. There are six CC licenses, built from four elements:
| License element | What it means for you |
|---|---|
| BY (attribution) | Credit the designer when you share the model or prints |
| SA (share alike) | If you remix the model, share your version under the same terms |
| NC (noncommercial) | No commercial use, which includes selling the prints |
| ND (no derivatives) | Share it only unmodified; no remixes |
A model marked CC0 has had its rights waived as far as the law allows. Paid files often come with their own license, and many forbid selling prints unless you buy a separate commercial license from the designer.
Fan art is where most people get caught out. Under US copyright law, the owner of a copyrighted work holds the exclusive right to reproduce it and to prepare derivative works based on it. A free fan sculpt of a film or game character carries the fan’s license at best, not the studio’s permission, so selling prints of it is risky. This is general information, not legal advice; for commercial plans, get permission or stick to original characters.
Choosing a printer and material for 3D printed action figures
You don’t need a specific brand to print good figures, but a few features make a big difference.
For resin printers, look for:
- High XY resolution (small pixel size) for sharp faces and hands.
- A build plate big enough for your largest single part.
- A wash and cure setup, whether a combined station or a container of cleaner plus a UV lamp.
- A place to put it: a ventilated room away from living space, pets and food.
For FDM printers, look for:
- Support for small nozzles and reliably fine layer heights.
- Strong part cooling for overhangs like chins and fingers.
- Automatic bed leveling and good calibration tools, since joints depend on accuracy.
- Multi-material capability if you want unpainted colored figures.
For filament, PLA and PLA+ are the easiest place to start: they print fine detail with little warping. PLA+ blends usually trade a little detail for toughness, which helps pegs and ball joints; our PLA+ vs PLA comparison explains the difference. For resin figures, standard resin shows the most detail, while tough or flexible blends better survive posing.
The bottom line
Resin prints the sharpest small figures, and FDM prints bigger, tougher, posable ones. For both, success comes down to a model made for your printer, correct joint clearances on a calibrated machine, supports placed away from visible surfaces, and a primer-and-paint finish. Check every file’s license before you print, and treat fan art of famous characters as personal-use only unless you have permission.
Sources
- Prusa Research: Original Prusa SL1S SPEED and Original Prusa MK4S specifications (SL1S layer heights 0.025–0.1 mm and 405 nm UV-sensitive resin; MK4S layer height 0.05–0.30 mm and 0.25 mm nozzle for intricate models)
- Prusa Knowledge Base: Resins (gloves, respirator, ventilation, skin contact, allergy and disposal guidance)
- Formlabs: SLA basic finishing steps (remove supports after post-curing to avoid warping)
- Creative Commons: About CC Licenses (six license types; BY, SA, NC and ND elements; definition of noncommercial)
- U.S. Copyright Office: Title 17, Section 106 (exclusive rights to reproduce a work and to prepare derivative works)