3D printed articulated toys, from flexi dragons to fidget clickers, come off the printer with working joints because the designer leaves a small gap around every moving part. They print best in PLA on a tuned filament printer. The keys are a first layer that does not fuse the joints and keeping small pieces away from young children.
This guide covers where to find good models, how print-in-place joints work, the settings that keep them moving and how to free a stuck one. For more project ideas beyond toys, browse our list of 3D print ideas.
The short answer
| Toy type | How it moves | Best material | Key tip |
|---|---|---|---|
| Flexi animals (dragons, snakes, fish) | Chains of print-in-place hinges | PLA or PLA+ | Flex every joint right after printing |
| Fidgets and clickers | Sliding, clicking or rotating parts | PLA or PETG | Check the designer’s tolerance test first |
| Puzzles and puzzle boxes | Interlocking or sliding pieces | PLA | Print one piece to test the fit |
| Board game pieces and inserts | Static tokens, trays and holders | PLA | Measure the box before printing inserts |
| Articulated figures | Ball, peg or hinge joints | PLA+ or resin | Assembled joints are more forgiving |
Print at the model’s original scale and orientation, with a clean, well-tuned first layer, and most articulated prints work on the first try.
Where to find 3D printed articulated toy models
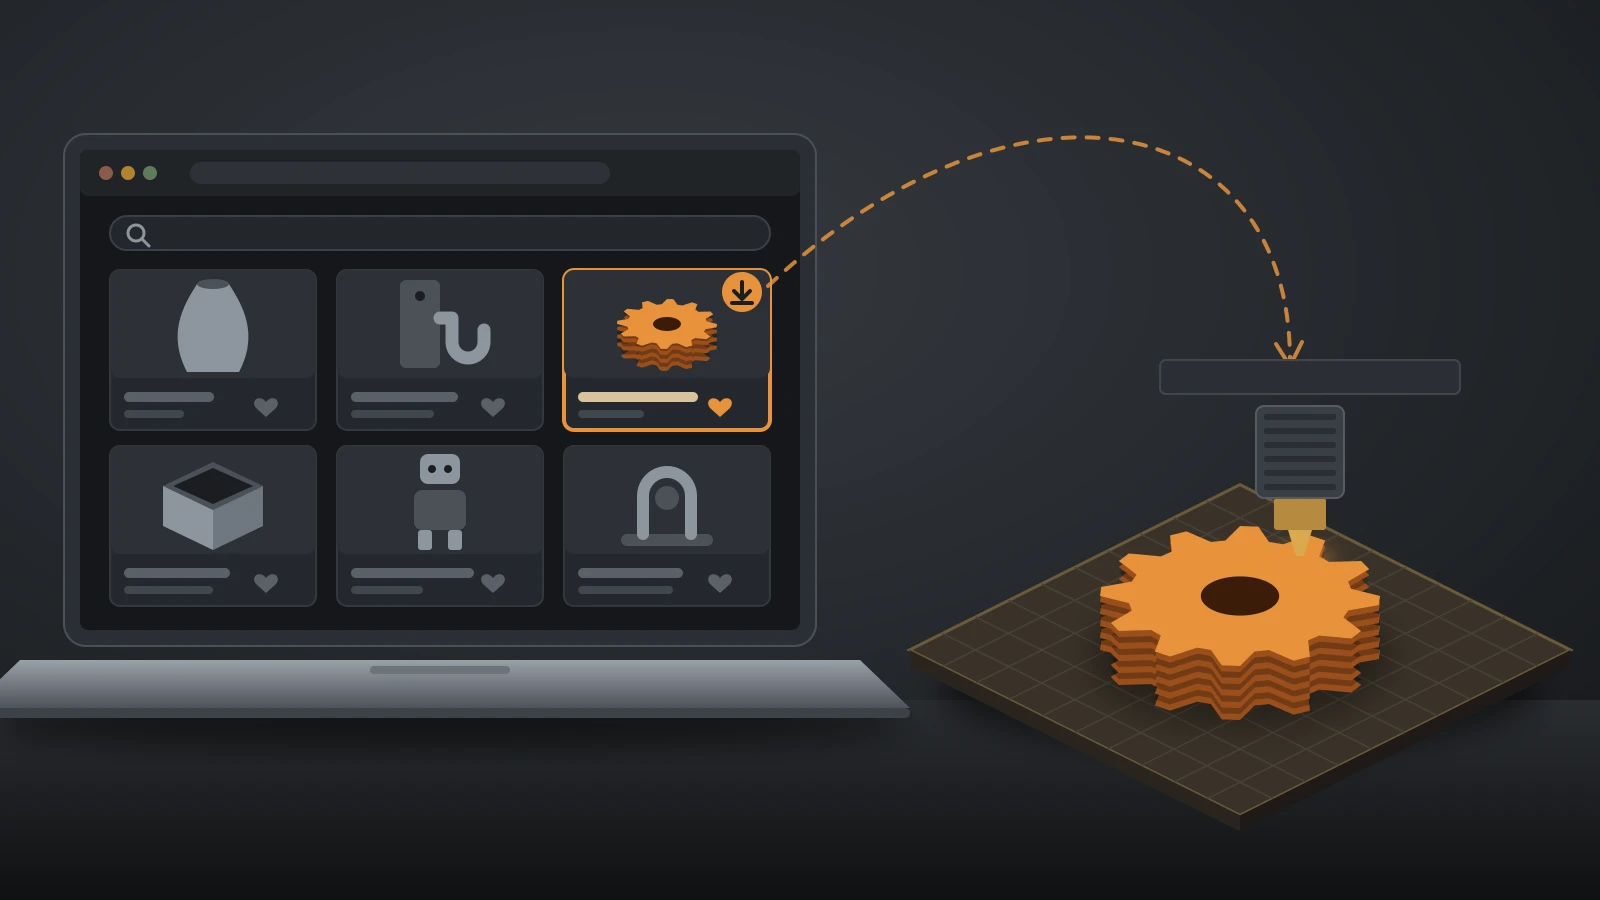
Most articulated toys come from free model libraries rather than being designed from scratch. Printables, Thingiverse, MakerWorld, Cults and MyMiniFactory all have large collections; search for “print in place”, “flexi” or “articulated” plus the animal or object you want.
A few checks save failed prints:
- Makes and comments: models with many user prints and photos have proven tolerances. Comments often mention whether joints came out stiff or loose.
- Designer’s notes: good designers list layer height, whether supports are needed and any test piece. Follow them.
- Printer type: most print-in-place toys are designed for filament printers.
- License: many free models use Creative Commons licenses. The NonCommercial versions forbid commercial use, which includes selling prints.
Fan designs of TV, film and game characters are hugely popular, but the character belongs to its copyright owner. Under US copyright law, the owner holds the exclusive right to reproduce a work and to make derivative works from it. Our guide to 3D printed action figures explains the license elements in more detail, and our Minecraft 3D prints guide covers what Mojang allows.
Types of 3D printed toys and games
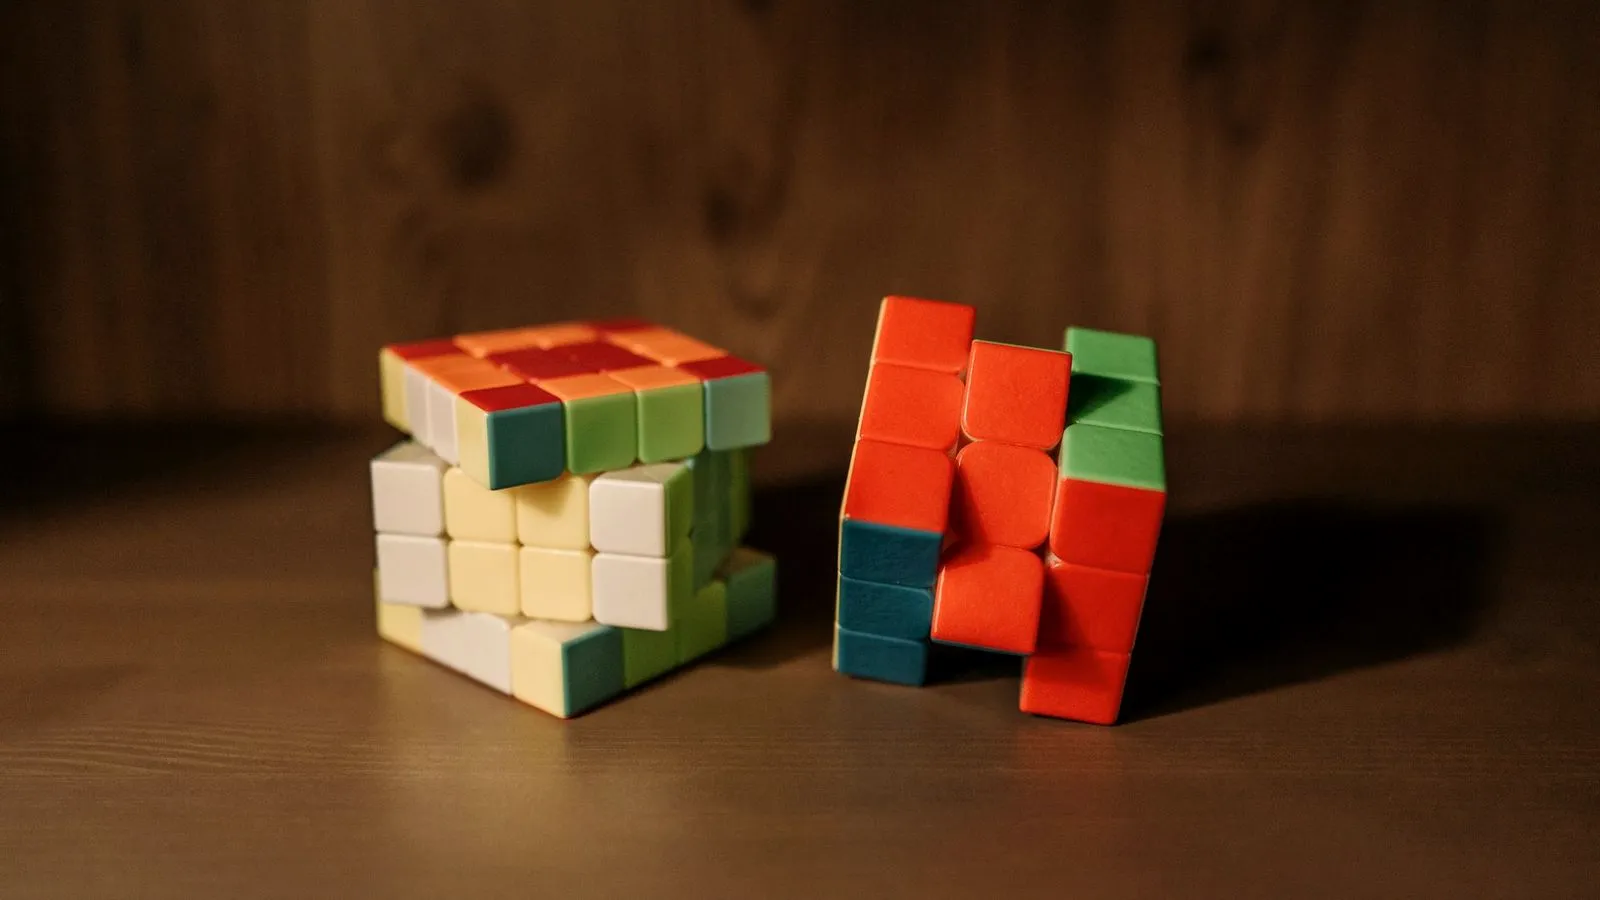
3D printed toys range from single-piece tokens to toys with dozens of moving joints. The main families:
- Flexi animals: dragons, snakes, fish, dinosaurs and octopuses built from segments linked by print-in-place hinges. They are the classic first articulated print.
- Fidgets and clickers: click buttons, sliders, gear spinners, infinity cubes and fidget chains. Many depend on tight tolerances to click or spin smoothly.
- Puzzles: puzzle boxes with hidden mechanisms, interlocking burr puzzles, mazes and sliding puzzles.
- Board games and game pieces: tokens, meeples, dice towers, card holders and box inserts that organize a game.
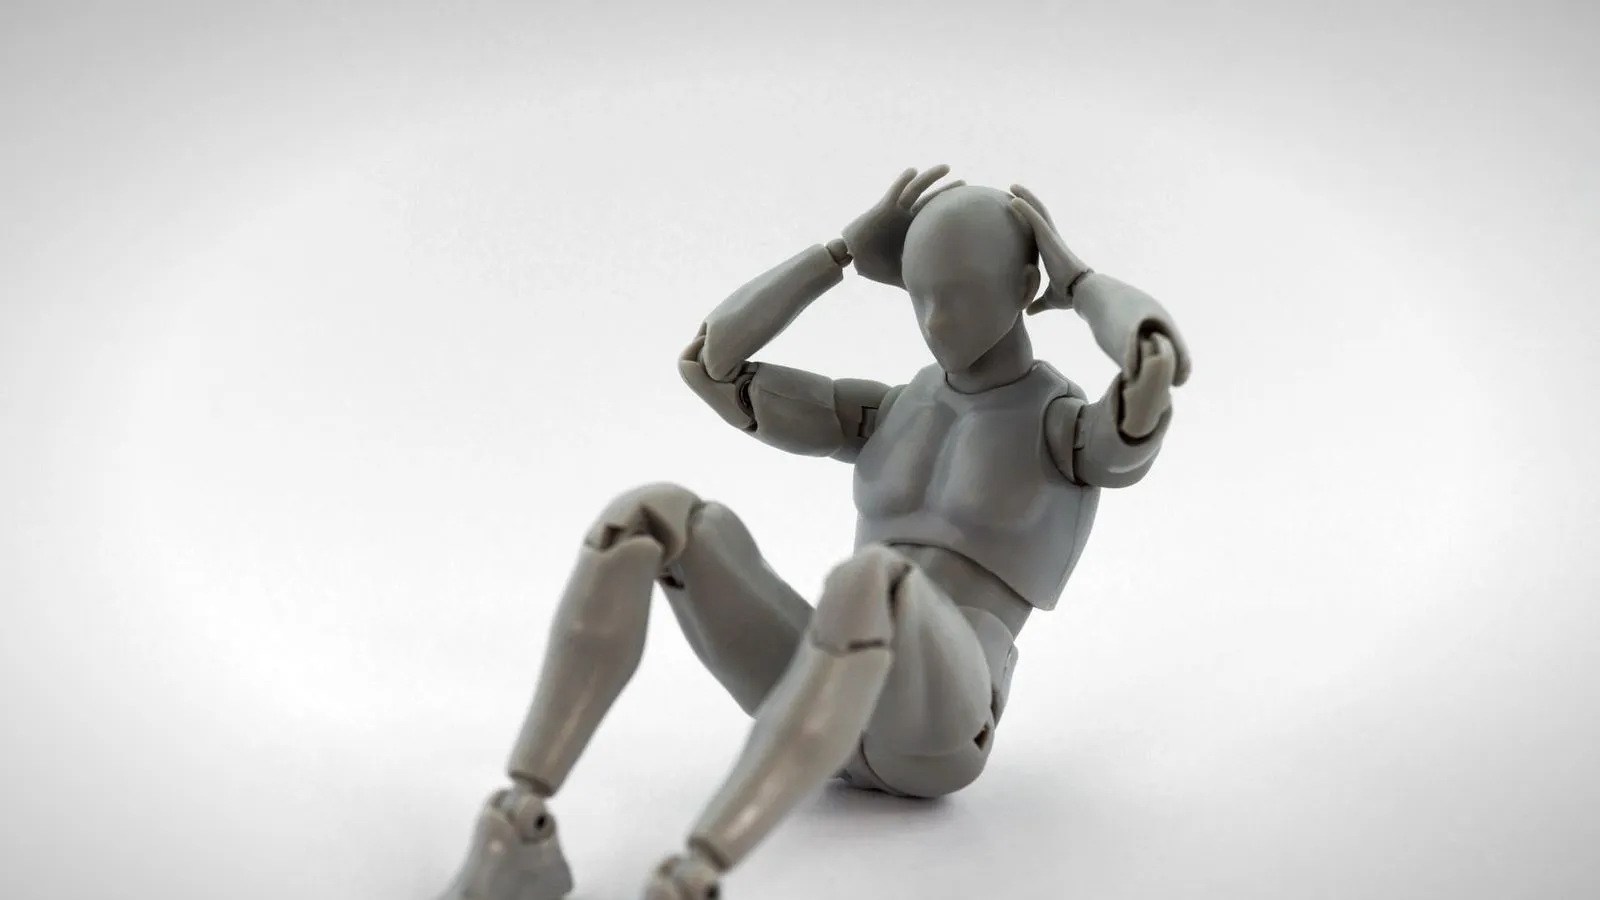
- Articulated figures: posable characters with ball, peg or hinge joints. These overlap with action figures and usually need more careful tuning.
Flexi animals and simple clickers are the best starting point. Puzzles and multi-part fidgets come next, because a small dimensional error decides whether the mechanism works.
How print-in-place joints work
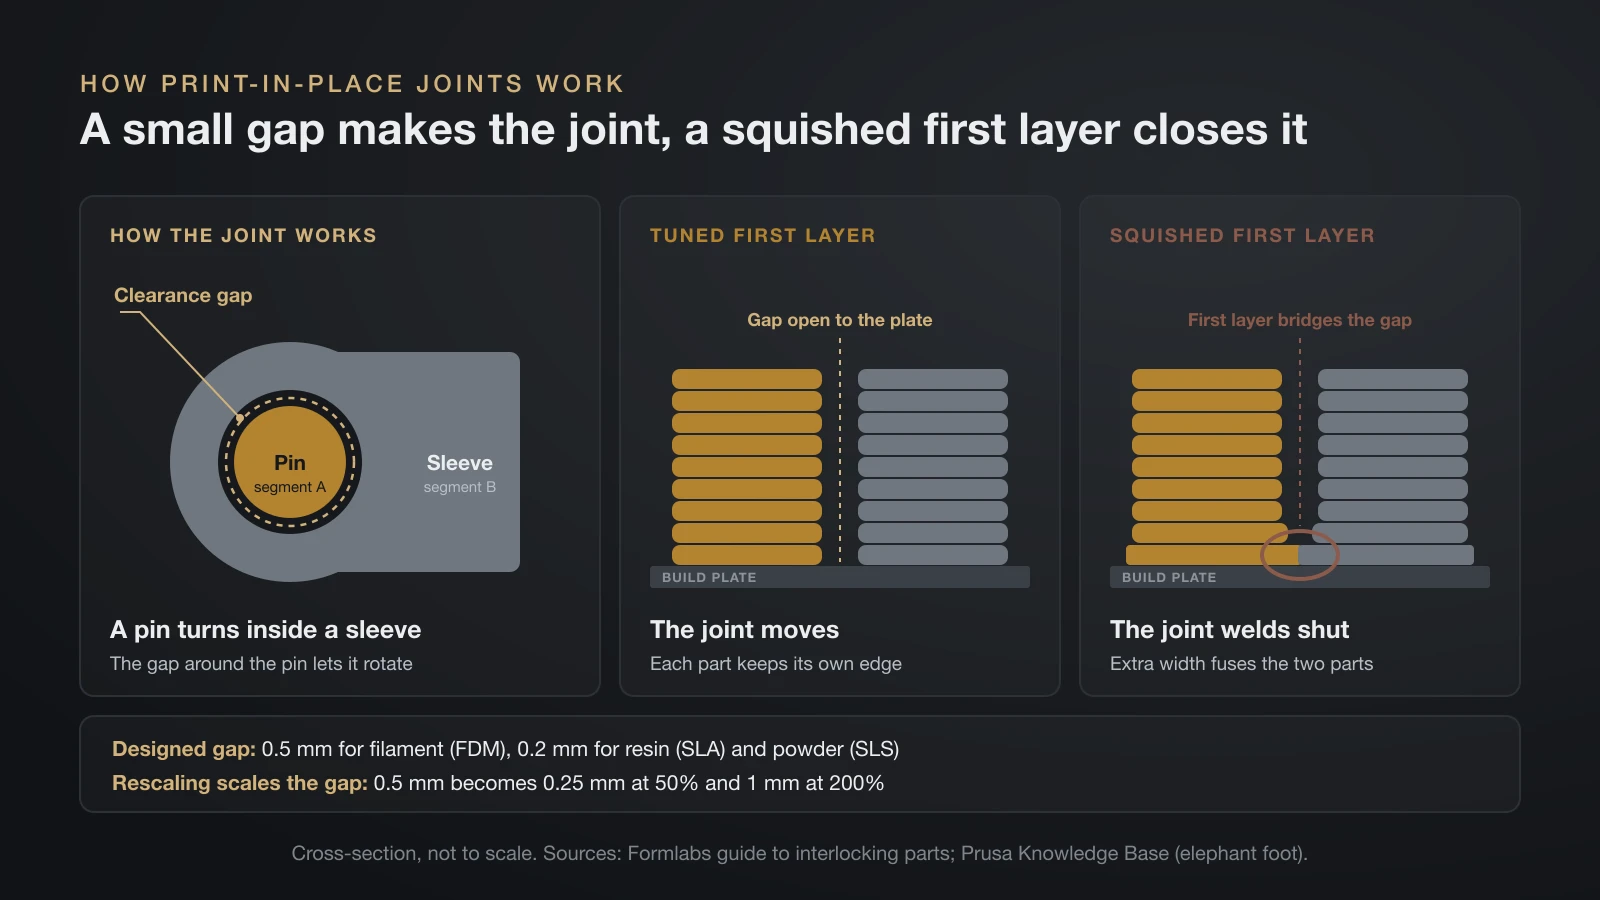
A print-in-place joint is two interlocking parts printed at the same time, separated by a thin clearance gap so they never touch. A typical hinge is a pin inside a sleeve: the pin belongs to one segment, the sleeve to the next, and the gap around the pin lets it rotate once printing is done. Snap fits, pins and other 3D printed joints rely on the same clearance idea.
The designer chooses that gap to match what printers can reproduce. Formlabs’ guide to interlocking parts lists 0.5 mm as the tolerance needed for filament (FDM) printing, against 0.2 mm for resin (SLA) and powder (SLS) printing, because filament printers have more dimensional variability. Every print-in-place design depends on your printer holding its own gaps open.
The gap is weakest at the bottom. The first layer is pressed into the bed, so it spreads wider than the model, and that extra width can bridge the gap between two parts and weld the joint shut. Over-extrusion, stringing and a brim that touches several parts do the same.
Why you should not rescale print-in-place models
Scaling a model scales its gaps too. As an example, a 0.5 mm gap printed at 50% scale becomes 0.25 mm, which a filament printer may not keep open; enlarged to 200%, it becomes 1 mm and the joints turn floppy. Print articulated toys at the size the designer intended, or pick a version made for the size you want.
Best settings for 3D printed articulated toys
The best settings for articulated toys are the designer’s settings on a printer with a well-calibrated first layer and correct extrusion. Most failures trace back to the bottom layers, so start there.
- Dial in the first layer. A first layer squished too hard closes the joints; too high and parts come loose from the bed. Our guide to 3D printing first layer problems shows how to read and fix it.
- Use elephant foot compensation. Prusa explains that the squished first layer usually ends up wider than it should be. PrusaSlicer’s elephant foot compensation shrinks it back, is on by default in Prusa’s profiles and starts around 0.2 mm for a 0.4 mm nozzle.
- Calibrate flow. Over-extrusion thickens every wall and narrows every gap. Our 3D printer calibration guide covers flow and e-steps.
- Skip supports unless the designer asks for them. Print-in-place toys are designed to print without them, and support material inside a joint is almost impossible to remove.
- Avoid brims that connect parts. If you need extra adhesion, use a brim only on outer edges that are not near a joint.
- Keep the original orientation. Rotating a model can put its joints at angles they were not designed to print at.
Before a long print, run the designer’s tolerance test or a small single-joint model. If that moves freely, the full toy will too.
How to free stuck print-in-place joints
A stiff print-in-place joint can usually be freed by working it gently, while a fully fused one needs a reprint with better settings. Try these steps in order:
- Flex each joint gently right after removing the print, a little farther each time, until it moves through its full range.
- Check the bottom edge. If a thin lip of first-layer plastic bridges two parts, trim it with a hobby knife or deburring tool.
- Clear strings between segments with a pick or tweezers.
- Rotate hinges through several full cycles to wear the contact surfaces smooth.
- Stop before it snaps. If a joint will not move with moderate force, it is fused inside and forcing it breaks the pin.
Avoid heat as a shortcut. Prusa notes that PLA gets soft and deforms above 60 °C (140 °F), so hot water or a heat gun can warp a whole toy instead of loosening one joint. If joints fuse repeatedly, raise the first layer slightly, check flow and reprint.
Best material for articulated toys and fidgets
PLA is the best starting material for articulated toys, with PLA+ and PETG as tougher options. Prusa describes PLA as ideal for low-wear toys and detailed models, and it prints crisp, accurate joints with little warping.
| Material | Strengths | Drawbacks | Use it for |
|---|---|---|---|
| PLA | Accurate joints, easy to print, many colors | Thin pins can snap; softens above 60 °C | Flexi animals, puzzles, game pieces |
| PLA+ | Tougher on impact than standard PLA | Slightly less stiff; varies by brand | Toys that get dropped, clickers |
| PETG | Tough and slightly flexible | Strings more, and strings can bridge joints | Fidgets that see heavy use |
| TPU | Rubbery, flexible (about 60A–90A Shore) | Slow to print; not for tight hinges | Squishy toys, tires, grips |
| Resin | Very fine detail | Print-in-place not recommended; handling precautions | Assembled figures and small parts |
Toughness matters for toys that get played with. Our PLA plus guide explains what the plus adds and where it is worth the switch. Keep PLA toys out of hot cars, where a sunlit dashboard can soften them.
Are 3D printed toys safe for kids?
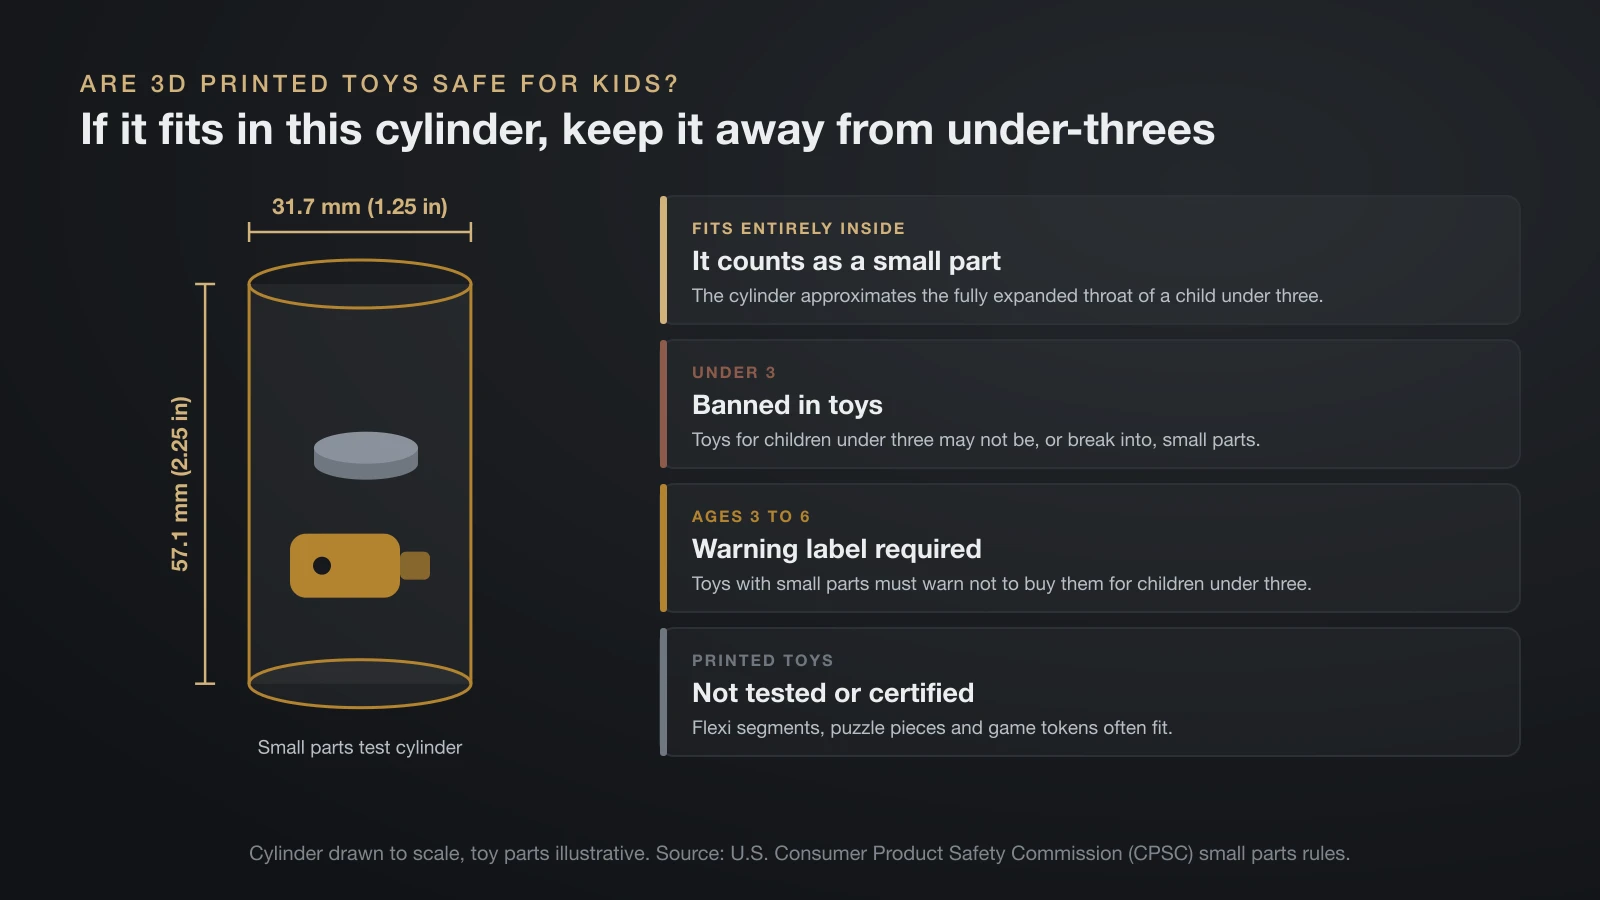
3D printed toys can be fine for older children with supervision, but they are not tested or certified like store-bought toys, and articulated designs are full of small parts. Treat every printed toy as unsuitable for children under three.
US rules explain why. The Consumer Product Safety Commission (CPSC) bans toys intended for children under three that are, or break into, small parts. A small part is anything that fits entirely into a test cylinder 1.25 in (31.7 mm) wide and 2.25 in (57.1 mm) long, which approximates the fully expanded throat of a child under three. Flexi segments, puzzle pieces and game tokens often fit.
- Breakage: printed parts are weakest between layers, and a thin hinge pin can snap off under play. Commercial toys for under-threes must survive impact, flexure, torque, tension and compression tests without shedding small parts.
- Age labels: toys with small parts intended for ages 3–6 must carry a warning not to buy them for children under three.
- Toy standard: CPSC also lists ASTM F963, the toy safety standard referenced in 16 CFR part 1250, among the rules toys must meet.
- Paint and edges: for children under three, CPSC also rules out hazardous sharp points and edges and surface coatings with more than 0.009% lead. Sand off support scars and sharp layer edges.
Supervise play, check toys for cracks, and throw away any that start to break. If you plan to sell printed toys, the rules change: CPSC expects children’s products subject to the small parts rule to be certified in a Children’s Product Certificate. This is general information, not legal advice.
For bigger wearable prints, our guide to 3D printed cosplay armor covers materials, sizing and finishing.
The bottom line
3D printed articulated toys work because the designer builds a gap into every joint, and your printer’s job is to keep those gaps open. Print them in PLA or PLA+, at the original scale and orientation, with a well-tuned first layer and elephant foot compensation. Free stiff joints gently rather than with heat, and keep printed toys, which are not safety tested, away from children under three.
Sources
- U.S. Consumer Product Safety Commission: Summary information for small parts, 16 CFR Part 1501 and small parts and choking hazard labeling (small parts cylinder of 1.25 in by 2.25 in, under-three ban, use and abuse tests, ages 3–6 warning labels, ASTM F963 and 16 CFR part 1250, sharp points and edges, 0.009% lead limit, Children’s Product Certificate)
- Formlabs: How to 3D print interlocking parts and assemblies (tolerances of 0.5 mm for FDM and 0.2 mm for SLA and SLS; integrated assemblies not recommended on SLA because trapped resin is hard to clean)
- Prusa Knowledge Base: Elephant foot compensation, PLA and flexible materials (wider first layer, default setting and 0.2 mm starting value; PLA for low-wear toys, softens above 60 °C; TPU at 60A–90A Shore)
- Creative Commons: About CC licenses (license elements and the NonCommercial restriction)
- U.S. Copyright Office: Title 17, Section 106 (exclusive rights to reproduce a work and prepare derivative works)