3D printed cosplay armor is usually printed in PLA or PLA+ on a filament printer, split into sections that fit the build plate, then glued, sanded, primed, painted and strapped over padding. PLA softens at about 55 °C (131 °F), so armor that rides in a hot car or stands in the sun is safer in PETG or ASA.
This guide covers the whole build: materials with real heat data, where to find files, sizing, print settings, finishing, straps, helmets and convention prop rules. Paint gets its own guide, so for primers, colors and clear coats see how to paint 3D prints.
The short answer
| Part | Material | Print it with | Watch out for |
|---|---|---|---|
| Helmet | PLA+ or PETG; ASA for hot climates | Extra perimeters, low infill | Fit, vision and ventilation |
| Chest, back and shoulder plates | PLA+; PETG or ASA if they sit in the sun | Split to fit the bed, strong seams | Heat in parked cars |
| Gauntlets, bracers and greaves | PLA+ or PETG | Curves printed with few supports | Room for padding and movement |
| Emblems and fine details | Resin or PLA with fine layers | Small nozzle or resin printer | Glue on after painting |
| Straps and flexible joints | TPU | Slow printing | Stretch under load |
| Props (swords, staffs, blasters) | PLA+ or PETG | Split lengthwise, keyed joints | Event size and weapon rules |
Is 3D printing good for cosplay?
Yes, 3D printing is good for cosplay parts that need hard surfaces, exact shapes or repeated details. Helmets, armor plates, emblems and props come out symmetrical and true to the design, and a broken piece can be reprinted from the same file.
The trade-offs are time, weight and stiffness. Large plates take many hours to print, a full suit adds real weight, and rigid plastic does not bend with your body the way EVA foam does. Many builders mix the two: foam for large flexible areas, prints for helmets, details and anything that must look machined.
Printed props are widely accepted at events. Emerald City Comic Con’s prop rules list PLA and 3D printing among the sensible prop materials, alongside lightweight wood, foam and card.
Where to find 3D printed cosplay armor files
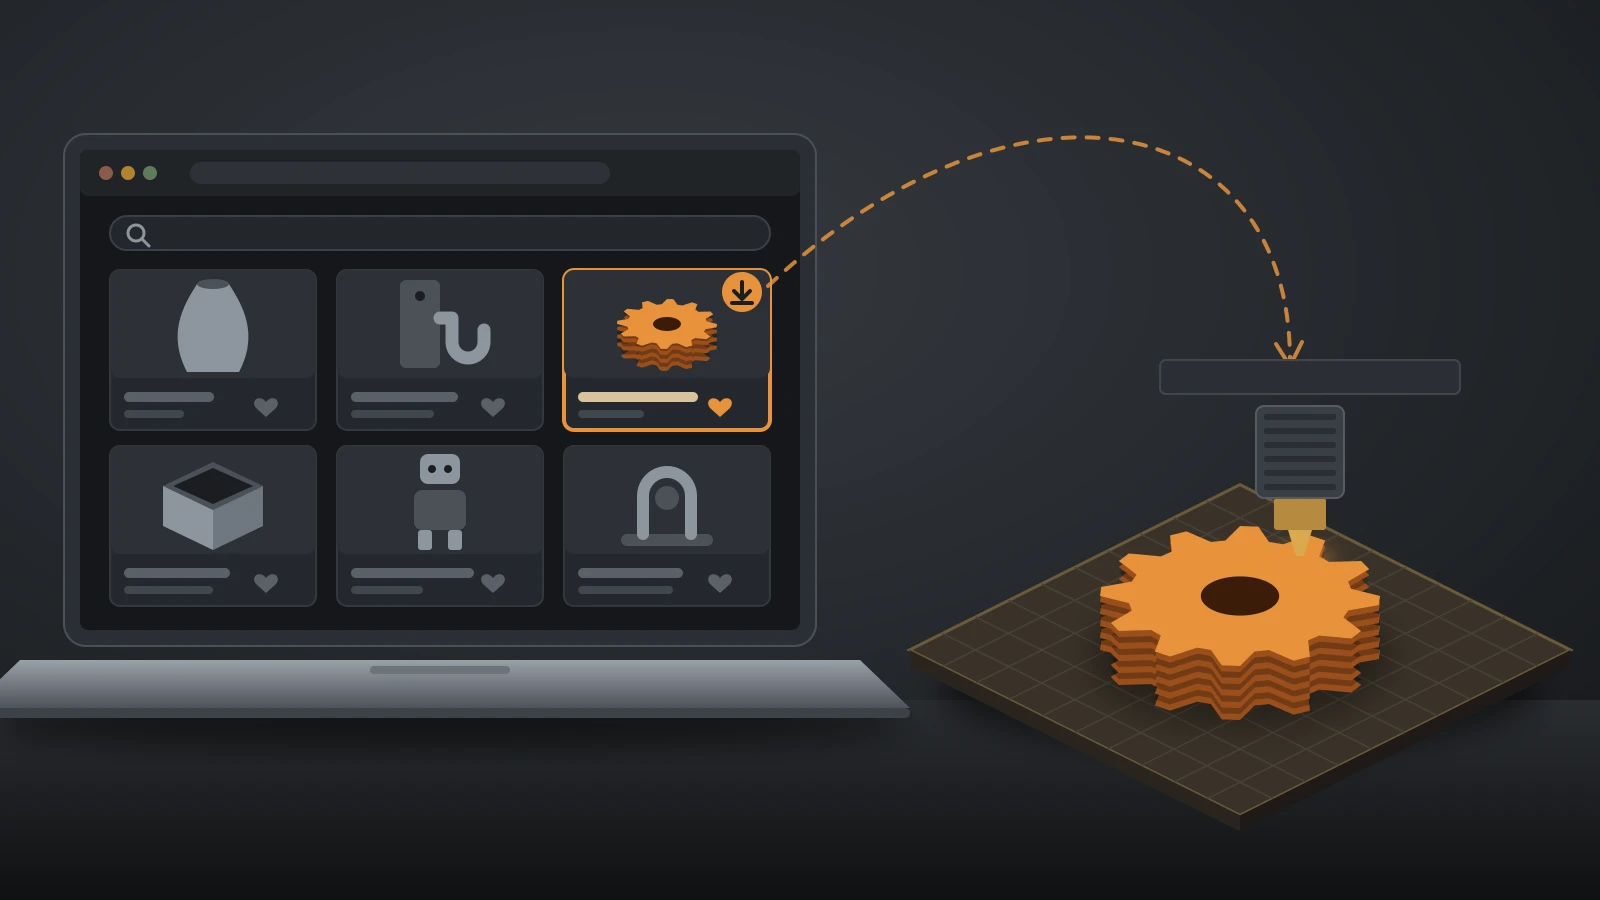
Most 3D printed armor starts from a downloaded model rather than a blank CAD screen. Free libraries such as Printables, MakerWorld and Thingiverse have large cosplay sections, and independent prop designers sell complete armor and helmet sets, often pre-split for common printer sizes.
Before you download, check:
- Sizing: good files include a sizing guide or a reference height, so you can scale to your body.
- Splitting: pieces already cut into bed-sized sections, with keys or pins for alignment, save a lot of work.
- Test pieces: a small fit test or a thin ring lets you check scale before committing to a long print.
- License: many free files carry Creative Commons licenses, and the NonCommercial versions forbid selling prints. A fan-made model of a film or game character comes with the fan’s license, not the studio’s permission.
Our guide to 3D printed action figures explains Creative Commons terms and fan art copyright in more detail.
Best filament for 3D printed cosplay armor
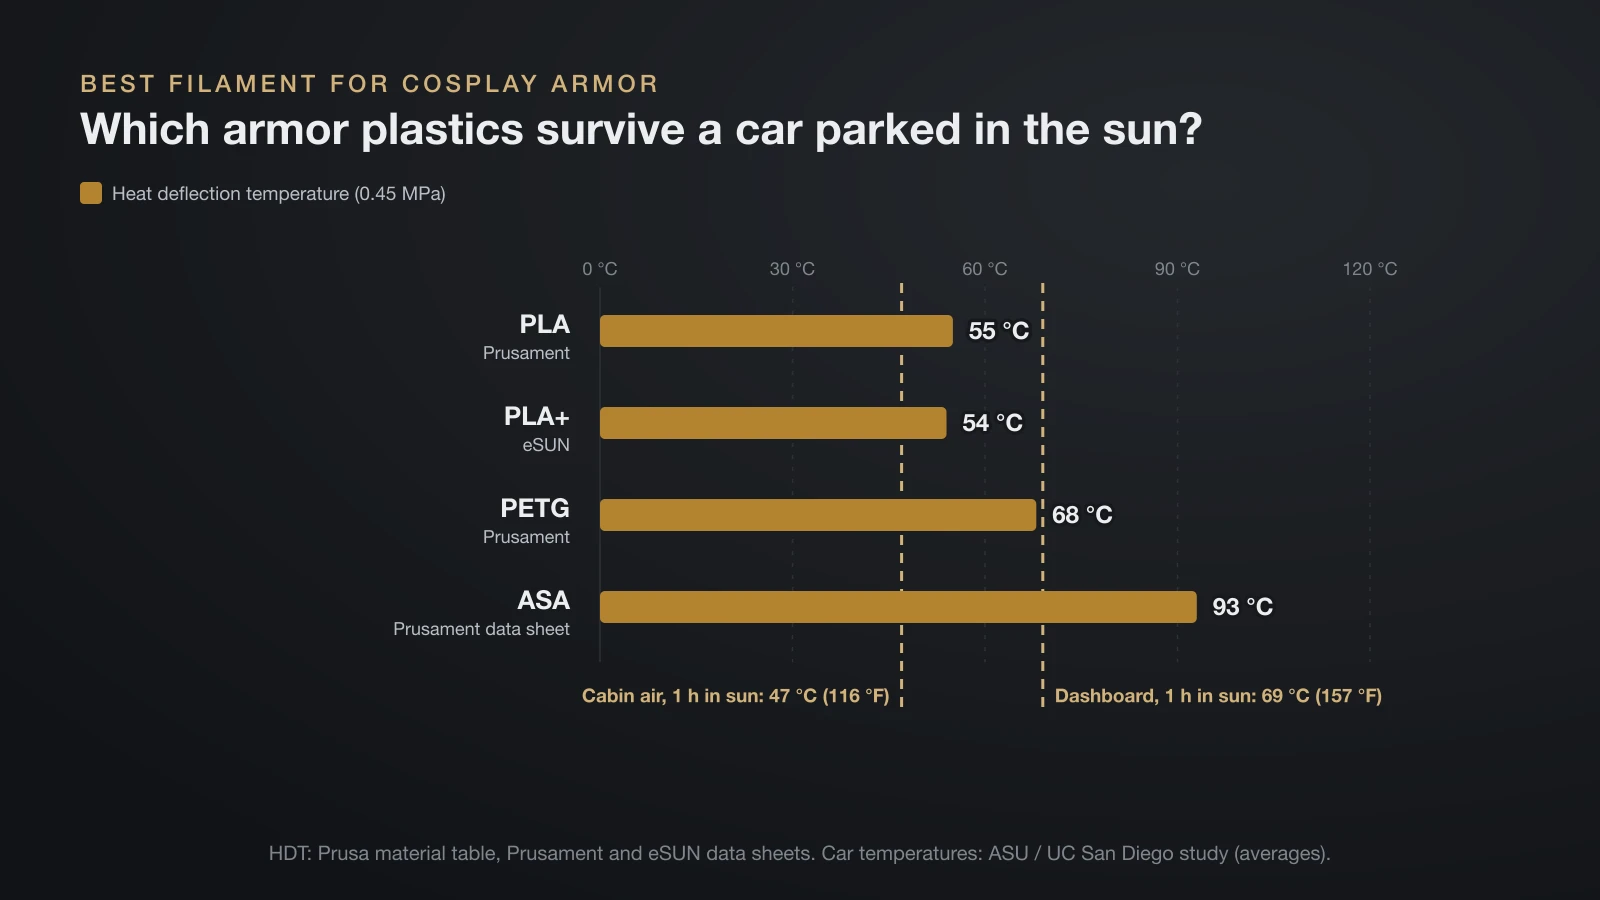
The best filament for cosplay armor is PLA+ for most indoor builds, PETG or ASA for pieces that face heat, and TPU for anything that must flex. The deciding number is heat deflection temperature (HDT), the point where a test bar bends under a light load (0.45 MPa):
| Filament | Heat deflection (0.45 MPa) | Armor verdict |
|---|---|---|
| PLA (Prusament) | 55 °C (131 °F) | Easiest to print and sand; keep out of hot cars |
| PLA+ (eSUN) | 54 °C (129 °F) | Tougher than PLA, same heat limit |
| PETG (Prusament) | 68 °C (154 °F) | Tougher and warmer; harder to sand |
| ASA (Prusament data sheet) | 93 °C (199 °F) | Survives heat and sun; needs an enclosure |
For comparison, a study by Arizona State University and UC San Diego researchers found that cars parked in the sun reached an average cabin air temperature of 47 °C (116 °F) after one hour, with dashboards at 69 °C (157 °F). Armor left on a rear shelf in summer can warp. Our guide to 3D printed car parts has the full study data.
- PLA: prints crisp, stiff plates with little warping. Prusament says PLA parts start to lose strength above 60 °C (140 °F), and Prusa notes that PLA degrades under UV light, which matters for outdoor events.
- PLA+: a toughened PLA that resists cracking better on impact, with the same heat limit. Our PLA plus guide covers settings and brands.
- PETG: takes more heat and knocks, but it strings more and is harder to sand smooth.
- ASA: the heat and sunlight pick, printed hot and best in an enclosure; see our ASA filament guide.
- TPU: a flexible filament for straps, hinges and edge trim. Prusa lists belts and shoe soles among typical flexible prints and suggests printing it slowly, around 20 mm/s.
- Resin: the sharpest choice for small emblems, jewels and helmet details; compare the two printer types in our resin vs filament guide.
HDT is not a comfortable working limit. Plates carrying straps and buckles start to creep below it, so leave a margin.
What matters in a 3D printer for cosplay
The best 3D printer for cosplay is one that fits your largest parts and prints your chosen materials reliably for many hours. The brand matters less than three features:
- Build volume: a bigger bed means fewer splits, fewer seams and less filling, which is the main case for large 3D printers. Check your largest file in the slicer before buying; a helmet that fits in one piece saves hours of finishing.
- Material range: PLA and PLA+ print on almost anything. ASA and ABS need a hotter nozzle and bed and are far happier in an enclosure; our guide to enclosed 3D printers explains why.
- Reliability on long prints: automatic bed leveling, a filament runout sensor and power-loss recovery matter more when a single chest plate prints for many hours.
A resin printer is a useful second machine for small details, but resin printers usually offer a smaller build volume than filament printers.
How to size and split armor for your body and printer
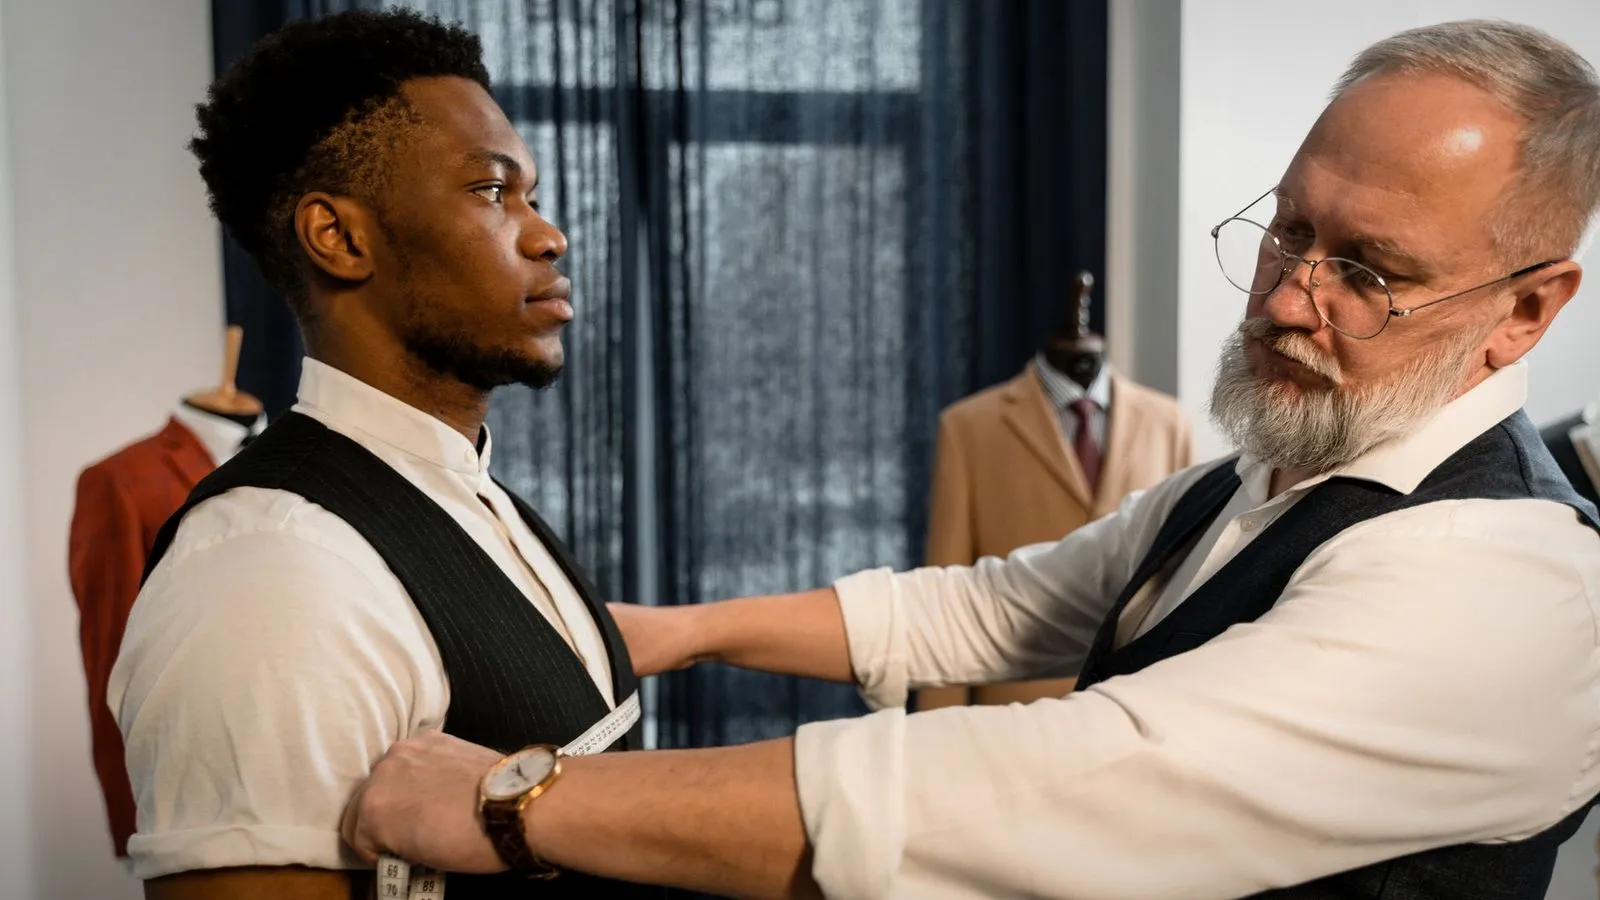
To size 3D printed armor, measure your body, scale the model to match, and test a small section before printing the full piece. Measure the widest points of the chest, shoulders, head, forearms and calves, and compare them with the file’s reference size.
- Scale uniformly first. Stretching one axis distorts the design. Scale the whole model, then adjust single axes only for small corrections.
- Allow for layers underneath. Padding, a base suit and straps all take space, so size the inside of each piece, not the outside of your skin.
- Test a slice. Cut a thin band from a helmet or gauntlet in the slicer and print it in PLA to check the fit in minutes instead of hours.
- Split what does not fit. Use your slicer’s cut tool to divide large parts and add pins, dowels or keyed connectors so the pieces align when glued; our guide on how to edit STL files shows how.
- Orient for strength and finish. Lay curved plates so layer lines follow the curve, keep supports off visible faces, and put seams where straps or trim will hide them.
Walls and infill: strength vs weight
For armor, extra walls add strength and infill mostly adds weight. Prusa states that a model’s strength comes mostly from the number of perimeters, not the infill, and that most models print well with 10–15% infill. For thin armor shells, a few extra perimeters give a stiff, sandable skin without filling the part with plastic.
Your slicer shows the grams of each part, a quick way to compare settings and to estimate the filament cost of the build. Add up the whole set before printing: weight hanging from straps is what makes armor uncomfortable after an hour.
Finishing 3D printed armor: seams, sanding and primer
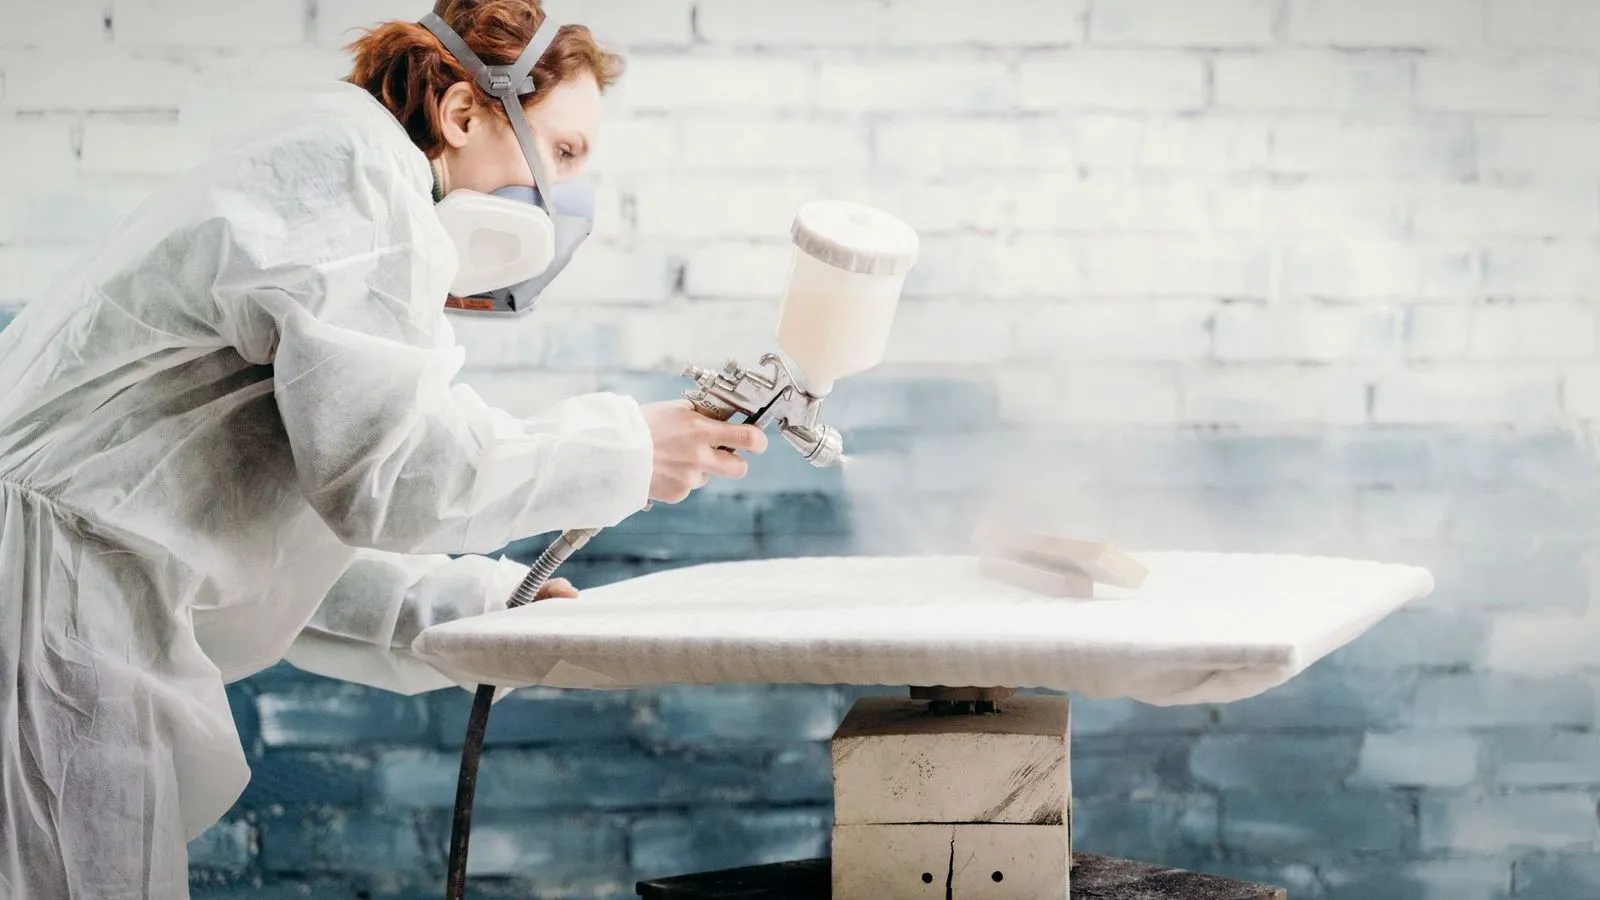
Finishing turns printed plates into armor that looks like metal or molded plastic. The basic order is glue, fill, sand, prime, paint and seal. Our guide to the best glue for PLA covers the first step.
- Join the sections with a strong adhesive, working from the center of a part outward so errors do not add up.
- Fill the seams and any gaps with filler or putty, then sand them flush.
- Sand the layer lines in grit steps, from coarse to fine.
- Spray filler primer to hide what sanding missed, then sand again.
- Paint and weather with a base coat, details and a clear coat.
Our step-by-step guide on how to paint 3D prints covers grits, primers, paint types and ventilation. For emblems or rivets you need many of, print one master and cast copies in resin; our guide to 3D printed molds explains silicone molds.
Strapping and attaching armor
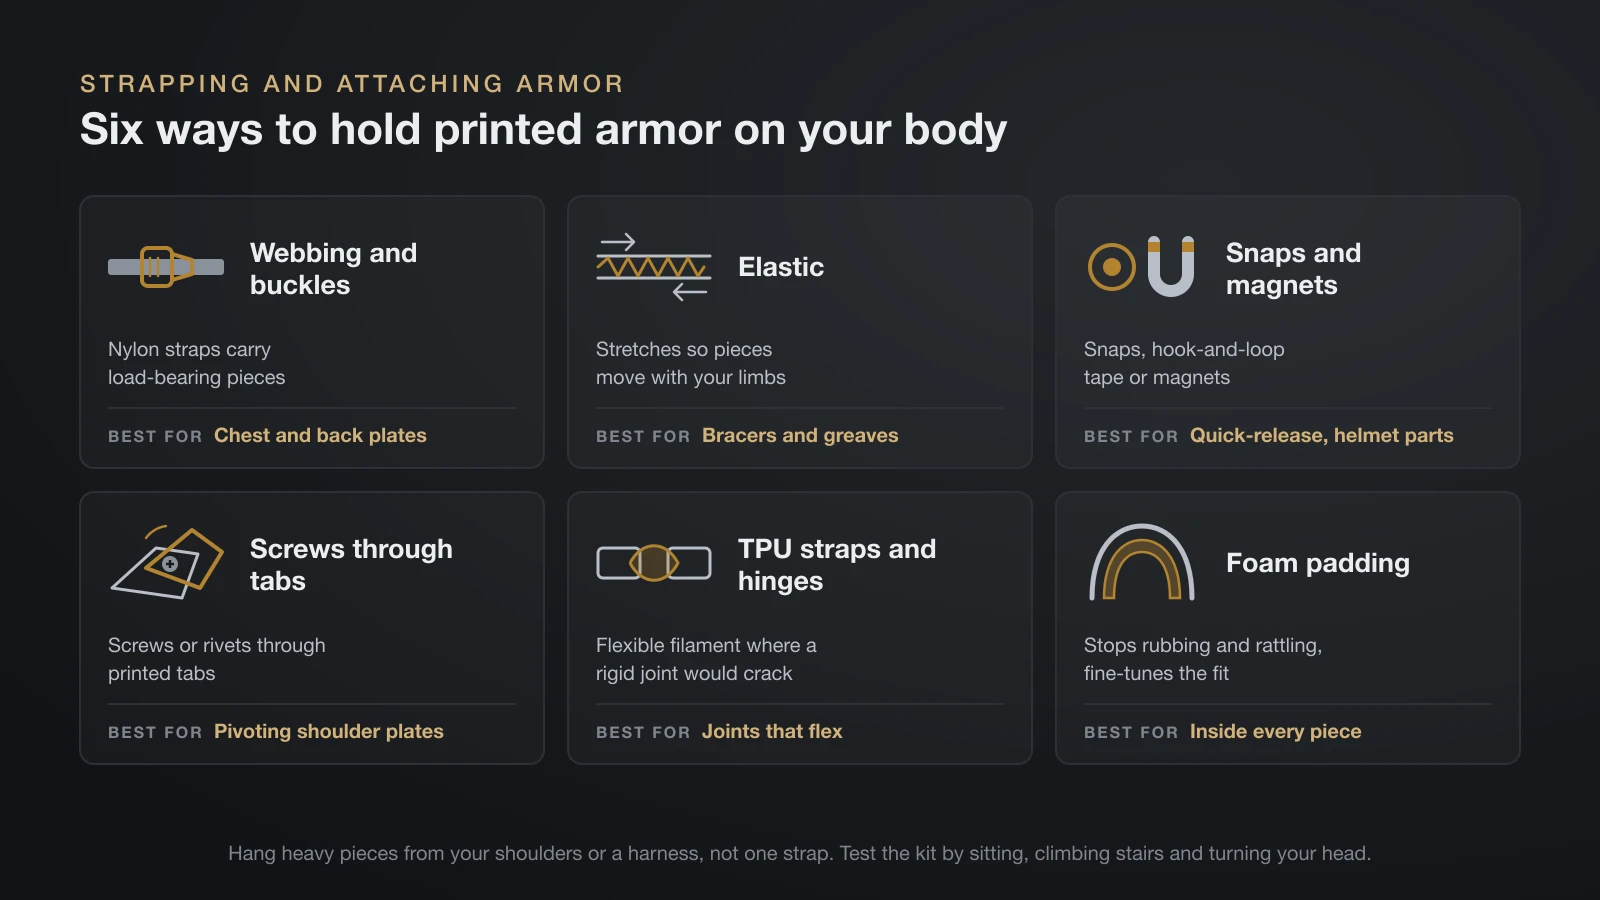
3D printed armor is held on by straps, elastic and fasteners attached to printed tabs, not by the plastic itself. Plan attachment points in the model or glue them on before painting.
- Nylon webbing and buckles for load-bearing pieces such as chest and back plates.
- Elastic for bracers and greaves, so they move with your limbs.
- Snaps, hook-and-loop tape or magnets for quick-release pieces and helmet parts.
- Screws or rivets through printed tabs for pieces that pivot, such as shoulder plates.
- TPU straps and hinges printed in flexible filament where a rigid joint would crack.
- Foam padding inside each piece to stop rubbing and rattling and to fine-tune the fit.
Hang heavy pieces from your shoulders or a harness rather than from a single strap, and test the whole kit by sitting, climbing stairs and turning your head before the event.
3D printed helmets: fit, vision and ventilation
A wearable 3D printed helmet needs padding, a clear line of sight and airflow, because a closed plastic shell traps heat and fogs visors. Size the helmet so your head fits with padding inside, then add foam pads at the crown, sides and forehead until it sits firmly without pressing.
- Vision: check the eye openings or visor while wearing the helmet, including downward for stairs and steps.
- Ventilation: hidden vents and small fans move air and reduce fogging on visors.
- Removal: make sure you can take it off quickly without help.
A printed helmet is a costume piece, not protective equipment. Never wear one for cycling, sports or any activity that calls for a certified helmet.
Props and convention weapon rules
Every convention sets its own prop rules, so read the policy page of your event before you build a weapon prop. Two large US events show the pattern:
- San Diego Comic-Con: no functional or sharp-edged props or weapons. All costume props must be inspected daily at a Costume Props Desk and tagged, and must conform to state and federal law.
- Emerald City Comic Con: metal blades are banned, sharp points must be rounded off, and props may be at most 150 cm long, or 180 cm for a narrow staff or spear. Longer props must come apart into smaller pieces without tools.
Realistic gun props face the strictest rules at both events, including brightly colored tips or caps and daily checks. Follow your event’s exact wording. For big props, print hollow and light, split along the length with keyed joints, and remember that a heavy prop can hurt someone in a crowd.
Printed props and armor also make great display pieces at home; for smaller printed characters and fidgets, see our guide to 3D printed articulated toys.
The bottom line
3D printed cosplay armor works best in PLA or PLA+ for indoor builds and PETG or ASA for anything that faces a hot car or the sun, since PLA deflects at 55 °C (131 °F). Size and test before long prints, favor extra walls over dense infill, and finish with filler primer and paint. Plan straps, padding and helmet airflow early, and check your convention’s prop policy before you build a weapon.
Sources
- Prusa Research: filament material table, Prusament ASA, Prusament PLA, PLA guide, infill and flexible materials (heat deflection at 0.45 MPa: PLA 55 °C, PETG 68 °C, ASA 93 °C; PLA strength loss above 60 °C and UV degradation; perimeters vs infill, 10–15% infill; TPU uses and speed)
- eSUN: PLA+ technical data sheet (heat distortion 53.78 °C at 0.45 MPa)
- Arizona State University: Hot cars can hit deadly temperatures in as little as one hour (average cabin air and dashboard temperatures after one hour in the sun)
- Comic-Con International: Convention policies (costume props policy, daily inspection, no functional or sharp-edged weapons)
- Emerald City Comic Con: Cosplay and prop rules (permitted prop materials including PLA, 150 cm and 180 cm size limits, banned metal blades, realistic gun prop rules)