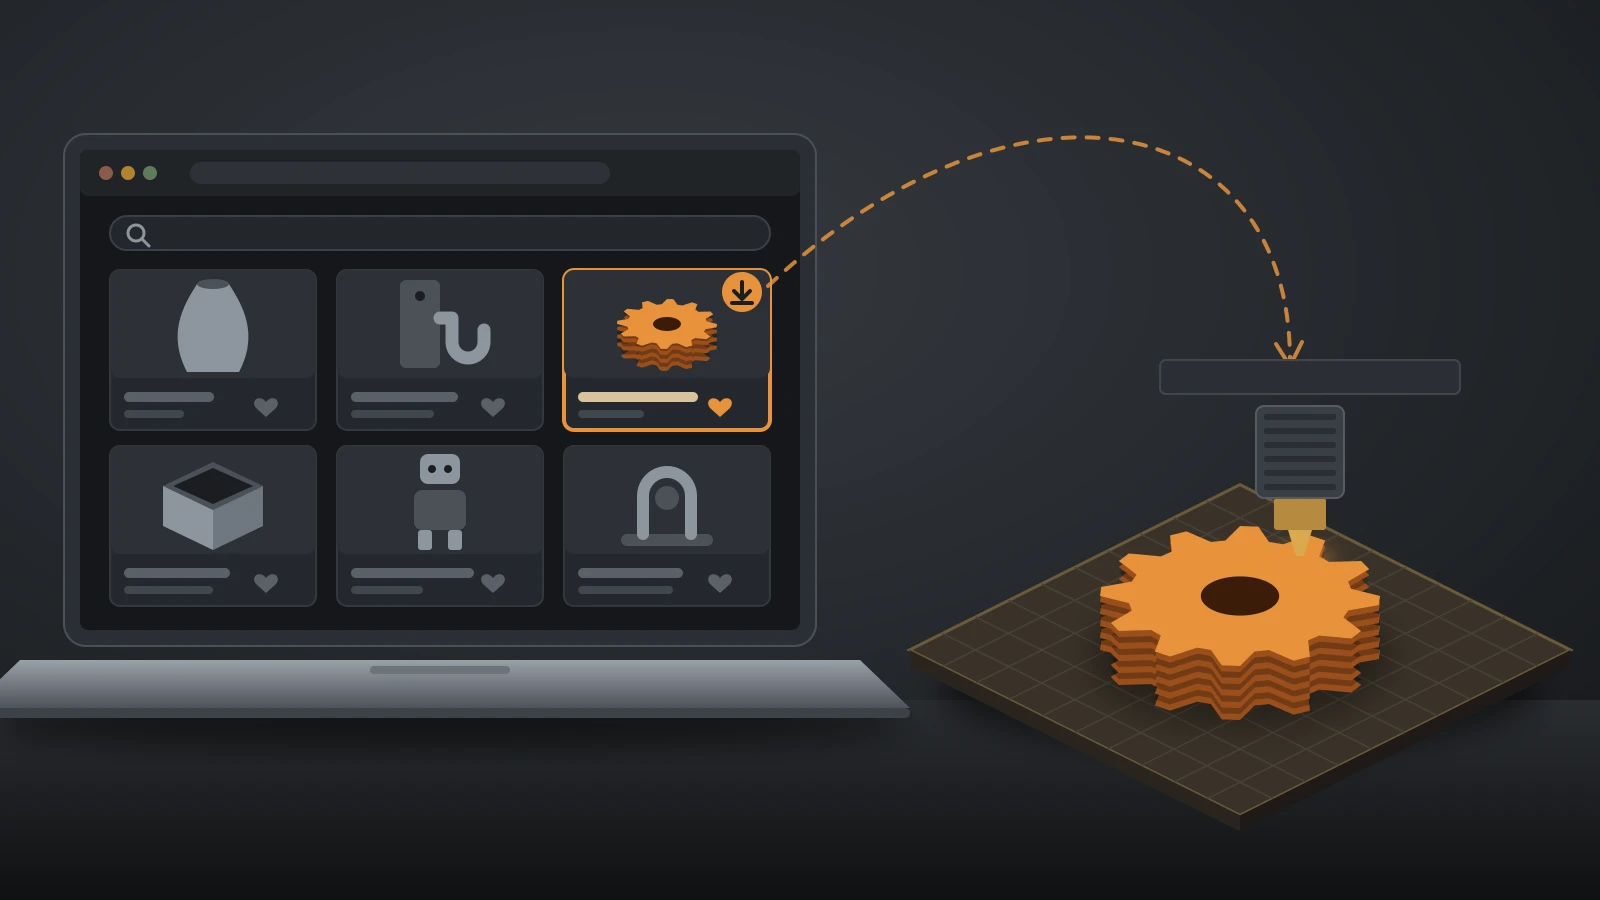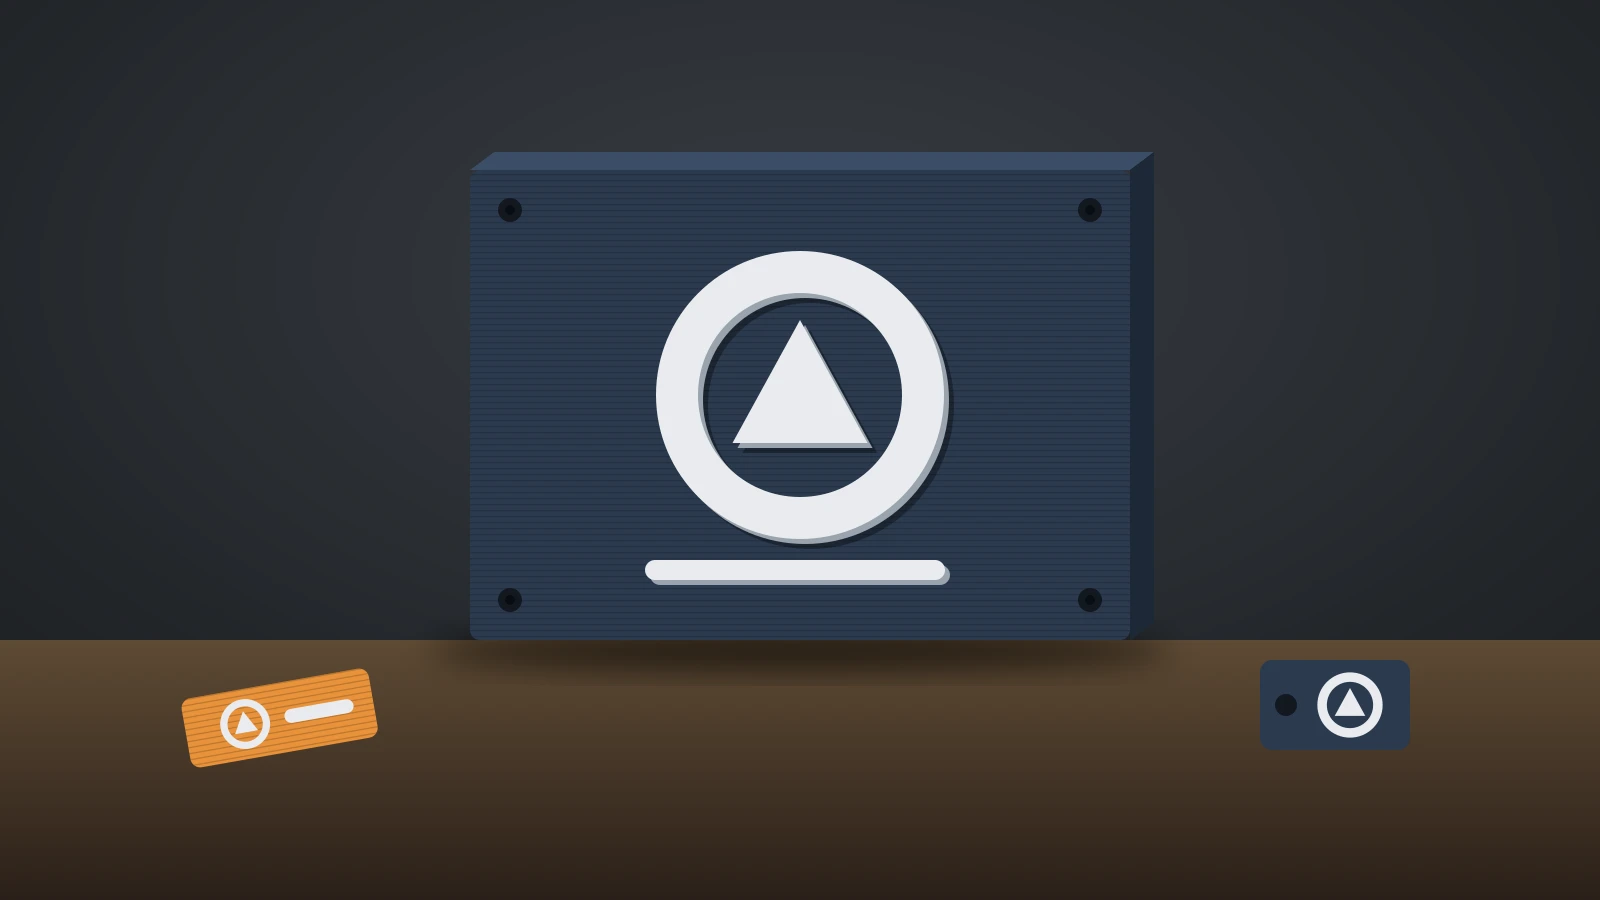
3D printing a logo takes four steps: get the logo as a vector SVG file, import it into your slicer or a CAD tool, extrude the background and the raised shapes to different heights, and slice. For a two-color sign, add a filament change at the layer where the logo starts; a multicolor printer can assign colors directly.
The same workflow makes keychains, desk nameplates, door signs and shop signage. If you want colors that change within a single layer, our guide to multi-color 3D printers explains the hardware options.
The short answer
| Step | What to do | Tool |
|---|---|---|
| 1. Vector file | Use the original SVG or trace a PNG into vector paths | Inkscape (Trace Bitmap) or the designer’s files |
| 2. Import | Add the SVG to a plate, or emboss it onto a model | PrusaSlicer SVG tool, Bambu Studio import, Tinkercad |
| 3. Heights | Base plate first, logo raised (or engraved) on top | Slicer or CAD |
| 4. Color | Color change at a layer, or a filament per part on a multicolor printer | Slicer preview |
| 5. Check | Look at the sliced preview for thin lines that disappear | Slicer preview |
| 6. Mount | Screw holes, keyhole slots or adhesive pads | Design them in |
What makes a logo easy to 3D print?
A logo prints well when it is a clean vector with simple shapes, few colors and no lines thinner than the printer can draw. Filament printers draw with lines of plastic: Prusa notes that PrusaSlicer prints a 0.4 mm nozzle with a 0.45 mm extrusion width, and walls thinner than one perimeter cannot be printed.
- Vector, not pixels: Bambu Lab explains that vector images consist of paths and curves, while JPEG and PNG files can have blurry edges or gradients that make extrusion less precise.
- Bold strokes: hairlines, tiny serifs and fine outlines vanish at small sizes. Scale up the print or simplify the artwork.
- Flat colors: each color is a separate shape and often a separate filament change, so gradients and shadows do not translate.
- Gaps you can print: letters that touch or nearly touch can merge into one blob; open the spacing slightly.
PrusaSlicer’s default Arachne perimeter generator adapts line width for thin features, and Prusa says it gives much cleaner text and small logos. Its minimum feature size setting still drops anything thinner than the limit, so check the preview.
How to turn a logo into an SVG file
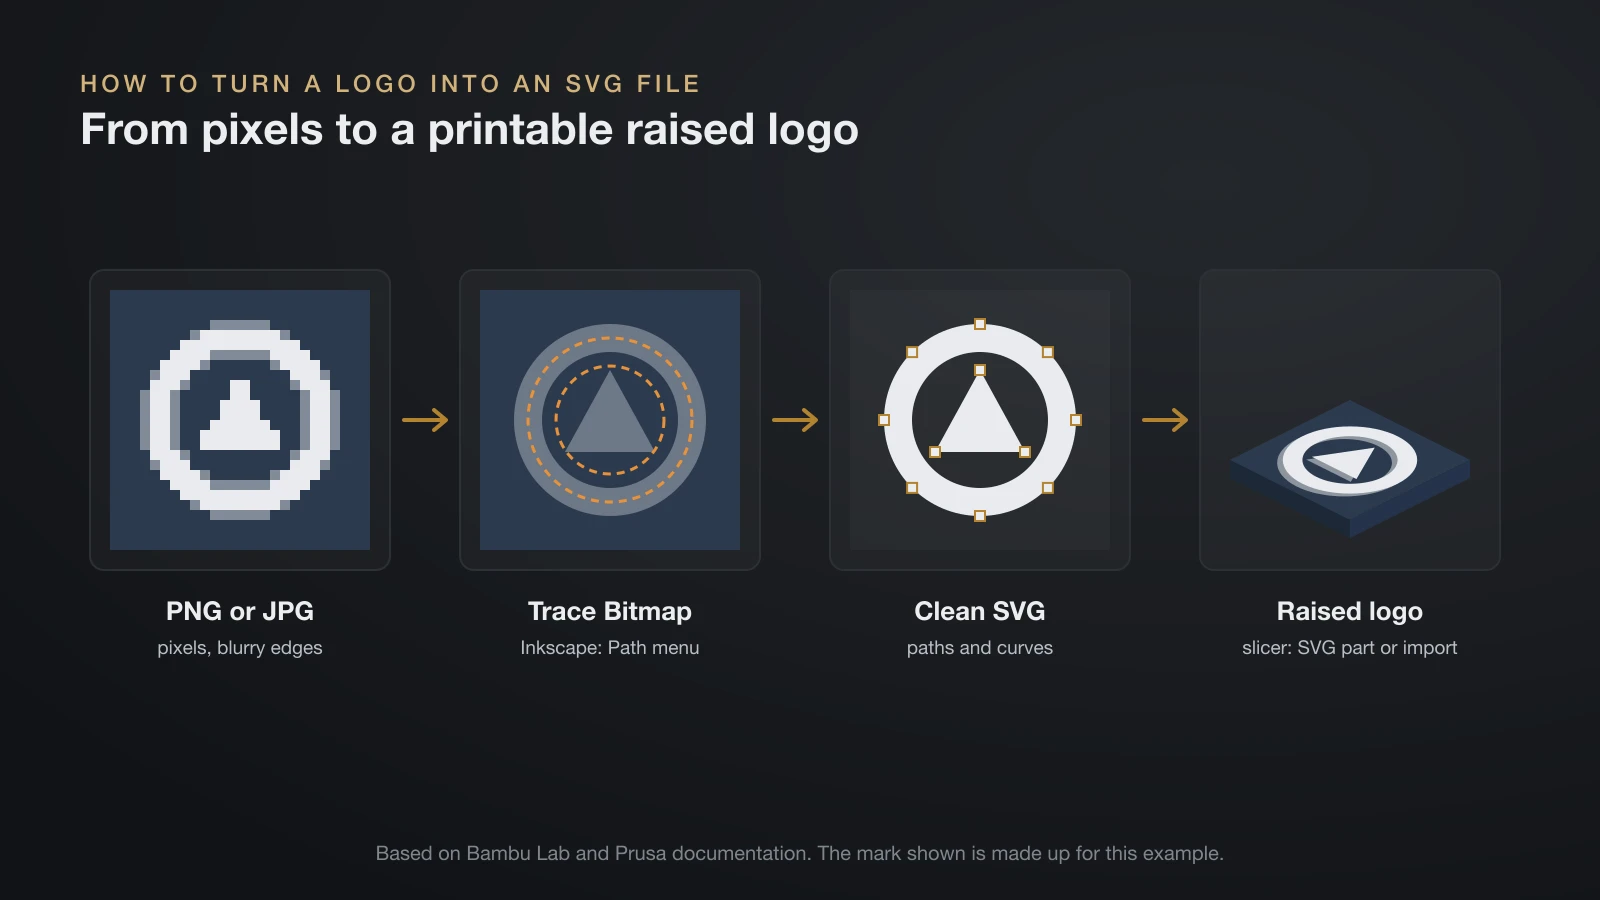
The best source is the original vector artwork, usually an SVG, AI, EPS or PDF from the designer. If you only have a PNG or JPG, trace it into vector paths first. Bambu Lab’s guide uses the free editor Inkscape:
- Import the image into Inkscape by dragging it onto the canvas, and size it to fit the page.
- Trace it: select the image and choose Path, Trace Bitmap. Pick Multicolor to capture each color as its own region.
- Save as SVG: File, Save As, with SVG selected.
- Clean up: delete stray specks and the background rectangle, and merge pieces that belong to one color.
Tracing works best on high-contrast images with clear edges. A blurry logo traces into lumpy outlines, so start from the largest, sharpest copy you can find. For building the shape from scratch instead, see our guide on how to make 3D models for printing.
How to 3D print a logo in your slicer
Modern slicers can turn an SVG into printable geometry without separate CAD software. Each tool handles it a little differently.
PrusaSlicer: SVG embossing tool
Right-click an object and choose Add part, SVG. Prusa’s tool lets you set the Depth (how far the logo stands out), the Size, rotation and mirroring, and Use surface to wrap the logo around a curved part. The Operation setting chooses Join (raised logo), Cut (engraved logo) or Modifier (for example, fuzzy skin only inside the logo). The SVG stays editable: double-click it in the 3D view.
Bambu Studio: import and split
In Bambu Studio, choose File, Import, select the SVG and scale it. Bambu Lab’s guide then splits the model (right-click, Split, To objects), deletes the background pieces, assigns a filament color to each part with Change Filament, and merges the parts back into one object before slicing.
Tinkercad and other CAD tools
Tinkercad imports SVG files as shapes, which you can set to any height, then add to a base plate or use as a hole to engrave. CAD is the better route when the logo must fit an existing part, such as a nameplate with mounting holes. Free models of plaques and sign blanks are also easy to find; our guide to Thingiverse 3D prints covers where to look and what the licenses allow.
Multicolor 3D printed logos: color change or multi-material
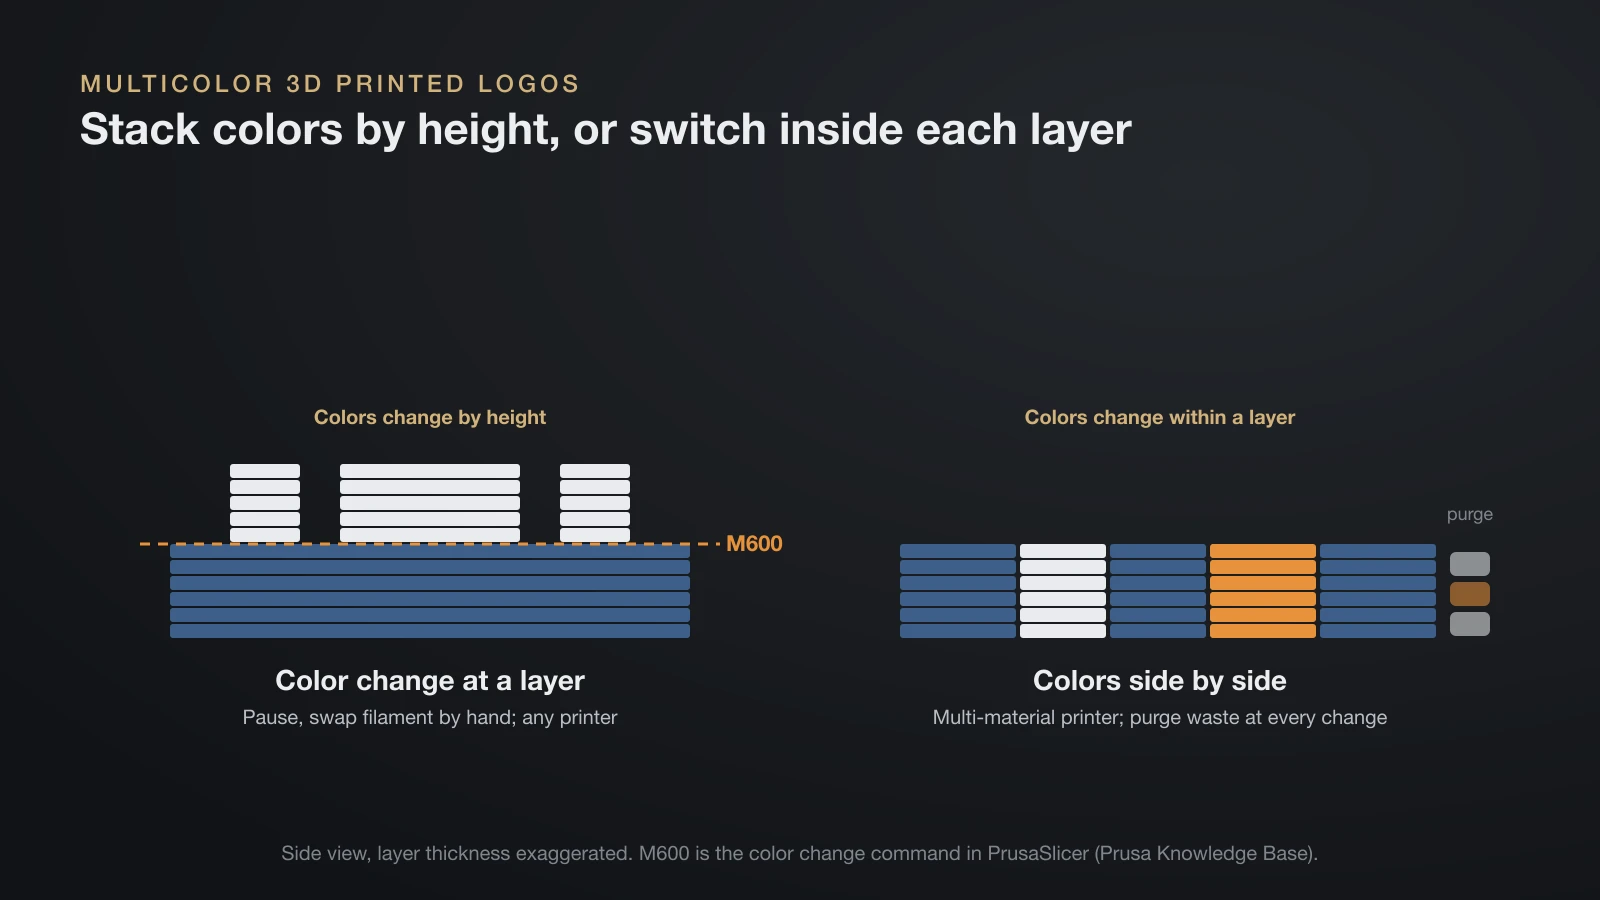
A two-color logo prints on any printer with a manual color change, while logos with colors side by side in the same layer need a multicolor setup. The design decides which route works.
| Method | How it works | Best for | Trade-off |
|---|---|---|---|
| Color change at a layer | The printer pauses and you swap filament by hand | Plates with raised logos or letters, keychains | Colors can only change by height |
| Multi-material printer | Slicer assigns a filament to each part | Logos with colors next to each other | Purge waste at every change |
| Paint after printing | One color print, painted details | Small runs and fine details | Extra work, paint can chip |
In PrusaSlicer, slice the model, drag the layer slider in the preview to the first layer of the logo and click the orange plus icon. The printer pauses at the M600 command for the swap. Prusa says to stay within one material type, PLA with PLA, because different kinds do not bond well. When PrusaSlicer detects a model that looks like a logo or sign, it offers to add the color changes at the right heights automatically.
On single-nozzle multicolor printers, Bambu Lab explains that every filament change must flush old filament out of the nozzle, and the flush volume depends mainly on the colors involved. Multimaterial prints are costly in time and material, so a design where colors stack by height is cheaper to print.
3D printed signs and letters
3D printed signs are flat plates with raised or engraved text and graphics, and they follow the same workflow as logos. Door signs, house numbers, shelf labels and shop signs are common projects.
High-contrast signs
A contrast sign uses a dark base with light letters, or the reverse, so it reads from across a room. Print the plate in one color and switch filament at the first layer of the text. A matte base with glossy letters adds contrast without a second hue.
Backlit and lithophane-style signs
Light changes how a sign looks. A thin layer of white filament over an LED glows, while thicker areas stay dark, which is the principle behind lithophanes. Our guide to 3D printed art covers lithophanes and other light-based pieces.
3D printed letters
Freestanding letters for walls, shelves or events can be printed one by one and mounted. Print each letter lying flat with its face up, and add a slot or keyhole on the back for hanging.
How to mount 3D printed logos and signs
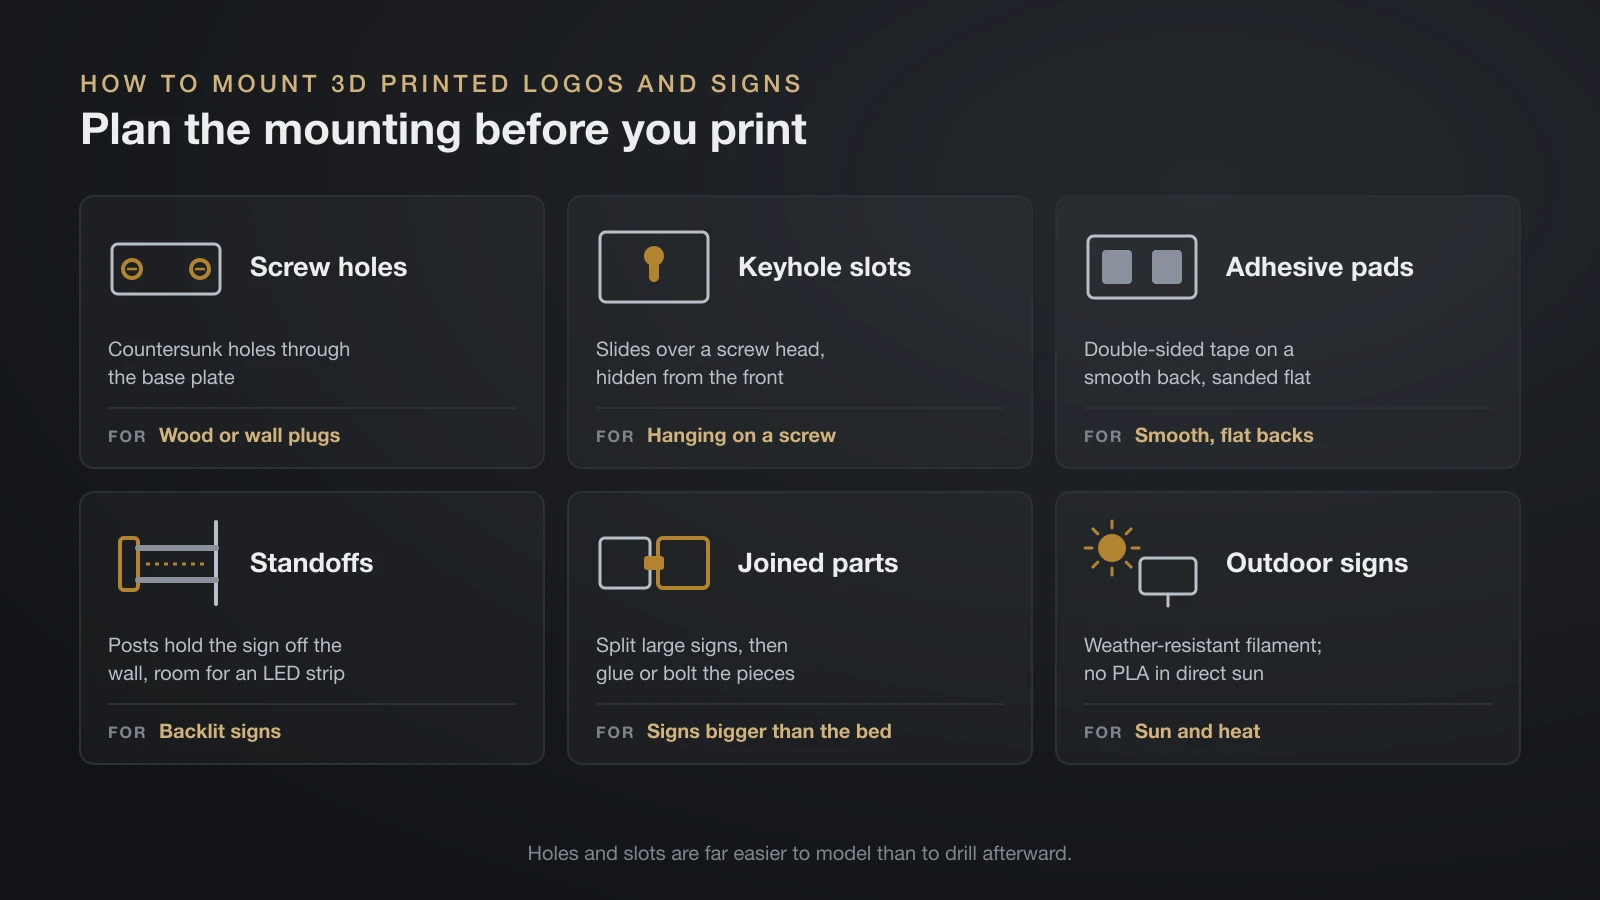
Plan the mounting before you print, because holes and slots are far easier to model than to drill afterward.
- Screw holes: countersunk holes through the base plate for wood or wall plugs.
- Keyhole slots: a slot on the back that slides over a screw head, invisible from the front.
- Adhesive pads: double-sided mounting tape on a smooth, flat back; sand the back flat first.
- Standoffs: short posts that hold the sign off the wall and leave room for an LED strip.
- Joined parts: split large signs into pieces and glue or bolt them; our guide to glue for PLA covers which adhesives hold.
Outdoor signs face sun and heat, so print them in a weather-resistant filament such as ASA and avoid leaving PLA in direct sun.
Can you 3D print someone else’s logo?
You can print a logo you own or have permission to use, but printing a brand’s logo for sale without a license is trademark trouble. The USPTO defines a trademark as any word, phrase, symbol or design that identifies your goods or services, and a logo is a classic example.
Trademark infringement, in the USPTO’s words, is unauthorized use of a mark on or in connection with goods in a way likely to cause confusion about their source. Courts weigh how similar the marks are and how related the goods are.
- Your own logo: print freely. You gain trademark rights by using it, and federal registration adds nationwide protection.
- A client’s logo: fine for their own signage when they ask for it; keep the request in writing.
- Sports, film and brand logos: printing for personal display is common, but selling prints needs a license.
Our guide to 3D print ideas to sell covers model licenses and other legal points. This is general information, not legal advice.
Designing a logo for a 3D printing business
A good logo for a 3D printing business is one that also prints well, because it will end up on business cards, packaging and printed parts. The same rules apply: simple shapes, flat colors and strokes that survive at small sizes.
- Test it as a print: emboss it on a keychain-size plate and check that every line survives in the sliced preview.
- Keep it to one or two colors: a two-color logo needs only one filament change when the colors stack by height.
- Make it work in one color: it should still read when embossed or engraved on a gray part.
- Check for conflicts: search the USPTO trademark database for similar marks before you invest in it.
The USPTO notes that creative, distinctive marks are easier to protect than marks that merely describe the goods, so a name that only says “3D Printing Services” is weaker than an original one.
The bottom line
3D printing a logo is mostly file preparation: a clean SVG with bold shapes, imported into PrusaSlicer, Bambu Studio or a CAD tool, with the base and the logo at different heights. A single color change turns any printer into a two-color sign maker, and multicolor printers handle logos with colors side by side. Print only logos you own or have permission to use.
Sources
- Prusa Knowledge Base: SVG embossing tool, Color change, Arachne perimeter generator and Modeling with 3D printing in mind (SVG depth, size, surface, join, cut and modifier; M600 color change, same material type, automatic color change for logos and signs; cleaner text and minimum feature size; 0.45 mm extrusion width for a 0.4 mm nozzle)
- Bambu Lab Wiki: Converting an image to a 3D model in Bambu Studio, Multi-color printing and Reduce waste during filament change (vector vs pixel images, Inkscape Trace Bitmap, import, split, change filament, flushing)
- Tinkercad: How to import and export SVG files and Importing 2D designs (SVG import as extruded shapes with adjustable height, usable as holes)
- USPTO: What is a trademark? and About trademark infringement (definition, rights through use, registration, strong marks, likelihood of confusion)