Orca Slicer (OrcaSlicer) is a free, open-source slicer that turns 3D models into G-code for FDM printers from Bambu Lab, Prusa, Creality, Voron and about 60 other brands. It grew out of Bambu Studio, adds a full menu of calibration tests and runs on Windows, macOS and Linux. Download it only from the project’s official channels.
If you are still choosing a slicer, our Orca Slicer vs Bambu Studio comparison weighs it against Bambu Studio, Cura and PrusaSlicer.
The short answer
| Question | Answer |
|---|---|
| What is it? | An open-source slicer for FDM (fused deposition modeling) printers |
| Price and license | Free, GNU Affero General Public License v3 (AGPL-3.0) |
| Latest stable version | 2.4.2, released July 7, 2026 (checked October 4, 2026) |
| Systems | Windows x64 and ARM64, macOS (Apple Silicon and Intel), Linux x86_64 and ARM64 |
| Official downloads | GitHub releases, orcaslicer.com, Microsoft Store, winget, Homebrew, Flathub |
| Printer profiles | More than 60 brands built in, plus custom printers |
| Stand-out feature | Calibration menu: temperature, flow, pressure advance, retraction and more |
What is Orca Slicer?
Orca Slicer is a community-built slicer from the Slic3r family of open-source programs. Its README traces the line from Slic3r to PrusaSlicer, then to Bambu Studio, which Orca drew from along with PrusaSlicer and ideas from Cura and SuperSlicer.
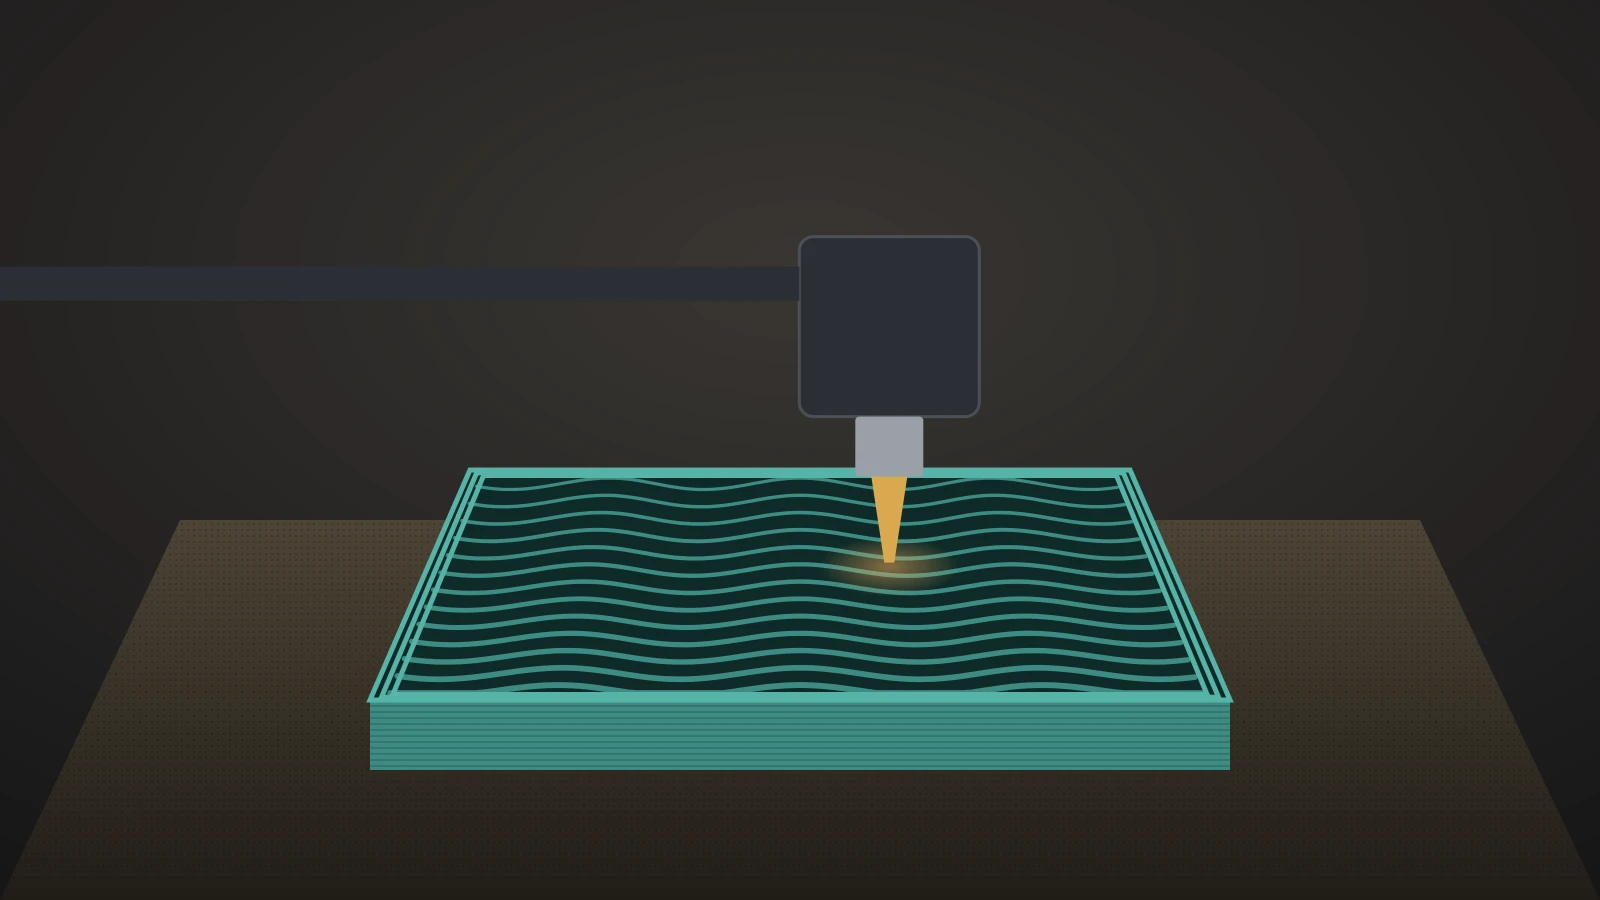
The project started on GitHub in 2022 under the developer SoftFever and now lives at github.com/OrcaSlicer/OrcaSlicer. Like every slicer, it reads a model (STL, 3MF, STEP or OBJ), cuts it into layers and writes the toolpaths a printer follows; our explainer on STL to G-code shows that step in detail.
Its README highlights the calibration tests, Precise Wall and scarf seam control, polyholes for rounder holes, adaptive bed meshing and support for network print hosts such as Klipper (Moonraker), PrusaLink and OctoPrint.
Is Orca Slicer free?
Yes, Orca Slicer is completely free, with no paid tier, account requirement or license key. The code is published under AGPL-3.0, which means anyone who distributes a modified version must also publish its source code.
The project is funded by sponsors and donations through GitHub Sponsors, Ko-fi and PayPal, and its README lists QIDI and BigTreeTech as sponsors. One component is not open source: the Bambu networking plugin, built on Bambu Lab’s non-free libraries. It is optional and only matters for cloud and LAN features on Bambu Lab printers.
Orca Slicer download: official sources only
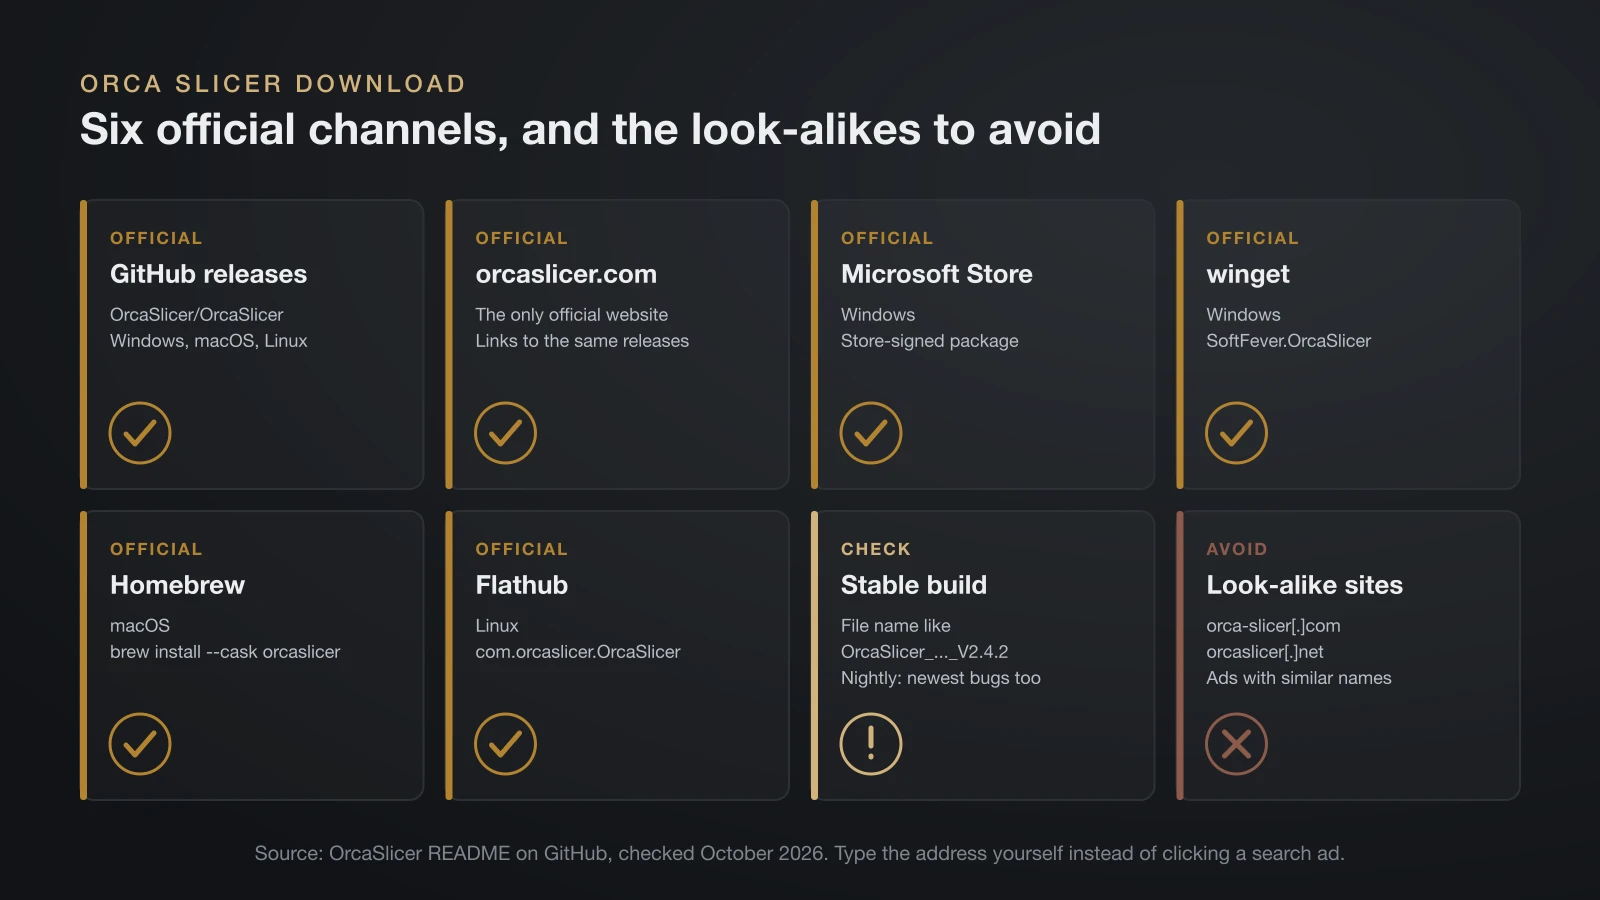
The only official places to download Orca Slicer are the project’s GitHub releases page and the channels its README links to. Search results for “orca slicer” are crowded with look-alike download sites, and the developers warn that sites such as orca-slicer[.]com and orcaslicer[.]net may lead to dangerous downloads.
| Channel | Platforms | How |
|---|---|---|
| GitHub releases (OrcaSlicer/OrcaSlicer) | Windows, macOS, Linux | Installer, portable zip, DMG or AppImage |
| orcaslicer.com | All | The only official website; links to the same releases |
| Microsoft Store | Windows | Store-signed package |
| winget | Windows | winget install --id=SoftFever.OrcaSlicer -e |
| Homebrew | macOS | brew install --cask orcaslicer |
| Flathub | Linux | flatpak install flathub com.orcaslicer.OrcaSlicer |
How to download Orca Slicer safely
- Type the address yourself (github.com/OrcaSlicer/OrcaSlicer/releases or orcaslicer.com) instead of clicking an ad or a search result with a similar name.
- Check the file name. Official stable files follow the pattern OrcaSlicer_Windows_Installer_V2.4.2_x64.exe or OrcaSlicer_Mac_universal_V2.4.2.dmg.
- Prefer stable over nightly builds. Nightly builds carry the newest features and the newest bugs; the README recommends the stable release for most users.
- Report fake sites to Google Safe Browsing or Microsoft, as the project asks.
How to install Orca Slicer on Windows, macOS and Linux
Installing Orca Slicer takes a few minutes on any system, and the steps follow the project’s README.
- Windows: run the Windows installer for your processor (x64 or ARM64), or unzip the portable build. If it will not start, install the Microsoft Edge WebView2 runtime and the Visual C++ 2019 redistributable, both linked from the README.
- macOS: open the universal DMG, which runs on Apple Silicon and Intel Macs, and drag OrcaSlicer.app to Applications. Homebrew installs the same DMG.
- Linux: Flathub is the recommended route. The AppImage also works: download it, then make it executable with
chmod +xif double-clicking does nothing.
You do not need an account to slice; signing in only matters for cloud features such as OrcaCloud preset sync.
First setup: printer and filament profiles
Orca Slicer’s setup wizard runs on first launch and asks you to pick your printers and filaments. You can run it again at any time from Help, Setup Wizard.
- Printer selection: choose the vendor, the model and the nozzle diameter you have installed. You can tick several printers.
- Filament selection: tick the system filaments you use; matching presets for each printer are added automatically.
- Bambu networking plugin (optional): install it only if you print to Bambu Lab printers over the network.
If your printer is missing, build a custom one from its bed size, maximum height and nozzle, then adjust the start G-code. Klipper owners should add [exclude_object] and [gcode_arcs] with resolution: 0.1 to printer.cfg, as the README recommends, so cancelling single objects and arc moves work.
How to use Orca Slicer for your first print
Using Orca Slicer comes down to four steps: load the model, pick presets, slice and send the file.
- Add the model with File, Import or by dragging it onto the plate.
- Pick the printer, filament and process presets in the left sidebar. The process settings sit in tabs: Quality, Strength, Speed, Support, Multimaterial and Others.
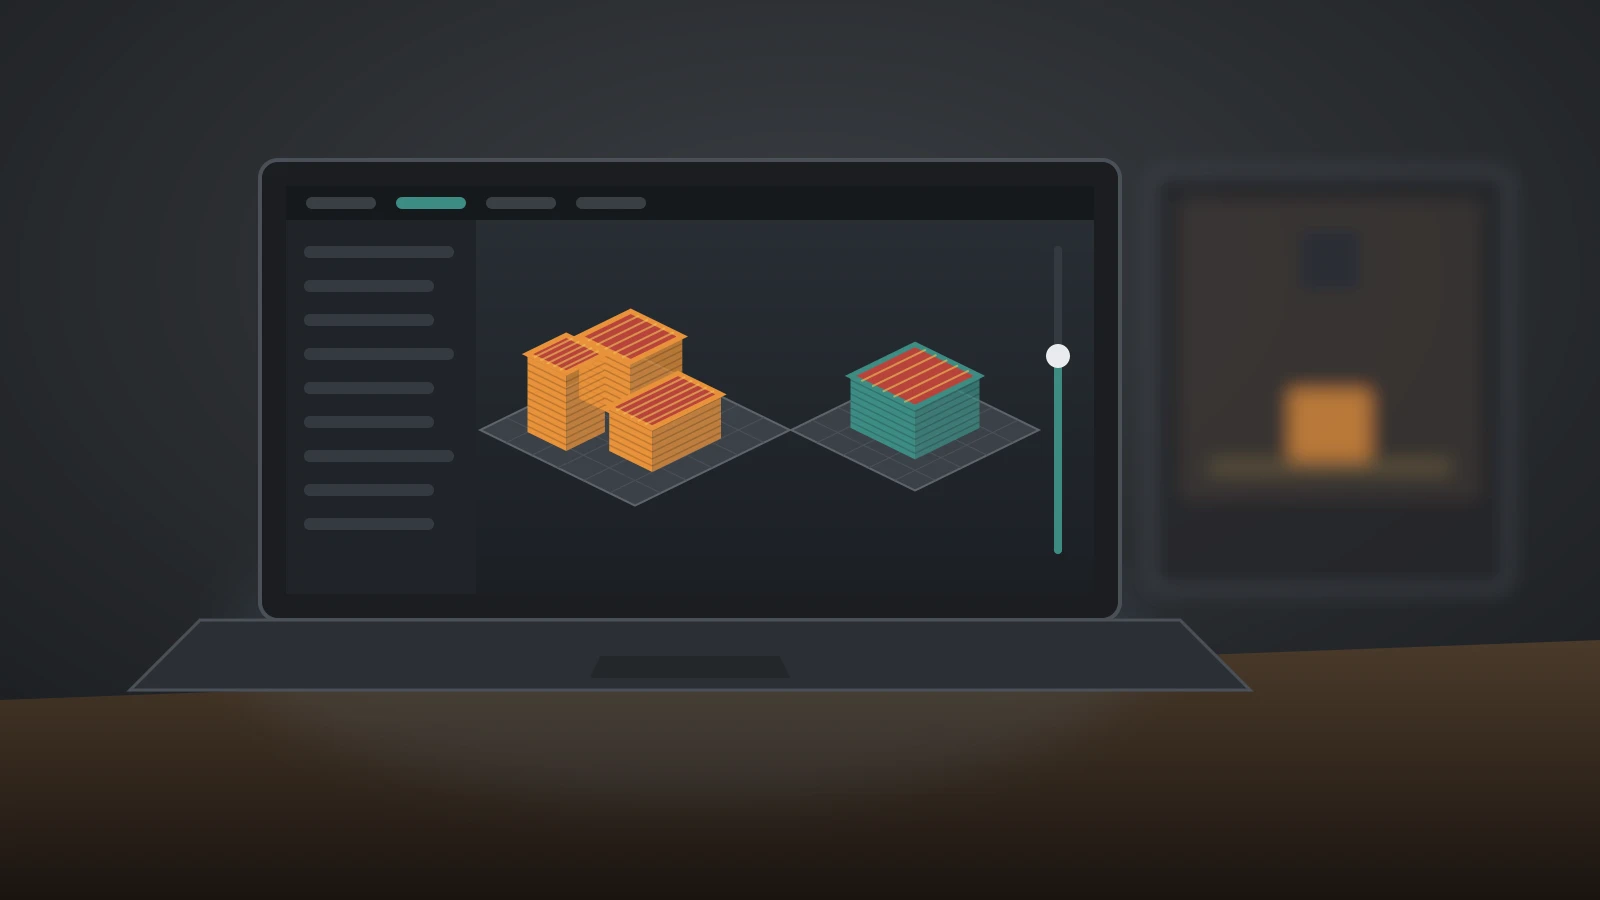
- Slice the plate and check the preview layer by layer for gaps, missing supports or thin walls.
- Print or export: send the job to a networked printer, or export G-code (or a G-code 3MF, which also stores the presets) to a card or USB stick.
Most settings can stay at the profile’s values. Our guide to 3D printing slicer settings explains walls, top layers, speed and cooling, and 3D printing infill patterns covers the Strength tab’s density and pattern choices.
Ironing settings in Orca Slicer
Ironing smooths flat top surfaces by running the hot nozzle over them a second time with very little flow. In the Quality tab, choose the ironing type (top surfaces, topmost surface only, or all solid layers) and the pattern (rectilinear or concentric).
OrcaSlicer’s built-in defaults are 10% flow, 0.1 mm line spacing and 20 mm/s, and printer profiles may change them. Its wiki warns that the slow filament feed during ironing raises the risk of heat creep and clogs, so keep an eye on the first ironed print.
Orca Slicer calibration tools
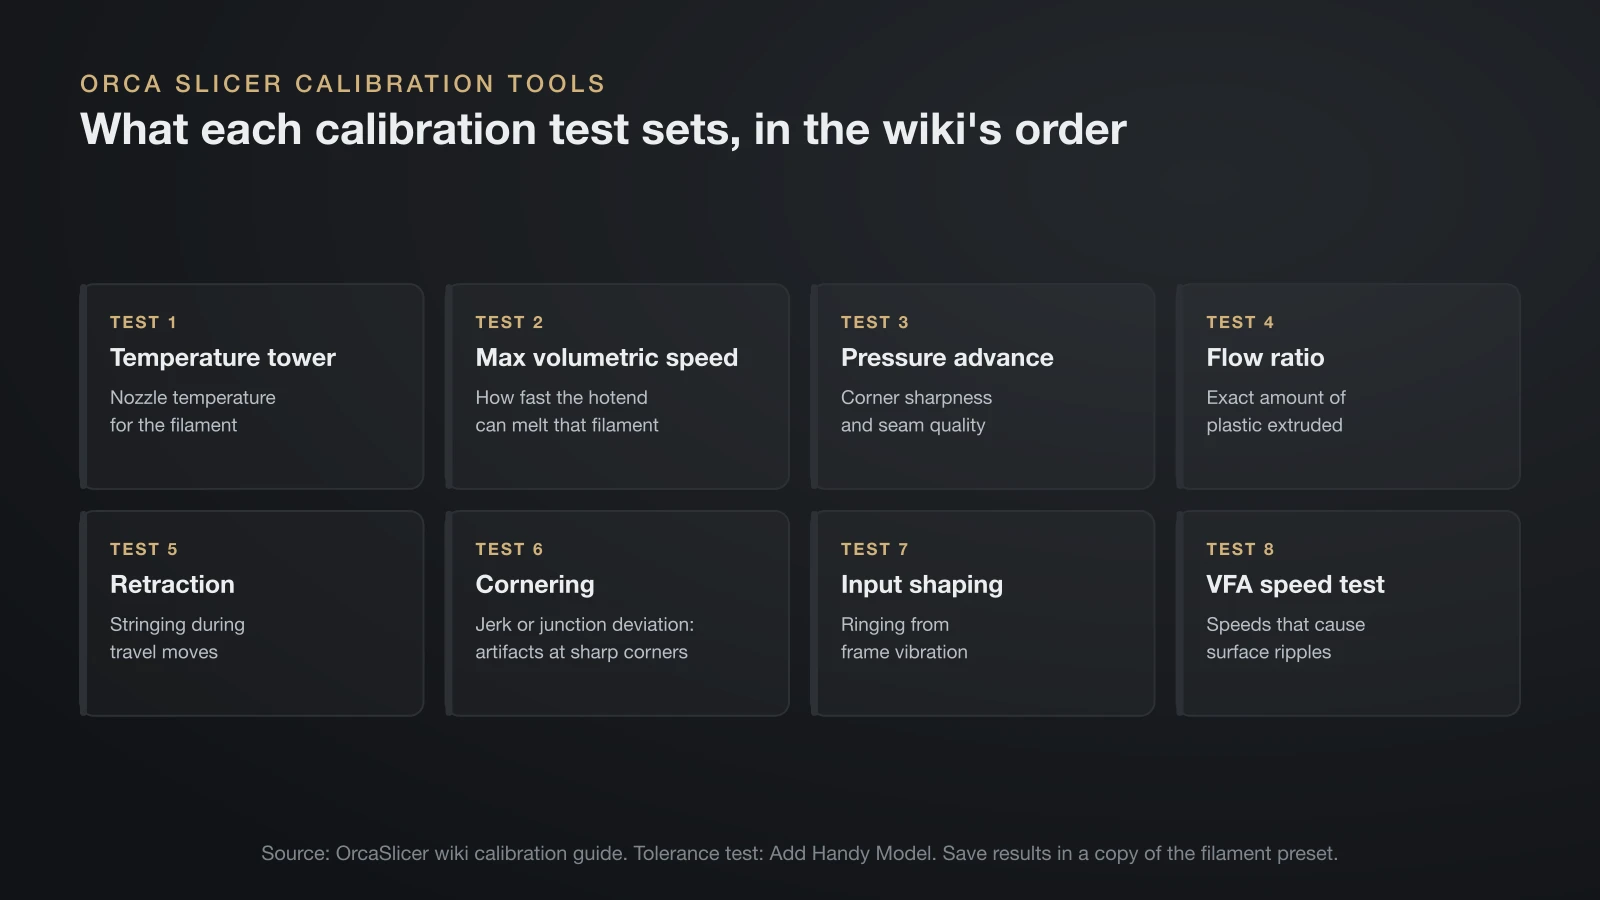
Orca Slicer’s calibration tools are its best-known feature: each one prints a test model and tells you how to read the result. They live in the Calibration menu, and the wiki recommends this order:
| Order | Test | What it sets |
|---|---|---|
| 1 | Temperature tower | Nozzle temperature for the filament |
| 2 | Max volumetric speed | How fast the hotend can melt that filament |
| 3 | Pressure advance | Corner sharpness and seam quality |
| 4 | Flow ratio | Exact amount of plastic extruded |
| 5 | Retraction | Stringing during travel moves |
| 6 | Cornering (jerk or junction deviation) | Artifacts at sharp corners |
| 7 | Input shaping | Ringing from frame vibration |
| 8 | VFA (vertical fine artifacts) speed test | Speeds that cause surface ripples |
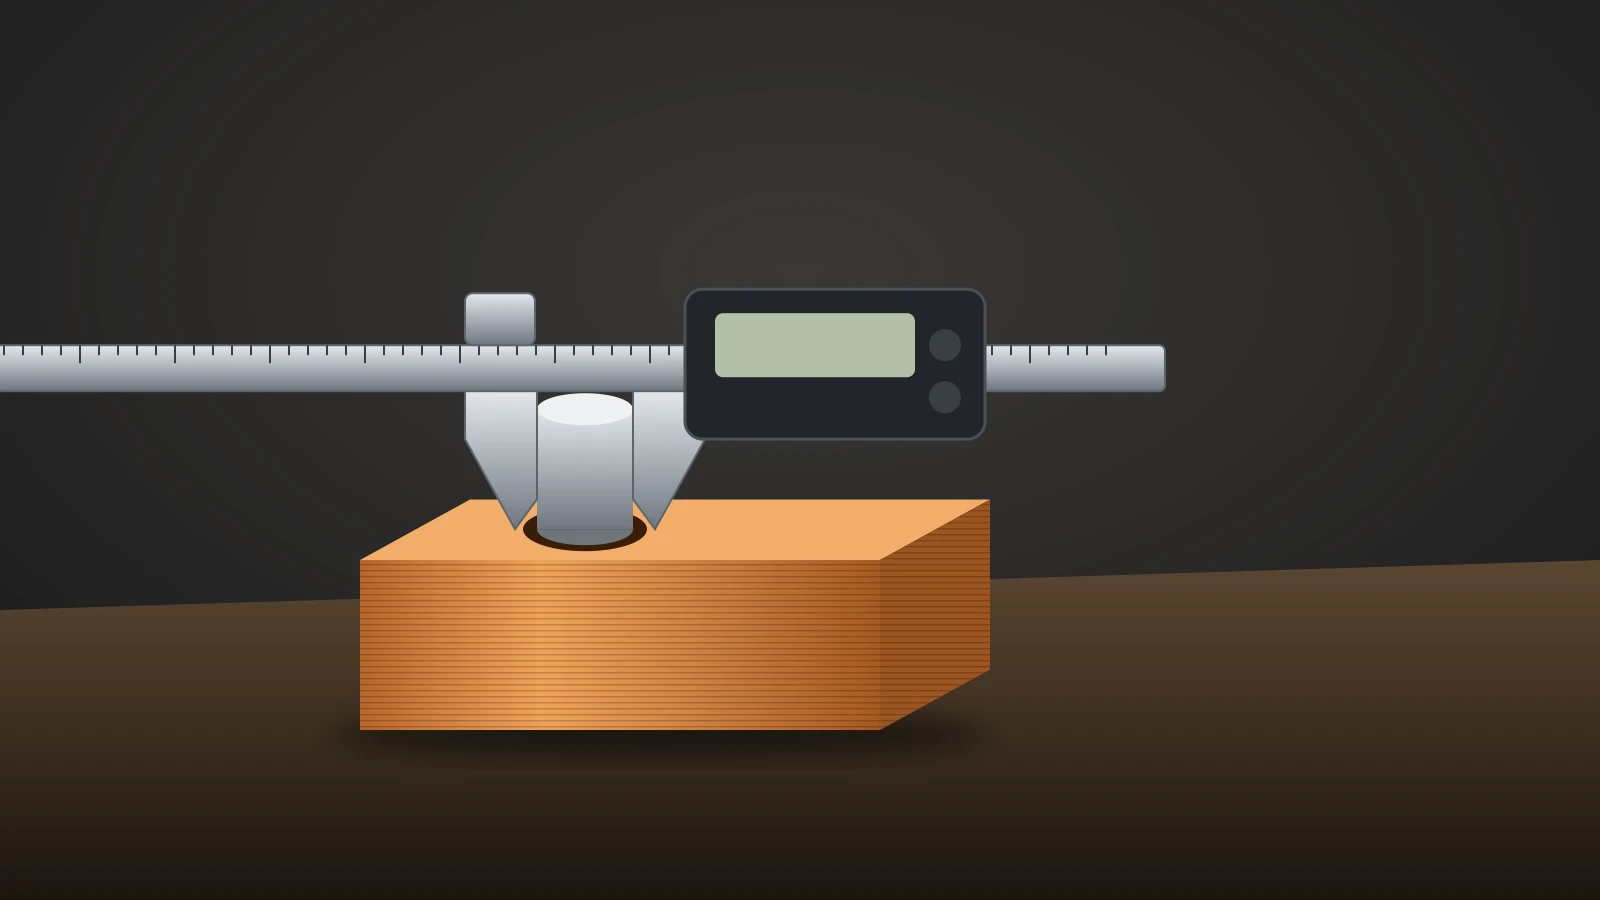
A tolerance test, under Add Handy Model, checks how holes and pegs fit; our guide to 3D printing tolerances explains how to use the result. Step-by-step values for each test are in our guide on how to calibrate a 3D printer, and input shaping has its own explainer.
After calibrating, the wiki says to create a new project to leave calibration mode. Save the results in a copy of the filament preset, not the system one, so updates do not overwrite them.
How to unlock a plate in Orca Slicer
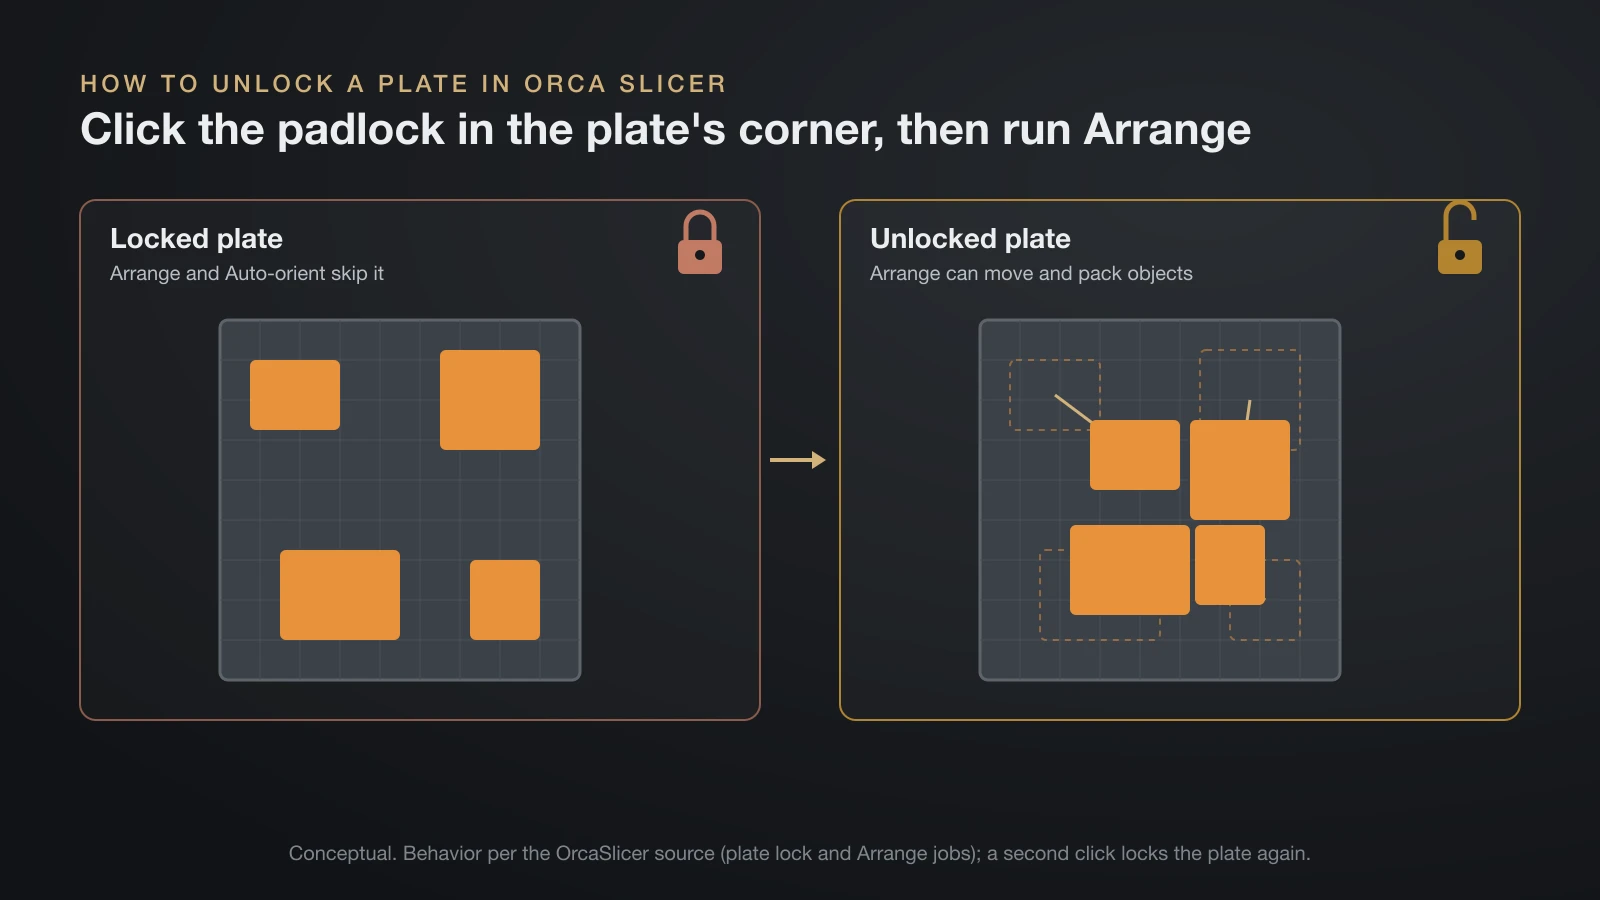
To unlock a plate in Orca Slicer, click the padlock icon in the plate’s corner icon row; its tooltip reads “Unlock current plate”, and a second click locks it again.
A locked plate is skipped by Arrange and Auto-orient, so objects on it stay where you put them. This catches people out when Arrange seems to ignore one plate or will not move a model onto it. Click the padlock to unlock it, run Arrange, then lock it again if you want to protect that layout.
How to export and import Orca Slicer process settings
Orca Slicer exports process settings through File, Export, Export Preset Bundle, as long as your changes are saved as user presets first. Choose “Process presets” to get a .zip of your process presets alone, or a printer config bundle (.orca_printer) to take a printer with all its filament and process presets.
To load them on another computer, use File, Import, Import Configs. A project file (3MF) also carries its printer, filament and process settings, so sharing the project is often simpler than sharing presets. Our slicer settings guide shows where the preset files sit on disk.
How to update Orca Slicer
To update Orca Slicer, download the new release from an official channel and install it over the old version; your user presets stay in the configuration folder.
- Update check: Orca checks for a new version when it starts, and Help, Check for Updates runs the check by hand.
- Stable only: Preferences has a “Check for stable updates only” option, so nightly builds do not trigger notices.
- Your settings survive: the project’s wiki says uninstalling or reinstalling does not delete the configuration folder that holds your presets.
Read the release notes before a major version jump. In version 2.4, for example, preset sync moved from Bambu Cloud to Orca’s own OrcaCloud.
Orca-based slicers from printer makers
Several printer makers ship their own versions of Orca Slicer, which keep its layout but add their printers’ profiles and network features. Each project states its Orca origin in its GitHub README:
| Slicer | Maker | Based on |
|---|---|---|
| Orca-Flashforge | Flashforge | Orca Slicer |
| ElegooSlicer | Elegoo | Orca Slicer |
| Creality Print | Creality | Originally forked from Orca Slicer |
| Anycubic Slicer Next | Anycubic | Orca Slicer |
| Snapmaker Orca | Snapmaker | Orca Slicer |
All of them are AGPL-3.0 like Orca itself. A vendor version is the easy route for that brand’s own network printing, as with Orca-Flashforge on Flashforge printers. The original Orca Slicer suits mixed setups with several brands. Not every brand slicer is an Orca fork: PrusaSlicer is its own branch of the family.
The bottom line
Orca Slicer is a free, open-source slicer with profiles for more than 60 printer brands and a full menu of built-in calibration tests. Download it only from GitHub, orcaslicer.com or the official package channels, run the setup wizard, then work through the calibration menu one filament at a time. Lock plates you want to keep, export your presets as bundles, and update through Help, Check for Updates.
Sources
- OrcaSlicer on GitHub: README (official website, fake-site warning, download channels, install steps, Klipper note, history, AGPL-3.0, sponsors, Bambu plugin), releases (version 2.4.2, July 7, 2026, file names), vendor profiles and source files for the plate lock, Help menu, update preferences and ironing defaults
- OrcaSlicer Wiki: Calibration guide, Tolerance calibration, Ironing, Import and export and User profiles (test order, handy models, ironing types and heat-creep warning, preset bundles, OrcaCloud)
- Vendor versions on GitHub: Orca-Flashforge, ElegooSlicer, Creality Print, Anycubic Slicer Next and Snapmaker Orca (Orca origin and AGPL-3.0 license stated in each README)
- Bambu Lab Wiki: Third-party integration (Bambu Connect, Developer Mode, SD card printing)