Clear PLA prints come out translucent rather than glass-clear, because light scatters at the boundaries between printed lines and layers, at tiny air bubbles and at the ridged surface. You can get noticeably clearer parts by drying the spool, printing hotter and slower with a little extra flow and solid infill, then sanding and coating the surface.
The plastic itself works against you too. Bambu Lab notes that PLA is semi-crystalline, while PETG is amorphous and generally more transparent. This guide explains the physics in plain words, collects clarity settings from Bambu Lab, Fillamentum and Prusa, and compares clear PLA with transparent PETG. For the base temperature range of any PLA spool, see our PLA temperature guide.
The short answer
| Question | Answer from manufacturer guidance |
|---|---|
| Will clear PLA print glass-clear? | No; expect frosted to see-through in thin, simple parts |
| Biggest clarity killers | Moisture bubbles, gaps and seams between lines, rough surface |
| Nozzle temperature | Near the top of the range; about 240 °C (464 °F) for Fillamentum PLA Crystal Clear |
| Speed | Slow; Bambu Lab uses 20 mm/s for every move |
| Flow | Slightly higher (Bambu Lab, Prusa); Fillamentum lowers it only to stop blobs |
| Walls and infill | One wall and 100% infill with no top or bottom shells, or vase mode |
| Nozzle size | Larger: 0.8 mm (Bambu Lab), 0.5 mm or more (Fillamentum) |
| Cooling | Low or off; PLA may warp with no fan at all |
| After printing | Wet sand up to 1500–2000 grit, polish, then clear lacquer or epoxy |
| Clearer alternative | Transparent PETG, an amorphous plastic |
Why clear PLA prints come out cloudy
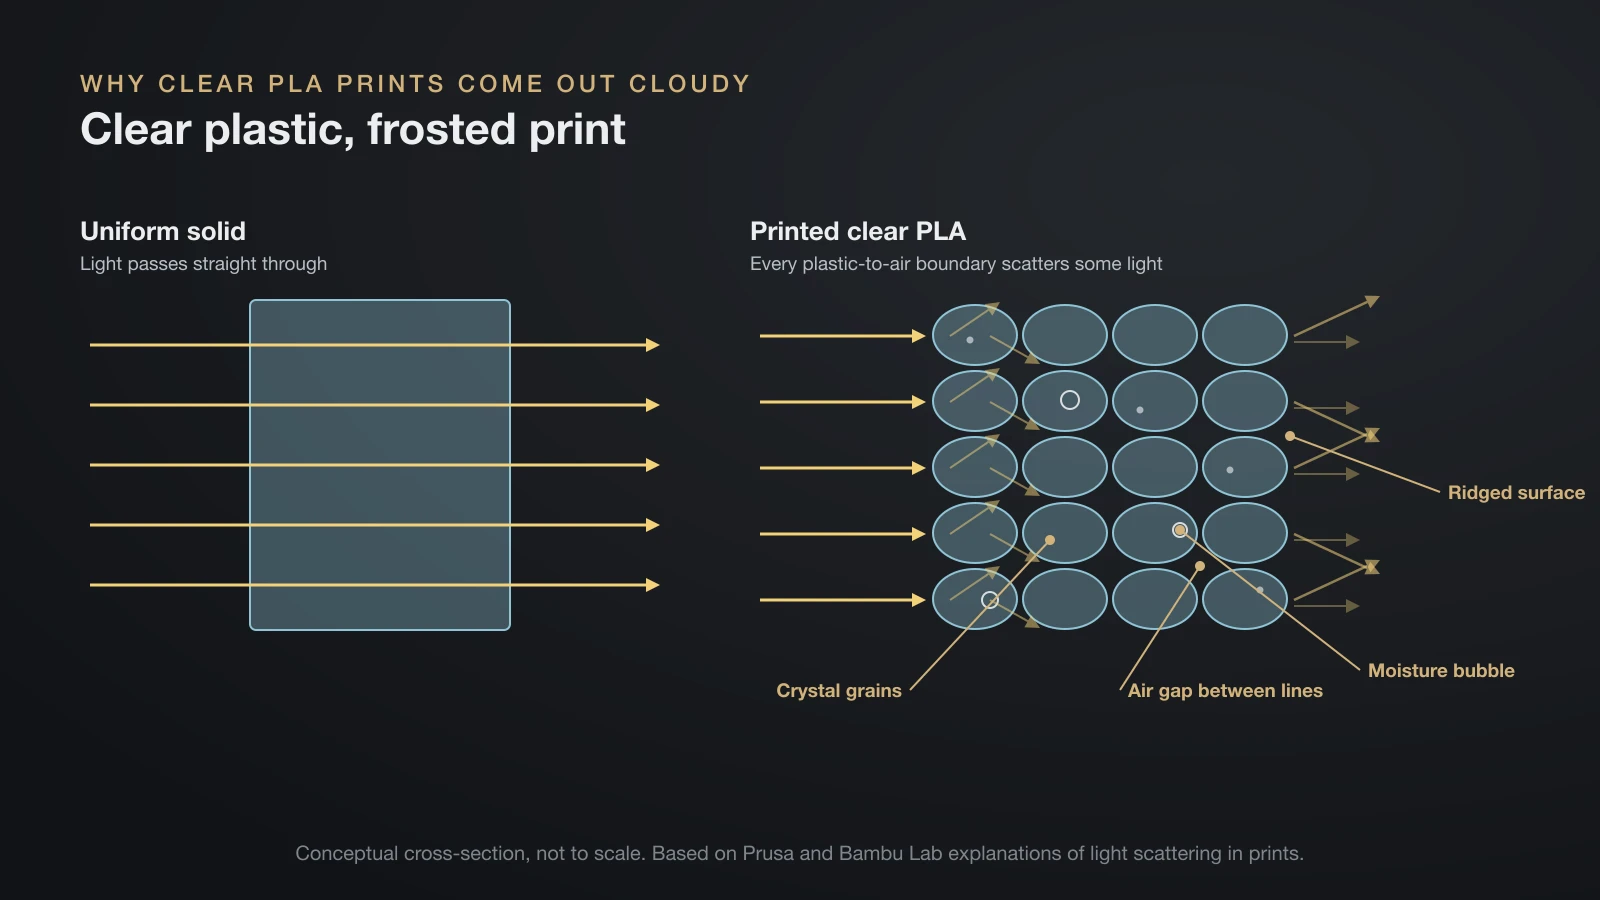
Clear PLA turns cloudy because a print is a stack of many round lines, and every boundary between them scatters light. Light passes straight through a uniform solid, yet each time it meets a surface between plastic and air, part of it bends or bounces off in a new direction. Enough of those small detours turn a clear material into a frosted one.
A printed part has several of these boundaries:
- Air gaps between lines. Prusa explains that tiny bubbles remain around extruded plastic and scatter light inside the object, which makes it merely translucent, not transparent.
- Seams between lines. Bambu Lab recommends larger nozzles precisely because fewer, wider lines mean fewer seams and better light transmission.
- The surface. Layer ridges scatter light where it enters and leaves the part, which is why sanding and coating help so much.
- Moisture. Bambu Lab says moisture forms bubbles and voids in the extruded lines, and Fillamentum links damp filament to popping and foggy prints.
- The plastic. Bambu Lab points out that PLA is semi-crystalline, and its internal grains affect how light is refracted.
Shape matters as well. Bambu Lab warns that complex models are difficult to make highly transparent even with optimal settings, and that clarity changes with wall thickness, size and structure.
Clear, translucent or crystal clear: choosing a clear PLA filament
Clear PLA filament is sold under several labels, and they describe different goals rather than one standard. Some spools are made to diffuse light evenly, others to let as much light through as possible.
- Translucent or frosted: Bambu Lab’s PLA Translucent has a frosted finish made to diffuse light, aimed at lamp shades, lanterns and stained-glass decor.
- Crystal clear: Fillamentum describes its PLA Crystal Clear as having high clarity and gloss, and says it excels in transparency in thin layers.
- Colored translucent: Bambu Lab sells its translucent PLA and PETG in a range of colors for tinted light and stained-glass effects.
Before you buy, check these points on the maker’s own pages rather than the product photo:
- Printing guidance for clarity. A maker that publishes clarity tips or profiles, as Bambu Lab and Fillamentum do, gives you a tested starting point.
- Drying instructions. Moisture ruins clarity, so look for a stated drying temperature, such as 50 °C (122 °F) for 4–5 hours for Fillamentum or 50 °C for 8 hours for Bambu Lab PLA Translucent.
- Nozzle compatibility. Bambu Lab lists its translucent PLA and PETG as not compatible with its hotend with a 0.2 mm stainless steel nozzle.
- Food-contact claims. They differ by brand and apply to the filament, not to a printed part.
How to print clear PLA: settings for more clarity
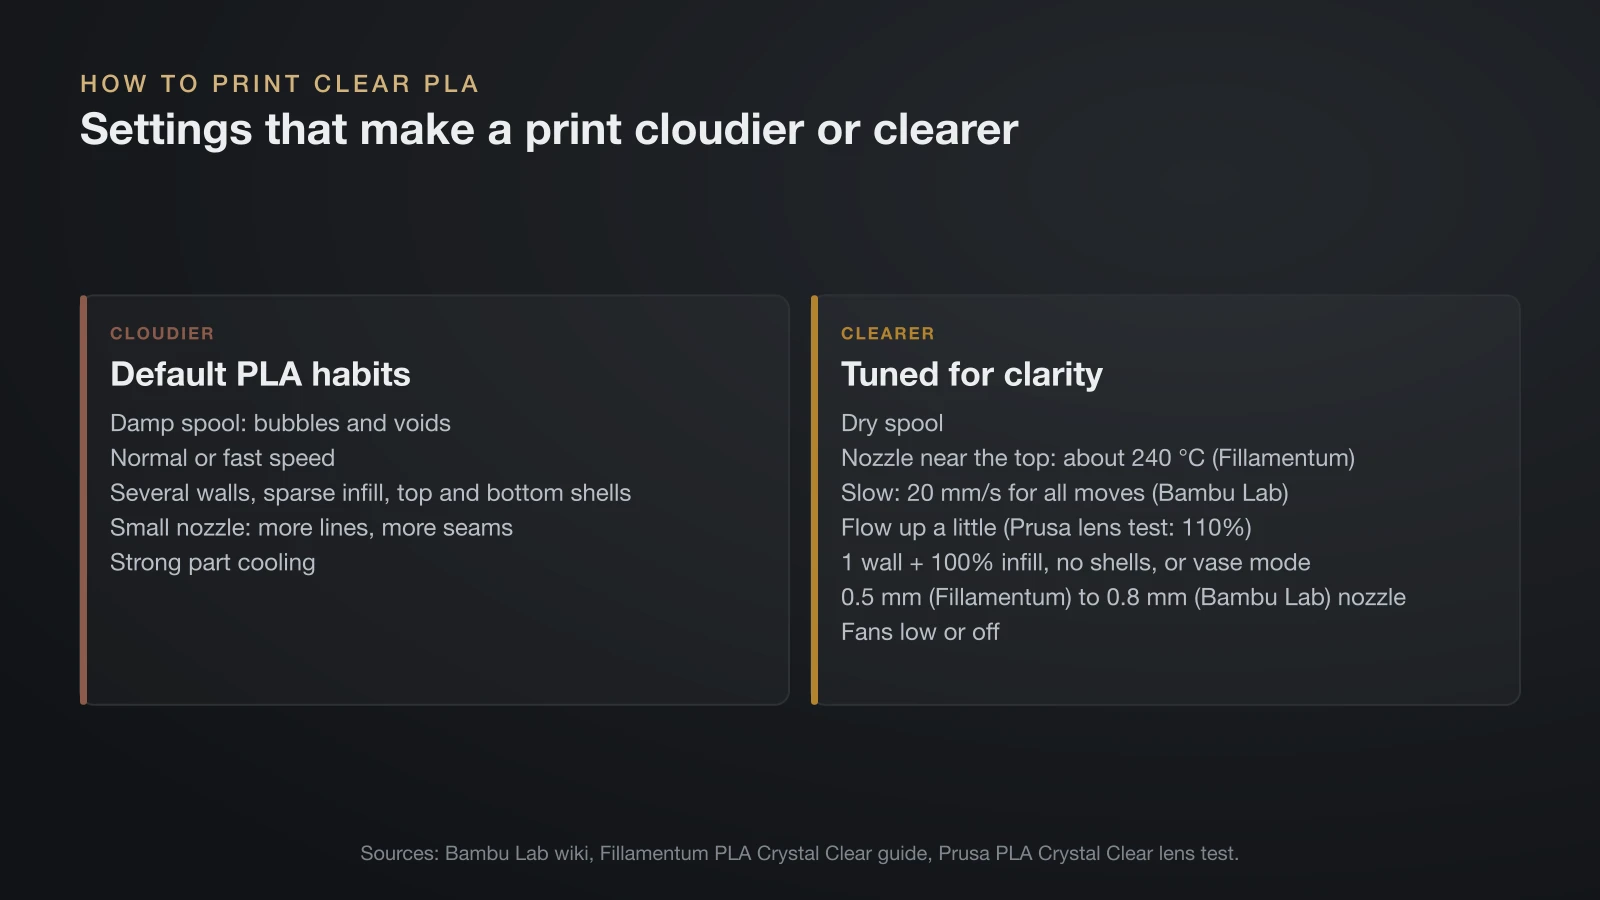
To print clear PLA as clearly as possible, dry it, print it hot, slow and dense with a little extra flow, and cool it gently. The makers agree on the direction but not on every number, so treat this table as a set of starting points.
| Setting | Bambu Lab (translucent PLA and PETG tips) | Fillamentum (PLA Crystal Clear guide) | Prusa (PLA Crystal Clear lens test) |
|---|---|---|---|
| Nozzle temperature | Raised above normal | Upper end, around 240 °C | Not stated |
| Speed | 20 mm/s for all moves | Slower than usual | Not stated |
| Flow | Raised moderately | 90–95% only if blobs form | 110% |
| Layer height | 0.1 mm | 0.2–0.3 mm; 0.1 mm or less in vase mode | 0.05 mm |
| Nozzle and line width | 0.8 mm nozzle recommended; 0.5 mm lines | 0.5 mm or larger nozzle | Not stated |
| Walls and infill | 1 wall, 100% infill at 0° or 90°, no top or bottom shells | Vase mode where possible; otherwise less infill | 100% rectilinear infill, 5% infill overlap |
| Cooling | Fans off, reduced for PLA if it warps | 0–30% for first layers, then up to 100% from layer 3–5 | Fan off |
| Retraction | Not stated | 1–2 mm at 25–40 mm/s, not more | Not stated |
Two strategies appear in that table. Bambu Lab and Prusa fill the part solid so light meets as few air gaps as possible, while Fillamentum prefers a single wall in vase mode, or less infill, so no internal structure shows. Solid parts suit thick, lens-like shapes; single walls suit lamp shades and vases.
Layer height is the other disagreement: Bambu Lab and Prusa go thin for a smoother surface, while Fillamentum suggests thicker 0.2–0.3 mm layers for better visual clarity in normal prints. Our 3D printing layer height guide explains the trade-offs, and a larger 3D printer nozzle makes wider lines practical.
A routine for a first clarity test:
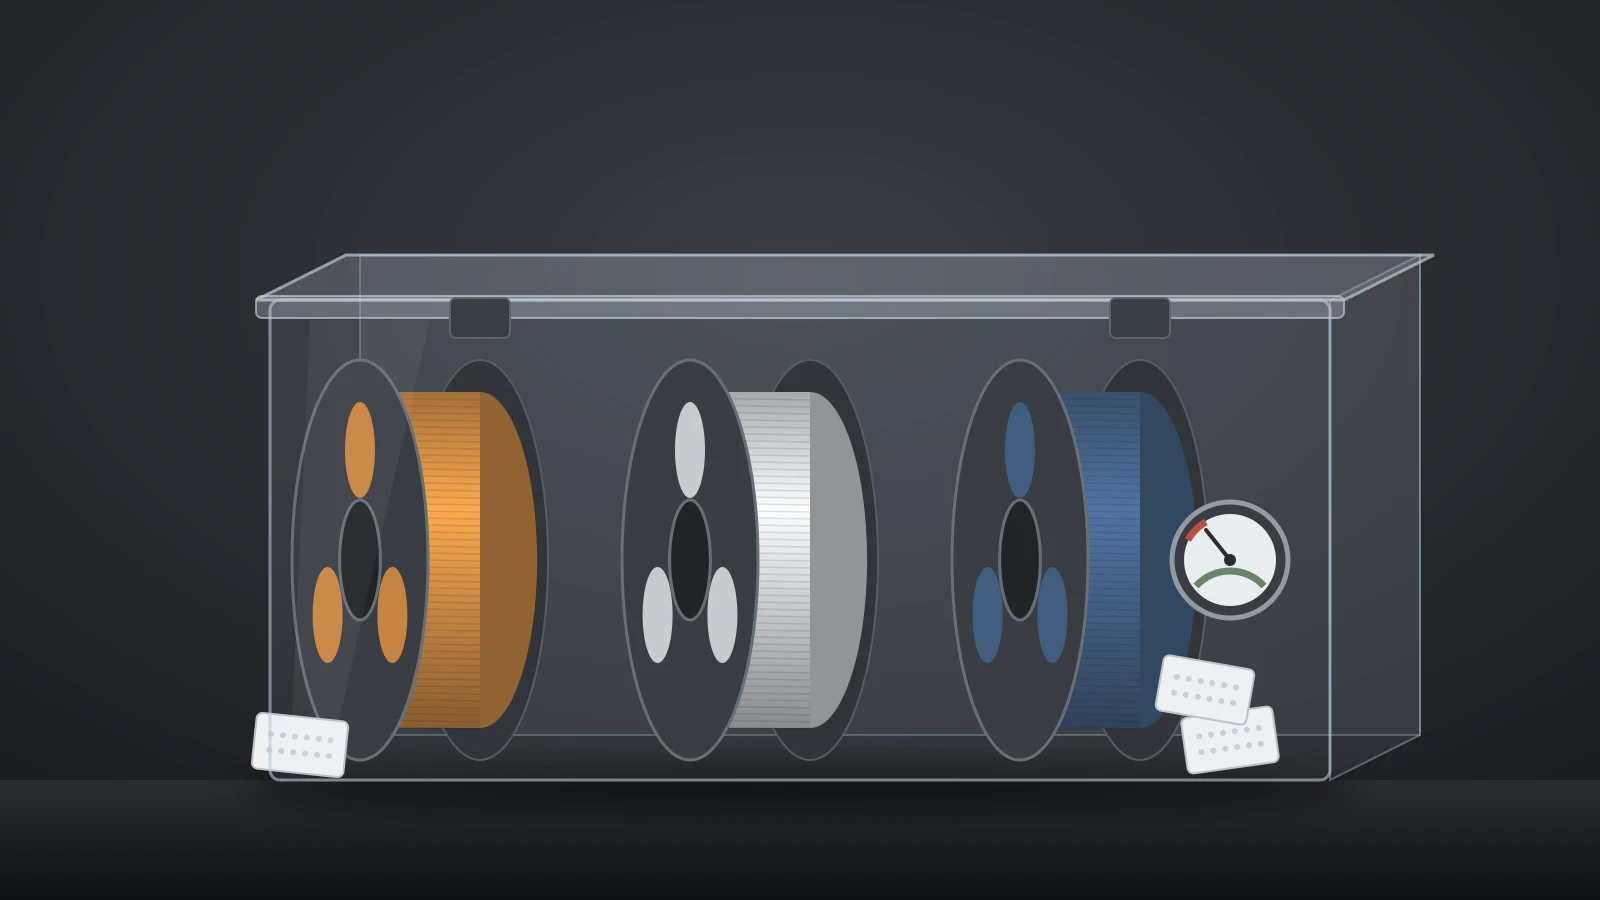
- Dry the spool at the maker’s temperature and print from a dry box.
- Fit a larger nozzle if you have one, 0.5–0.8 mm.
- Raise the temperature toward the top of the spool’s range; Fillamentum suggests about 240 °C for its Crystal Clear.
- Slow everything down; Bambu Lab uses 20 mm/s and warns that it lengthens print time.
- Add a little flow so lines press together without gaps.
- Choose solid or single-wall: 1 wall with 100% infill and no top or bottom shells, or vase mode.
- Reduce cooling, but keep some fan on PLA if corners lift; Bambu Lab warns that switching it off completely raises the risk of warping.
Vase mode for clear PLA
Vase mode prints one continuous wall, so there are no seams from layer changes and no infill to see through. Fillamentum’s advice for clear vase-mode prints is to print at the upper end of the temperature range and more slowly than usual to avoid tiny air bubbles, set the wall a little wider than normal for better layer cohesion, and use low layers of about 0.1 mm for a smooth surface. On tall models it recommends enough cooling between layers to prevent distortion.
Clear PLA vs transparent PETG
Transparent PETG usually prints clearer than clear PLA, at the cost of a hotter nozzle and stricter drying. Bambu Lab explains the difference with structure: PLA is semi-crystalline and its grains affect refraction, while PETG is amorphous and generally more transparent. Prusa rated PLA Crystal Clear less suitable than PETG for its lens tests.
Bambu Lab publishes both of its translucent filaments with the same test methods:
| Bambu Lab data sheet | PLA Translucent | PETG Translucent |
|---|---|---|
| Look, per Bambu Lab | Frosted finish that diffuses light | Optimized for high light transmittance |
| Nozzle temperature | 200–240 °C | 230–270 °C |
| Bed temperature | 35–65 °C | 65–75 °C |
| Drying | 50 °C for 8 h | 65 °C for 8 h; must be dried |
| Heat deflection, 0.45 MPa (ISO 75) | 60 °C | 74 °C |
| Young’s modulus, X-Y (ISO 527) | 2,880 MPa | 1,420 MPa |
PLA Translucent is the stiffer material and prints cooler; PETG Translucent is clearer, handles more heat and is more flexible. Bambu Lab calls translucent PETG highly hygroscopic, so dry it thoroughly and reseal it after use. For PETG’s full temperature settings, see our PETG temperature guide. If you need a clear part that also survives drops, PCTG filament is another option that makers market for transparency.
Sanding and coating clear PLA prints for more clarity
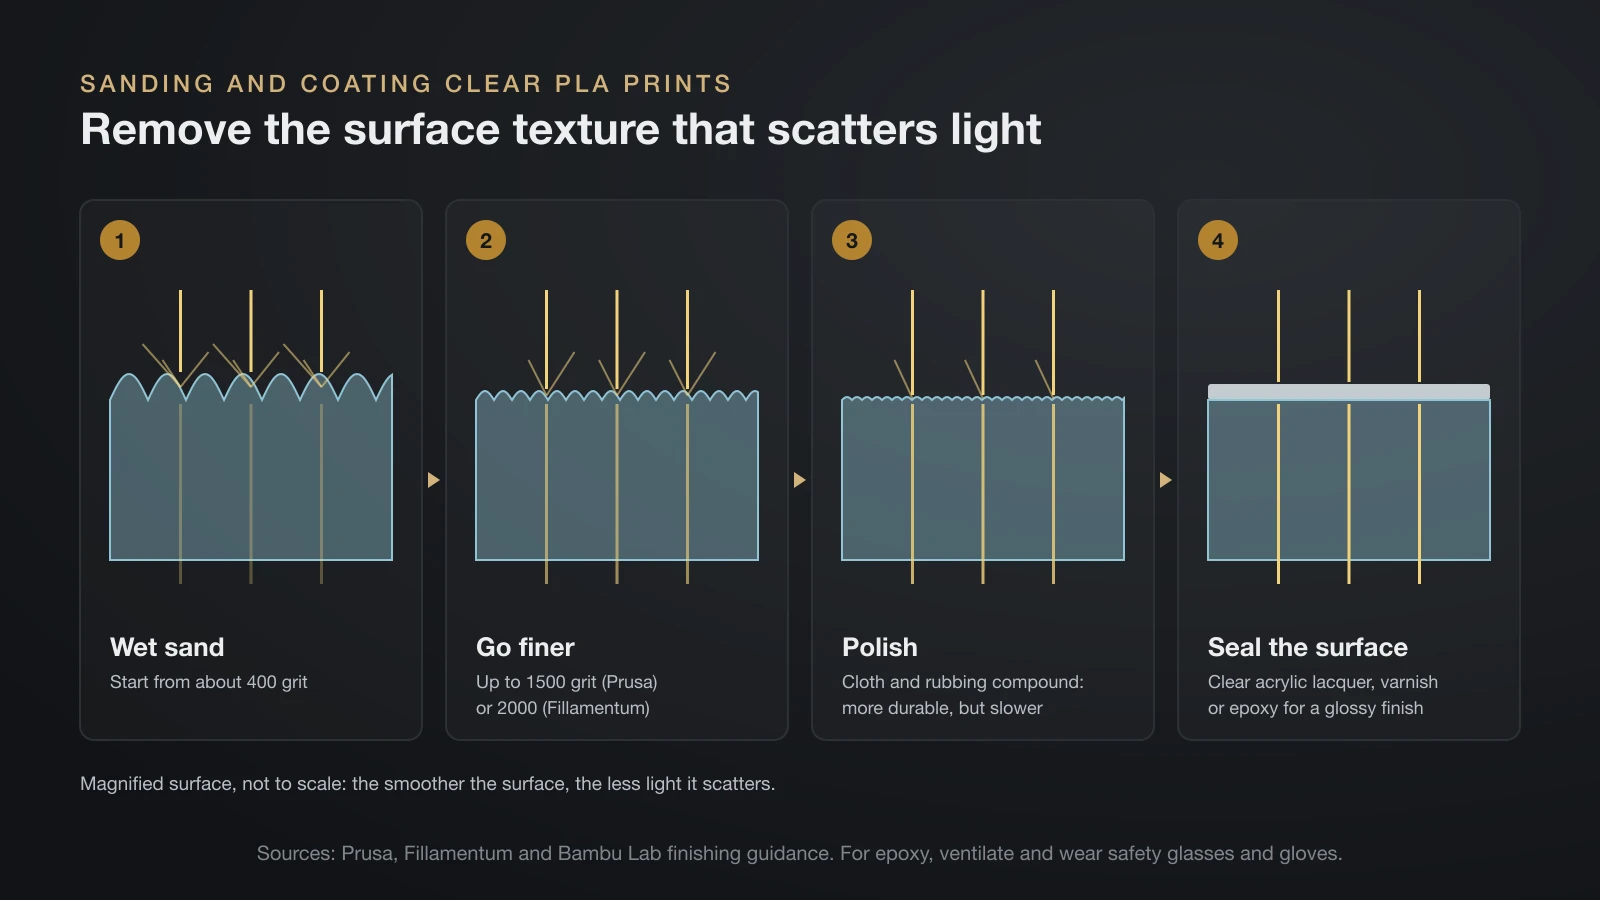
Sanding and coating remove the surface texture that scatters most light, and they make the biggest visible difference after printing. Bambu Lab lists sanding as a final clarity step, and both Fillamentum and Prusa describe a progression:
- Wet sand from about 400 grit. Prusa goes up to 1500 grit; Fillamentum goes to 2000.
- Polish with a cloth and rubbing compound, which Prusa says resists scratches and fingerprints better than lacquer but takes longer.
- Seal the surface. Prusa mentions colorless acrylic lacquer, which is quick but scratches easily; Fillamentum suggests clear varnishes or epoxy resin to raise surface transparency.
Epoxy coatings made for prints, such as Smooth-On’s XTC-3D, fill fine scratches and cure to a high gloss. Smooth-On lists a 10-minute pot life and a full cure in about 3.5 hours at room temperature, and warns that the mix heats up as it cures. It calls for a well-ventilated area, safety glasses, long sleeves and rubber gloves, and a NIOSH-approved respirator.
For sanding dust, NIOSH recommends eye protection, wet wiping and a HEPA vacuum instead of dry sweeping or compressed air. Our guide on how to paint 3D prints covers clear coat sheens and spray safety in more detail.
What is clear PLA good for?
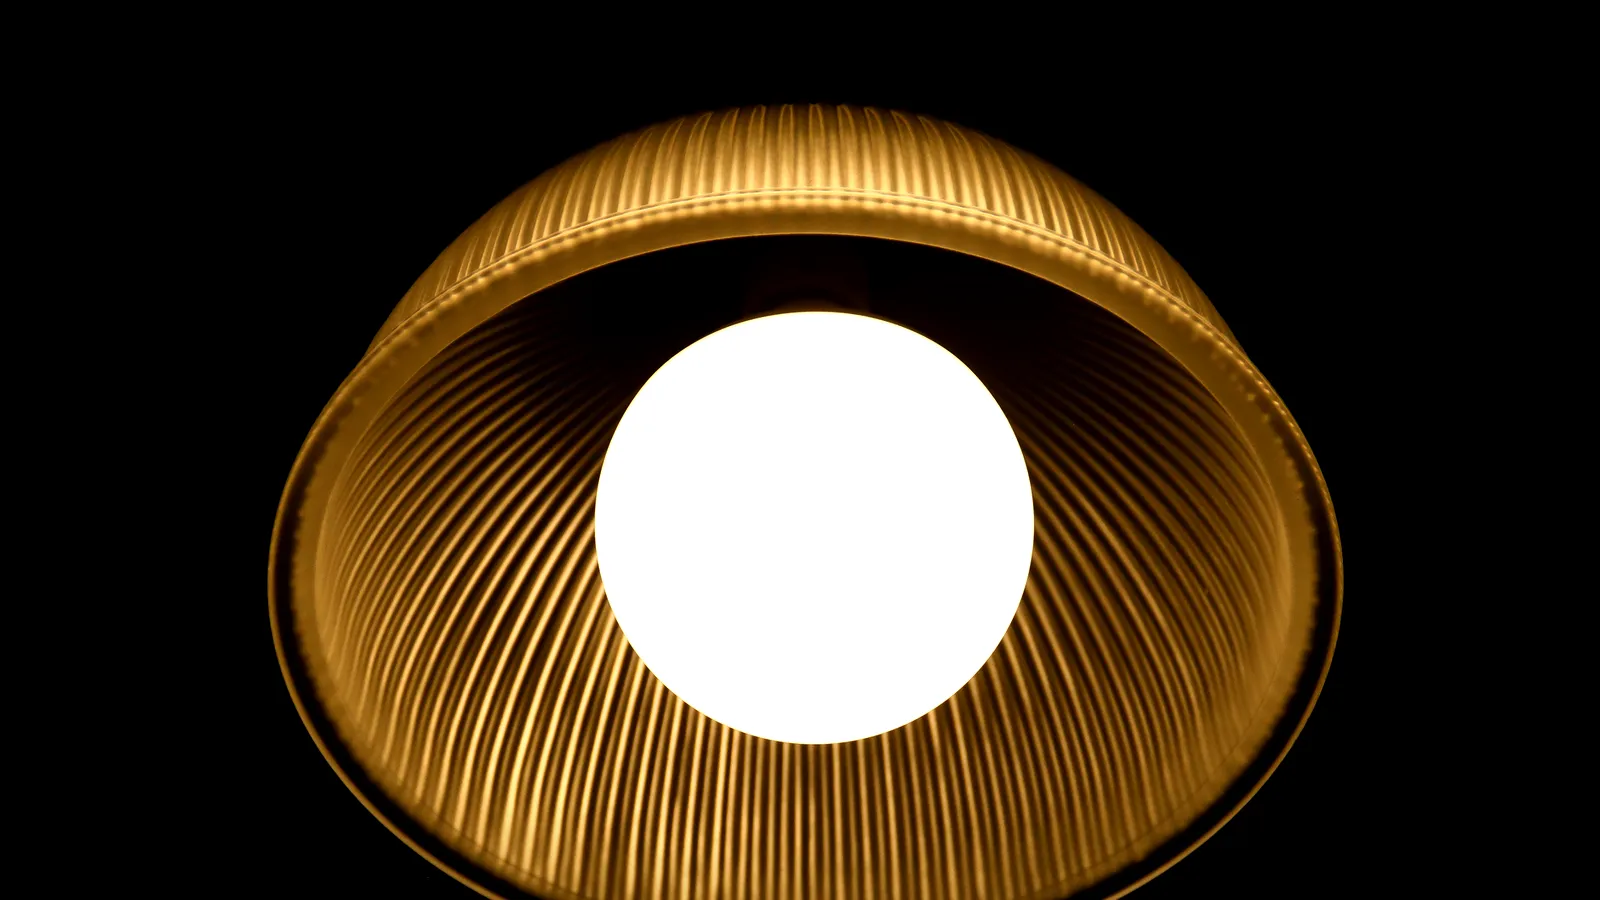
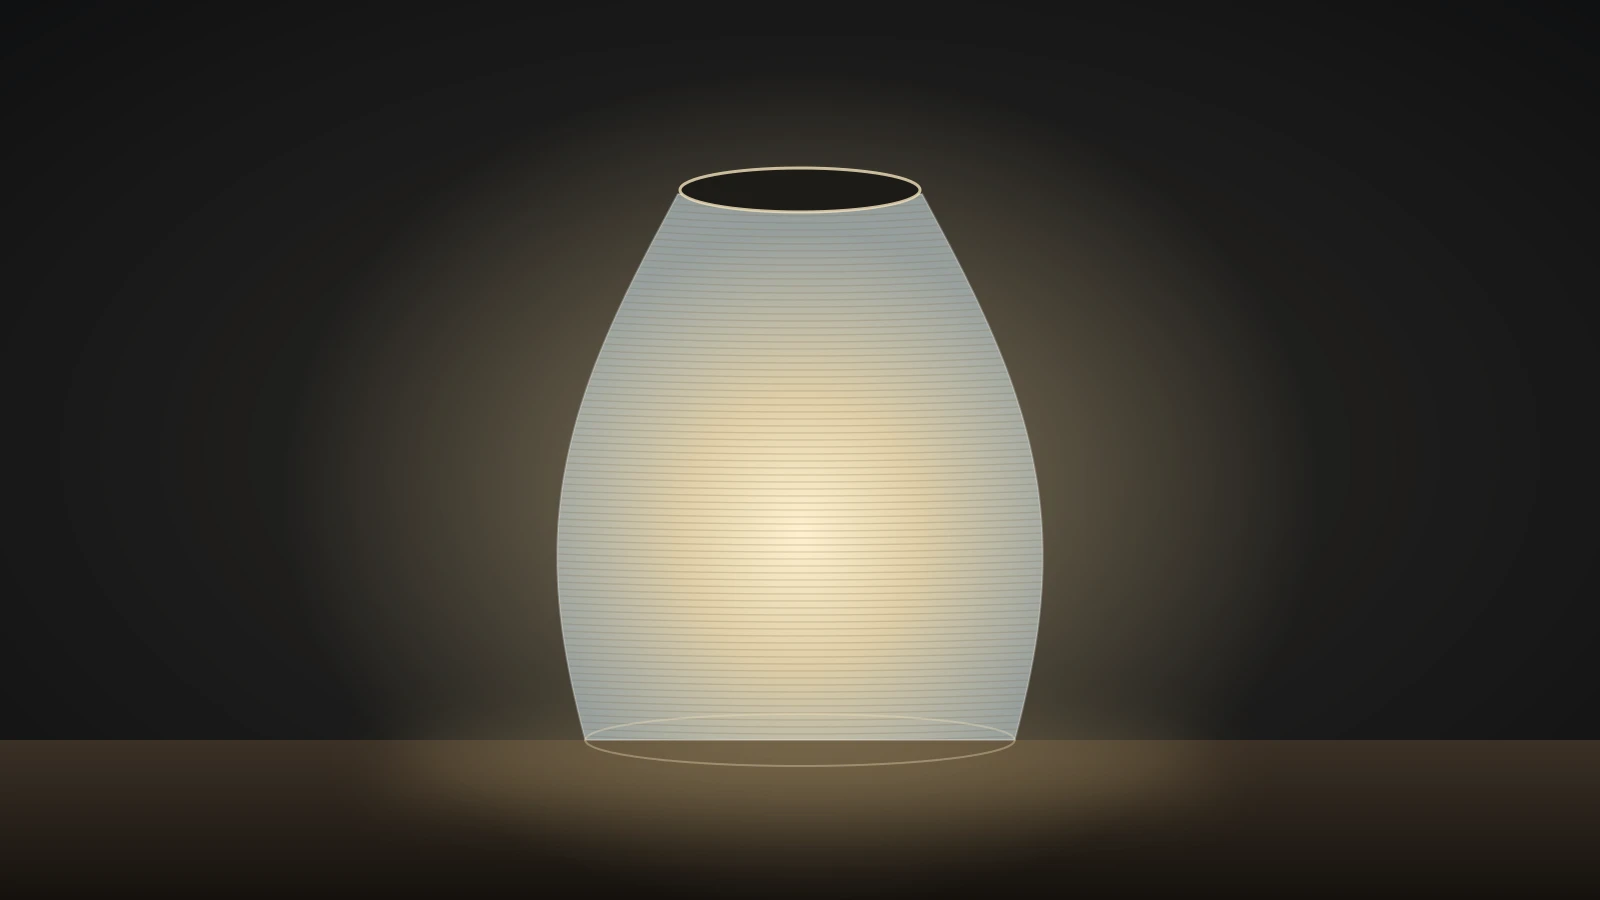
Clear PLA is best for parts that shape or soften light rather than parts you need to see through perfectly. Bambu Lab aims its PLA Translucent at lamp shades, lanterns, vases and stained-glass decor, and Fillamentum highlights the clarity and gloss of its Crystal Clear.
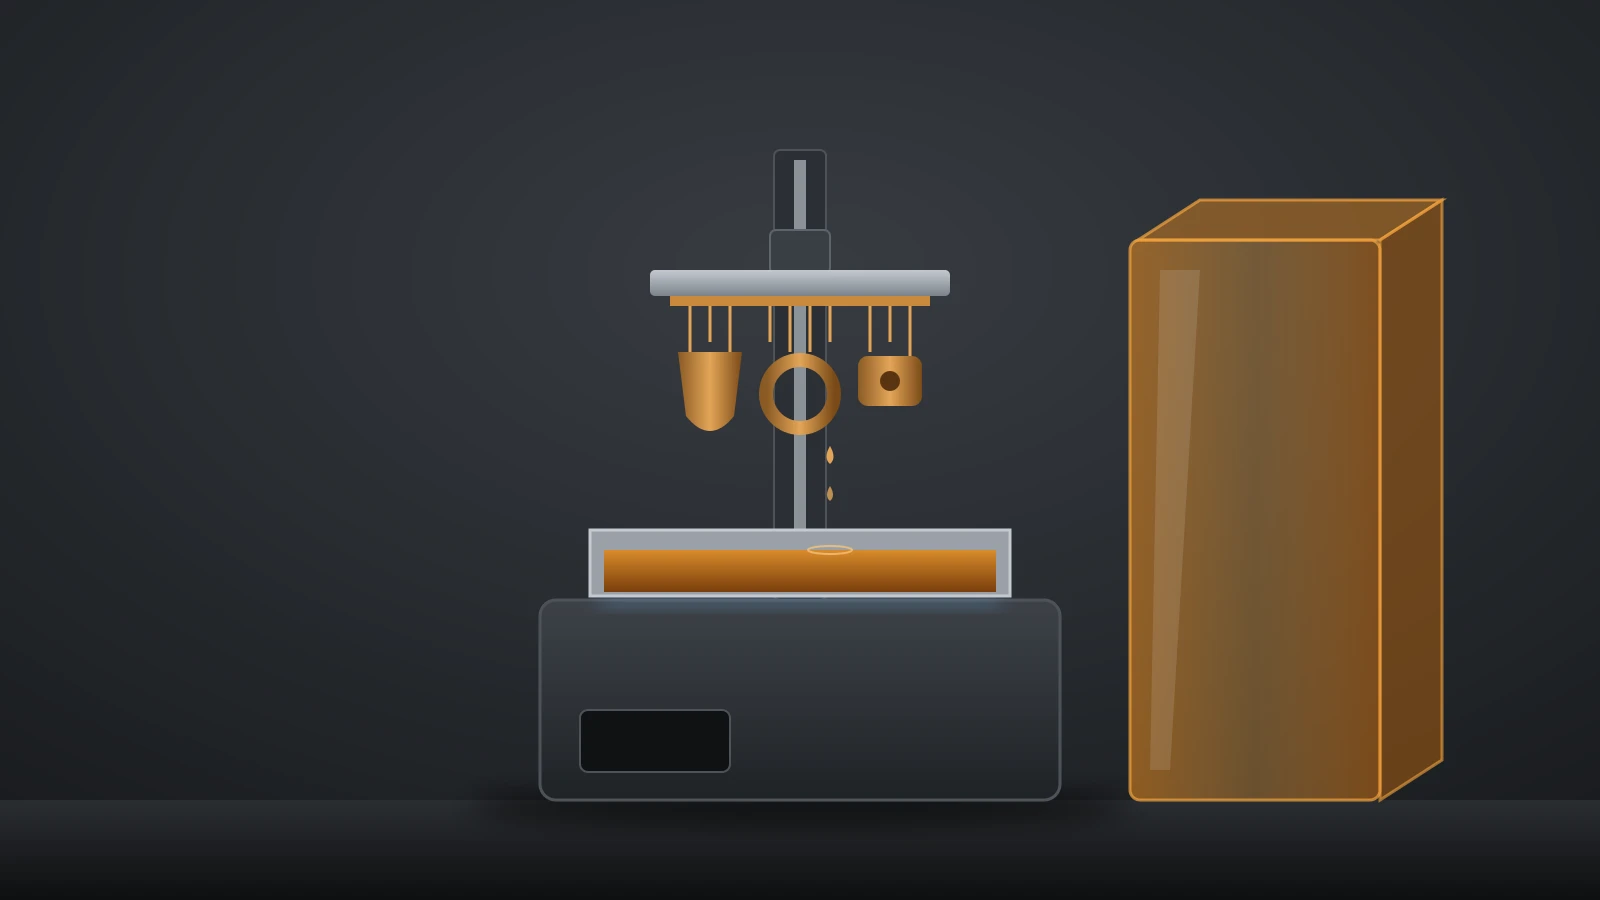
Two cautions apply. PLA softens at low temperatures, with a heat deflection of 60 °C (140 °F) at 0.45 MPa for Bambu Lab’s PLA Translucent, so light it only with cool-running LEDs, never hot bulbs. And for truly clear small parts, Prusa found resin printing simpler, because resins produce solid objects without internal bubbles; our resin vs filament comparison covers what that switch involves.
The bottom line
Clear PLA will not print glass-clear, because line boundaries, bubbles, the ridged surface and PLA’s semi-crystalline structure all scatter light. Dry the spool, print hot, slow and solid with a little extra flow and a large nozzle, then wet sand and coat the surface for the clearest result. If clarity matters more than ease, transparent PETG gets you further.
Sources
- Bambu Lab: Printing tips for translucent PLA and PETG, PLA Translucent and PETG Translucent product pages, and technical data sheets for PLA Translucent and PETG Translucent (semi-crystalline PLA vs amorphous PETG, clarity settings, warping caution, uses, nozzle compatibility, drying, heat deflection, modulus, food contact)
- Fillamentum: PLA Crystal Clear printing guide and technical data sheet (clarity tips, temperatures, flow, layer height, nozzle size, vase mode, cooling, retraction, drying, sanding and coating, food contact)
- Prusa: 3D printed lenses and other transparent objects (Prusa Research, 2020) and PETG material guide (bubbles around extruded lines, flow and infill settings, PLA Crystal Clear vs PETG, sanding grits, lacquer and polishing, resin alternative, food-contact advice)
- Smooth-On: XTC-3D coating (pot life, cure time, heat during cure, ventilation and protective equipment)
- NIOSH (CDC): Approaches to Safe 3D Printing, publication 2024-103 (eye protection for sanding, wet wiping, HEPA vacuum cleanup)