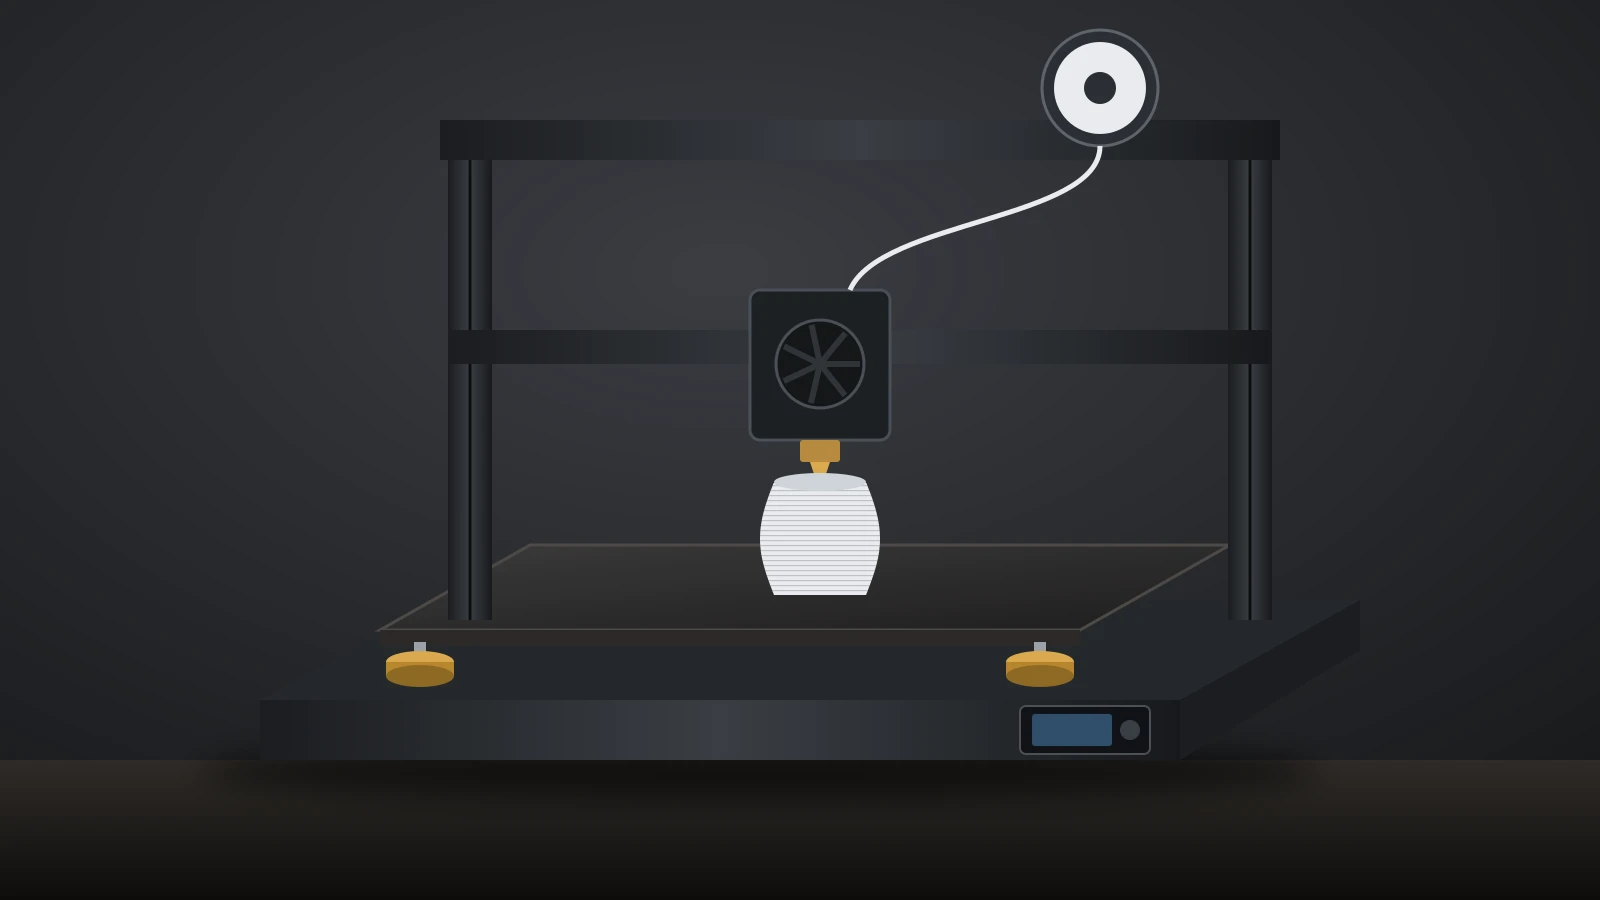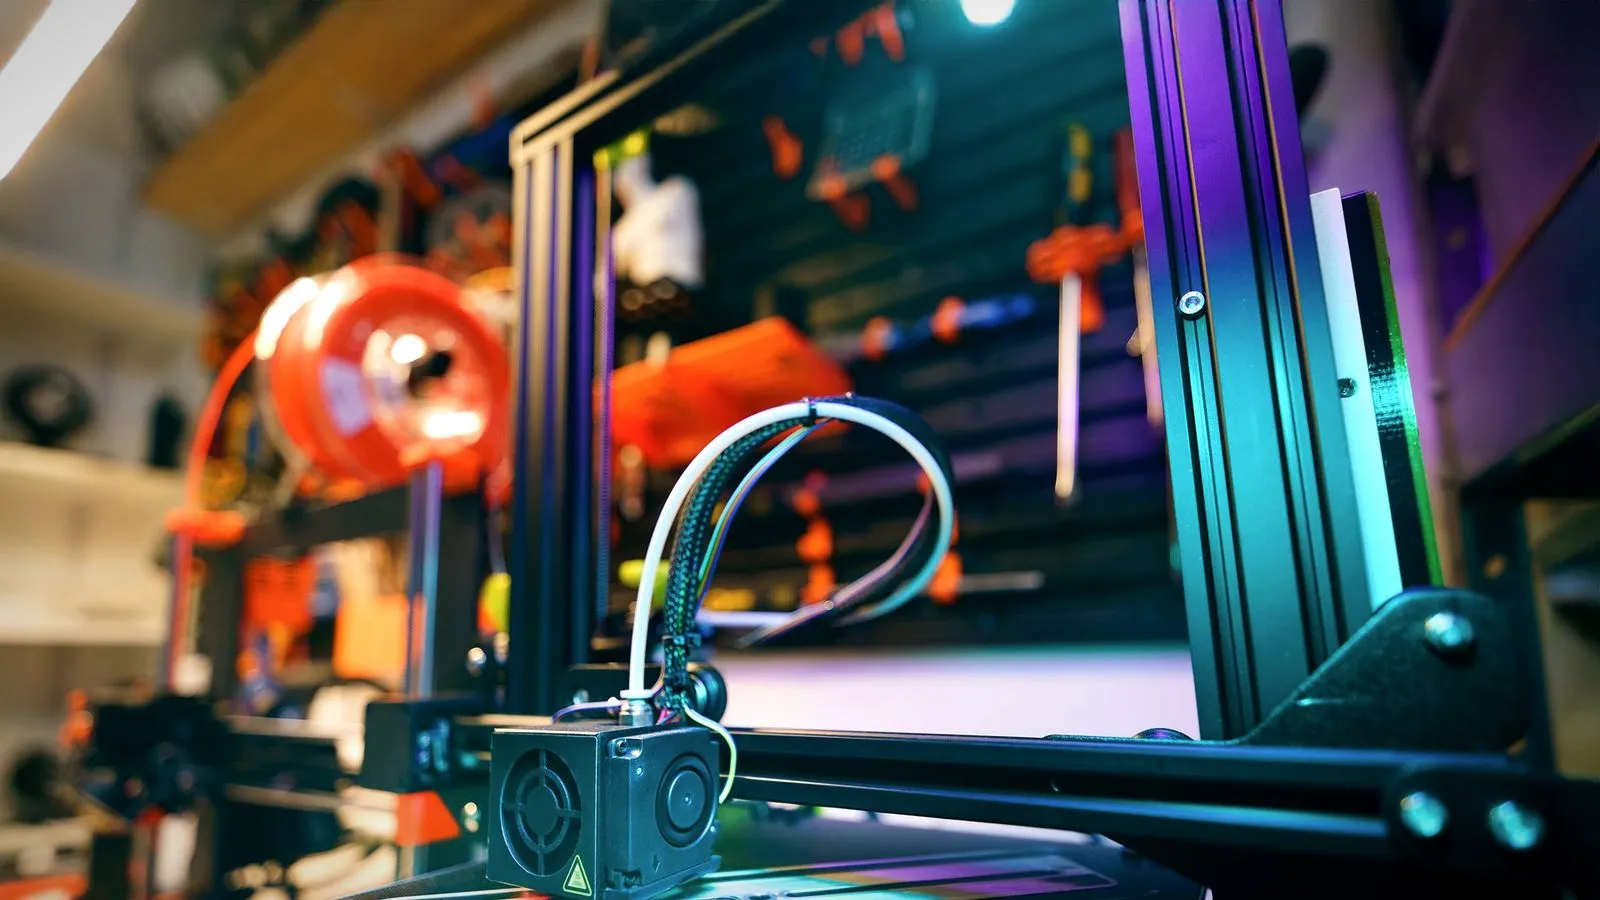
A Bowden extruder sits on the printer’s frame and pushes filament through a long PTFE tube to the hot end, while a direct drive extruder sits on the print head right above it. Bowden keeps the moving head light; direct drive gives tighter control of the filament, shorter retraction and easier printing with flexible filament.
Neither is better in every case. The right pick depends on the filaments you want to run, how fast your printer moves and how much tuning you are willing to do. If you need a refresher on the parts themselves, our guide to the 3D printer extruder explains drive gears, idlers and calibration; this article compares the two layouts and covers converting an Ender 3.
The short answer
| Bowden | Direct drive | |
|---|---|---|
| Extruder location | On the frame | On the print head |
| Path to the nozzle | Long PTFE tube | A few centimeters |
| Moving mass | Lighter head | Heavier head |
| Stock retraction in official profiles | About 2.5–6.5 mm | About 0.7–1 mm |
| Flexible filament (TPU) | Possible, harder with soft grades | Easier |
| Typical printers | Creality Ender-3, Prusa MINI+, UltiMaker S7 | Prusa CORE One, Creality Ender-3 S1 |
What is a Bowden extruder and how does it work?
A Bowden extruder is a filament drive mounted on the printer’s frame that pushes the strand through a PTFE (polytetrafluoroethylene) tube to a hot end on the moving carriage. Prusa’s glossary describes the tube’s job simply: it leads the filament from the extruder into the print head and nozzle.
The motor and gears never move with the print head, so the carriage only carries the hot end, fans and sensors. The tube acts like the sleeve of a bicycle brake cable. The filament slides inside it, and every push or pull at the motor end reaches the nozzle a moment later, once the slack in the tube is taken up.
That slack is the root of most Bowden trade-offs. Retraction must pull back further, pressure at the nozzle builds and releases more slowly, and a soft filament can compress inside the tube instead of moving forward.
What is a direct drive extruder?
A direct drive extruder mounts the motor and drive gears on the print head, so the filament travels only a few centimeters from the gears into the hot end. Prusa’s CORE One, for example, lists its Nextruder as direct drive, and Creality describes the Sprite on the Ender-3 S1 as a dual-gear direct extruder with a 1:3.5 gear ratio.
The short, constrained path means the nozzle reacts almost immediately when the motor starts, stops or reverses. The cost is weight: a motor on the carriage adds moving mass, which is why makers such as Creality advertise lighter direct extruders with less inertia.
Direct drive vs Bowden extruder: side-by-side comparison
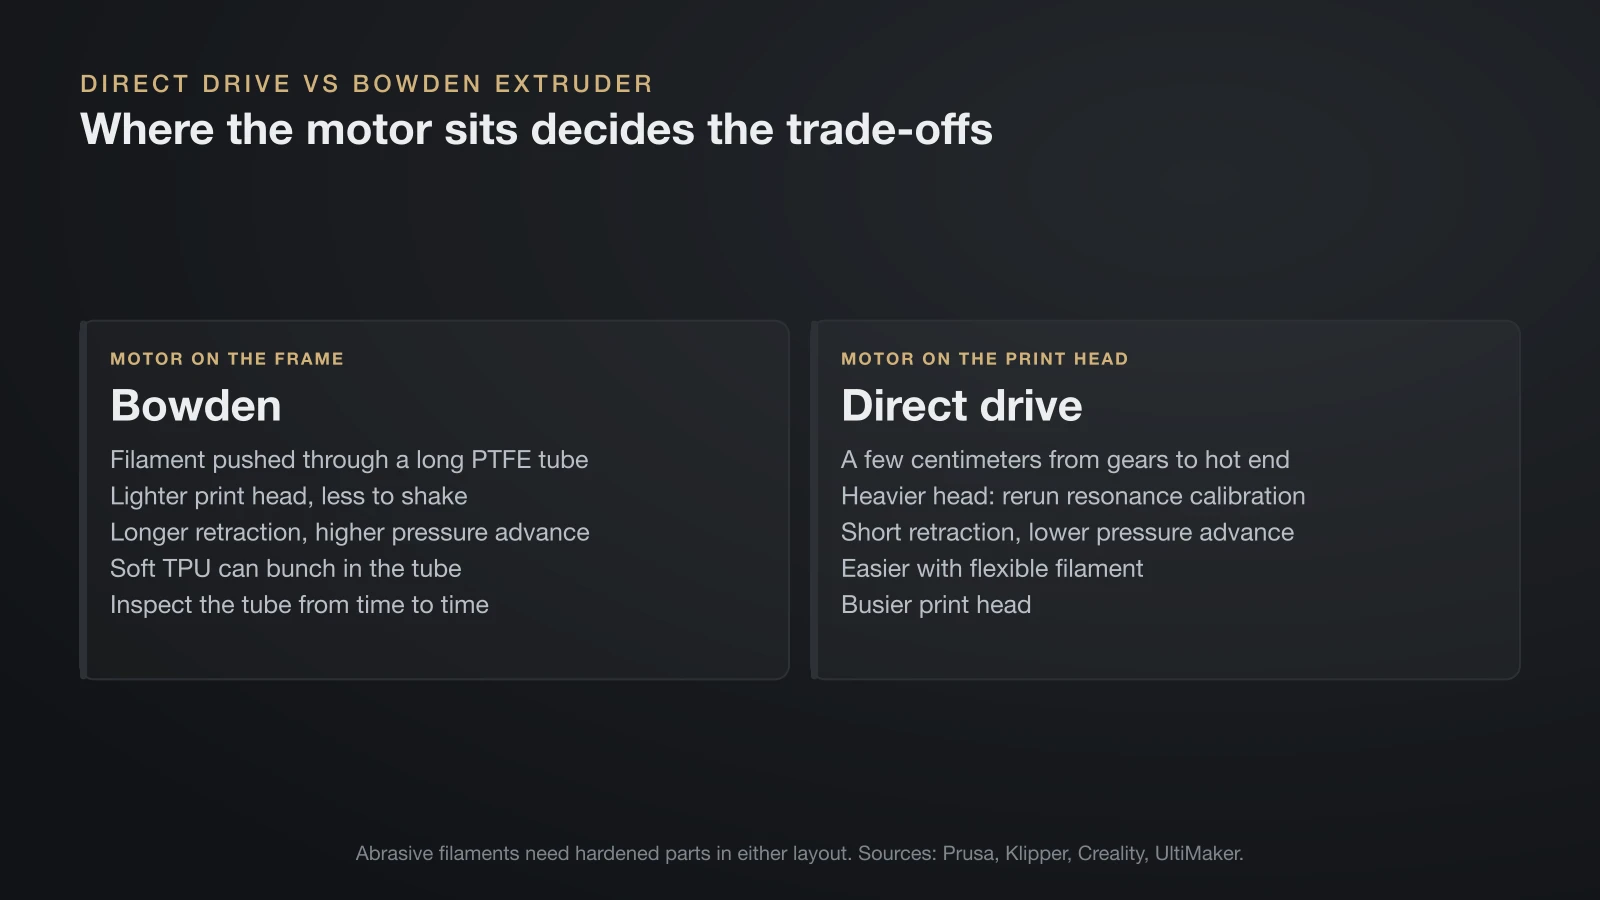
Direct drive wins on filament control, while a Bowden extruder wins on moving mass and simplicity at the print head. The table breaks down where each layout helps and where it costs you.
| Factor | Bowden extruder | Direct drive extruder |
|---|---|---|
| Toolhead mass | Lower, since the motor stays on the frame | Higher; Klipper lists heavy moving mass among the causes of ringing |
| Ringing and input shaping | Less moving mass to shake | Rerun resonance calibration after changing head mass |
| Retraction length | Longer: Prusa’s MINI/MINI+ default is 3.2 mm | Shorter: Prusa gives 2 mm as the maximum for its MK3-family printers |
| Pressure advance | Needs higher values; Klipper’s tuning tower uses a 4x larger step for long Bowden setups | Lower values |
| Flexible filament | Works with harder TPU grades; soft grades can bunch in the tube | Easier; Creality says its Sprite handles TPU well |
| Abrasive filament | Needs hardened parts, like any extruder; UltiMaker reinforces the S7 feeder for composites | Same; Prusa offers a hardened nozzle for the CORE One |
| Maintenance | Inspect the tube for debris from time to time | Short path with fewer parts, but a busier print head |
Klipper’s documentation says typical pressure advance values fall between 0.050 and 1.000, and that the high end is usually only reached with Bowden extruders. Pressure advance (called linear advance in Marlin) compensates for the pressure lag between the gears and the nozzle, and a long tube makes that lag bigger.
Abrasive filaments, such as carbon- or glass-filled grades, are not a Bowden or direct drive question. They wear brass nozzles and soft drive gears in either layout, so the fix is hardened parts, not a different extruder position.
Retraction settings for Bowden and direct drive extruders
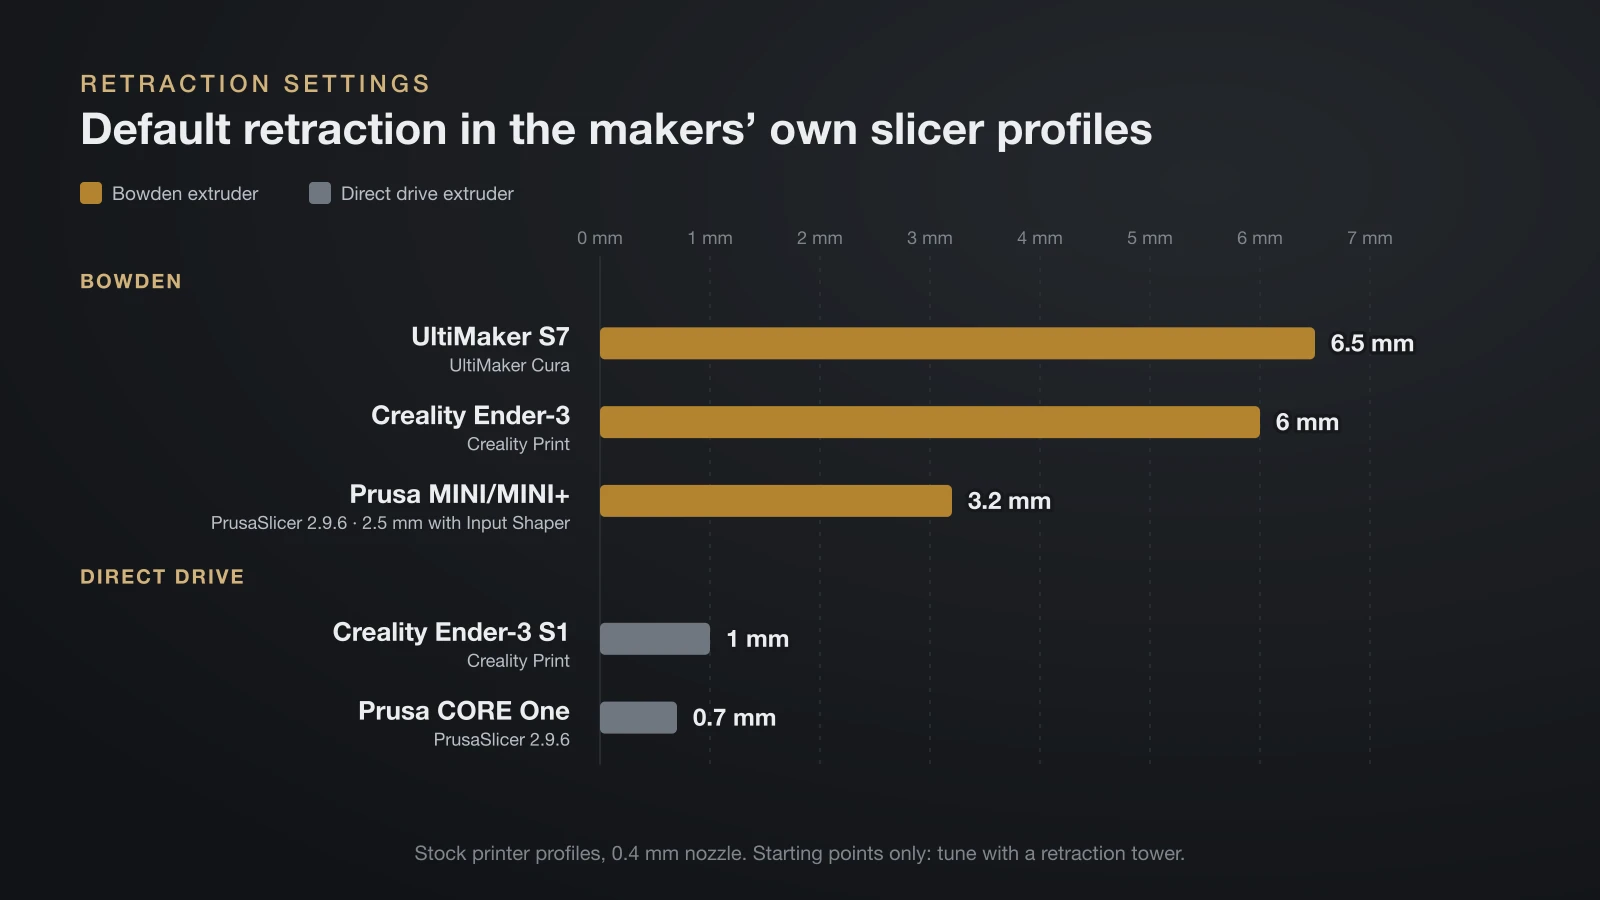
Bowden extruders need several millimeters of retraction, while direct drive extruders usually need about one millimeter or less. The stock profiles that printer makers ship in their own slicers show the gap clearly, all for a 0.4 mm nozzle.
| Printer | Layout | Default retraction | Profile source |
|---|---|---|---|
| UltiMaker S7 | Bowden | 6.5 mm | UltiMaker Cura printer definition |
| Creality Ender-3 | Bowden | 6 mm | Creality Print |
| Prusa MINI/MINI+ | Bowden | 3.2 mm (2.5 mm with Input Shaper) | PrusaSlicer 2.9.6 |
| Creality Ender-3 S1 | Direct drive | 1 mm | Creality Print |
| Prusa CORE One | Direct drive | 0.7 mm | PrusaSlicer 2.9.6 |
Prusa’s troubleshooting guide spells out the reason: the MINI’s presets use a much longer retraction because of its Bowden extruder, while its direct drive MK2.5 and MK3 printers should stay at 2 mm or less. Treat these values as starting points, not targets.
To tune your own, OrcaSlicer’s retraction test prints a tower that changes retraction every few layers. Its default range of 0–2 mm in 0.1 mm steps suits most direct drive extruders; for Bowden it suggests 1–6 mm in 0.2 mm steps. The best length is the shortest one that gives a clean section. Our guide to 3D printing slicer settings shows where retraction sits among the other profile options.
Flexible filament on a Bowden vs direct drive extruder
Flexible filament is where the two layouts differ most, because a soft strand can compress and buckle inside a long tube instead of moving forward. Direct drive leaves almost no room for that, which is why manufacturers of direct extruders highlight TPU (thermoplastic polyurethane) compatibility.
A Bowden printer is not ruled out. Prusa’s flexible materials guide includes its Bowden MINI family, and UltiMaker lists TPU 95A among the materials for the Bowden S7. Prusa adds that TPU usually ranges from about 60A to 90A on the Shore hardness scale, and that the softer the filament, the harder it is to print.
Whichever extruder you have, the same rules help:
- Slow down. Prusa gives about 20 mm/s as a typical speed for flexible filament and 30–40 mm/s as the maximum.
- Cut retraction. Prusa says lower retraction reduces the risk of clogs and tangling, and that turning it off completely is fine.
- Start with a harder grade on a Bowden machine before trying soft ones.
If flexible prints keep failing with gaps and thin walls, see our guide to 3D printing under-extrusion before blaming the extruder layout.
Should you choose a Bowden or direct drive extruder?
Choose direct drive if you print flexible filament or want the least tuning, and a Bowden extruder if you print mainly rigid materials and value a light, simple print head.
| If you… | Choose |
|---|---|
| Print TPU or other flexible filaments often | Direct drive |
| Print mostly PLA, PETG and other rigid filaments | Either; a tuned Bowden works fine |
| Fight stringing and blobs after long retraction tuning | Direct drive |
| Want the lightest moving print head | Bowden |
| Plan to run carbon- or glass-filled filaments | Either, with hardened nozzle and gears |
| Own a Bowden printer that works well | Keep it unless flexible filament matters to you |
Heat-related clogs have their own causes, covered in our guide to a clogged 3D printer nozzle. The hot end itself, from heat break to nozzle, is explained in our 3D printer hotend guide.
Ender 3 direct drive conversion: what changes
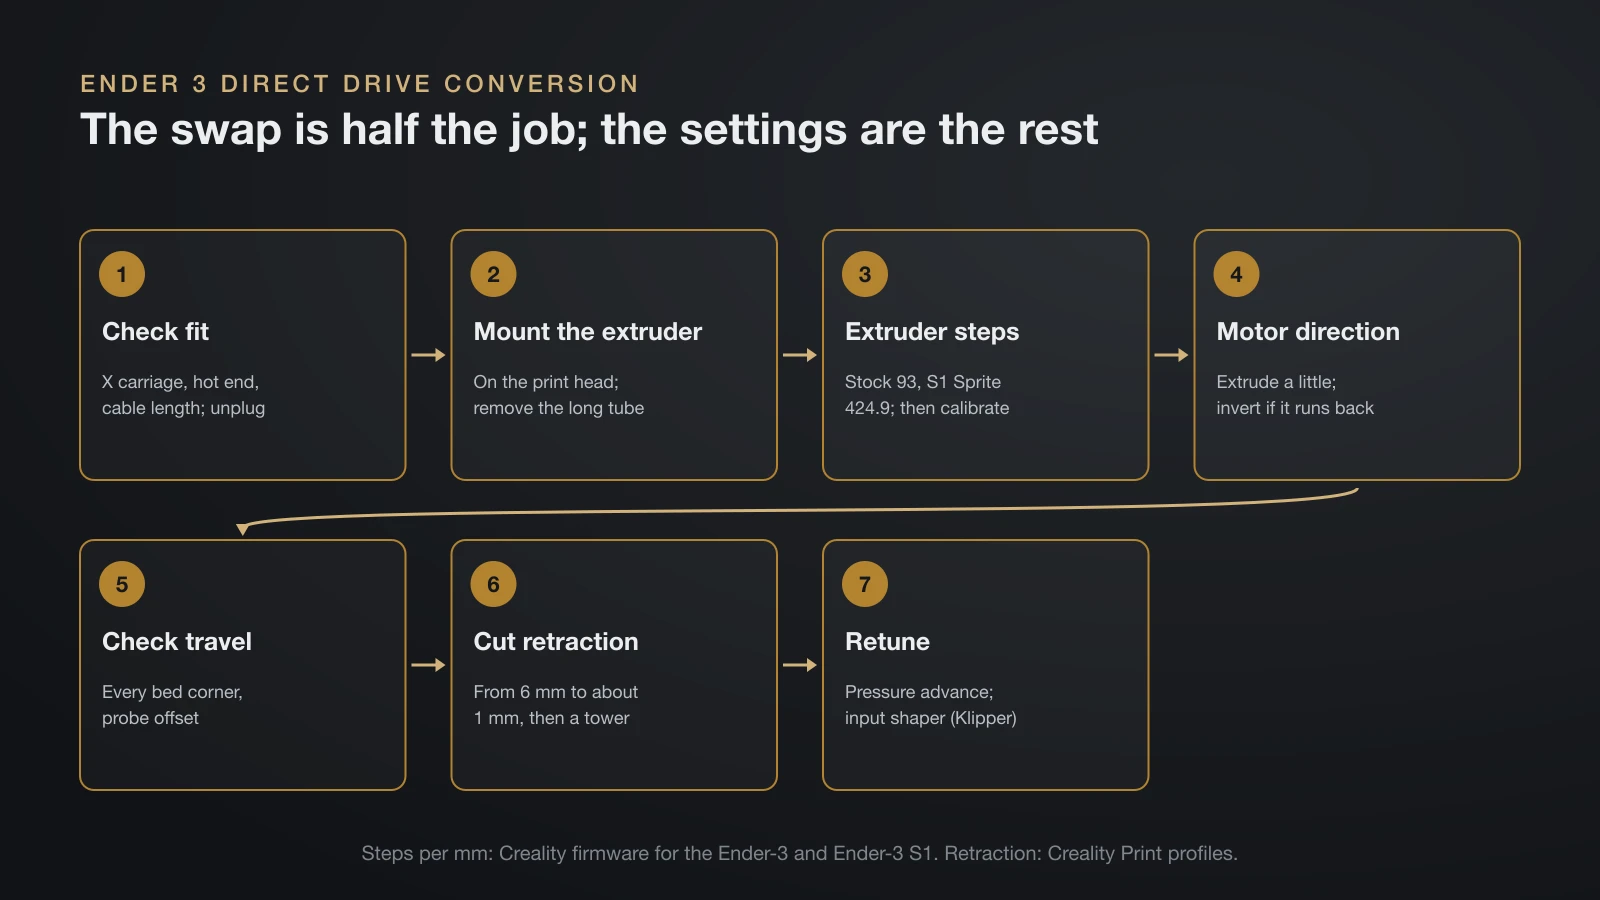
Converting an Ender 3 to direct drive means moving the extruder onto the print head and then updating the firmware and slicer to match. The mechanical part is usually the easy half; most problems after a swap come from settings that still describe the old Bowden setup.
Creality’s own firmware shows how much changes. Its stock Ender-3 configuration sets 93 extruder steps per millimeter, while its Ender-3 S1 firmware, written for the geared Sprite direct extruder, uses 424.9. The two files also set the extruder motor direction the opposite way round.
Conversion steps
- Check compatibility first. Confirm the new extruder fits your X carriage and hot end, and that the motor cable reaches the mainboard. Power off and unplug the printer before working on it.
- Mount the extruder on the print head and remove the long Bowden tube, following the kit maker’s instructions for the hot end connection.
- Set the extruder steps. In Marlin, set the new value with
M92 E<value>and save it withM500. In Klipper, changerotation_distance, plusgear_ratiofor geared extruders. Use the maker’s value as a start, then calibrate it, as described in our 3D printer calibration guide. - Check the motor direction. Heat the nozzle and extrude a short length. If the filament moves backward, invert the extruder direction in the firmware.
- Check the travel. Home the printer and confirm that the nozzle still reaches every corner of the bed, and that the bed probe offset, if you have one, still matches.
- Redo the slicer profile. Drop retraction from the Bowden value (6 mm in Creality Print’s Ender-3 profile) to a direct drive starting point such as the 1 mm Creality uses for the Ender-3 S1, then run a retraction tower.
- Retune pressure advance and, on Klipper, rerun input shaper calibration, since Klipper notes that a heavier extruder motor changes the toolhead’s resonances.
The bottom line
A Bowden extruder keeps the print head light by leaving the motor on the frame, but it needs longer retraction and more pressure advance and struggles with soft filament. Direct drive gives the nozzle quick, precise control and handles TPU more easily, at the cost of a heavier head. If your Bowden printer already prints rigid filaments well, a conversion only pays off when flexible filament or constant retraction tuning is the problem.
Sources
- Prusa Research: Knowledge Base Stringing and oozing, Flexible materials, Bowden tube glossary and CORE One product page; PrusaSlicer 2.9.6 printer profiles (2 mm and 3.2 mm guidance, 0.7 mm and 2.5 mm defaults, TPU speed, Shore range, retraction advice, direct drive Nextruder, hardened nozzle)
- Creality: Ender-3 S1 product page, Cold pull guide, Creality Print printer profiles and official firmware for the Ender-3 and Ender-3 S1 (Sprite direct extruder and 1:3.5 ratio, Ender-3 as a Bowden setup, 6 mm and 1 mm retraction, 93 and 424.9 steps per mm, motor direction)
- UltiMaker: UltiMaker S7 and the Cura printer definition used by the S7 (Bowden dual extrusion, reinforced feeder, TPU 95A, 6.5 mm retraction)
- OrcaSlicer Wiki: Retraction calibration (0–2 mm and 1–6 mm test ranges and steps)
- Firmware documentation: Klipper Pressure advance, Resonance compensation and Rotation distance; Marlin M92 and M500 (pressure advance range and tuning steps, moving mass, recalibration after head changes, steps and saving)