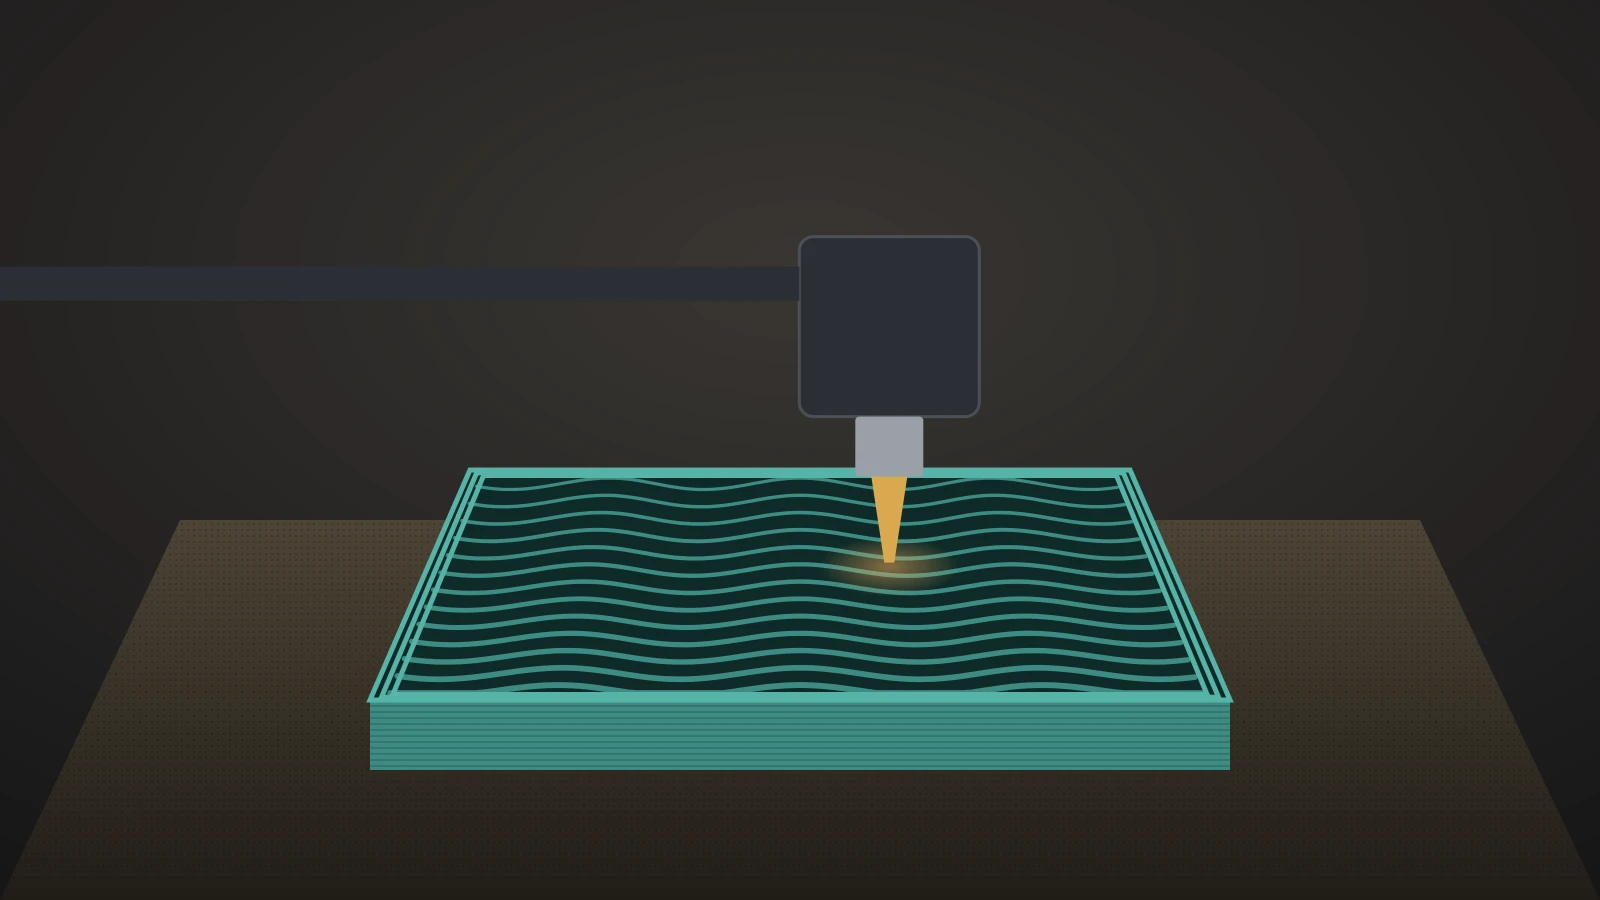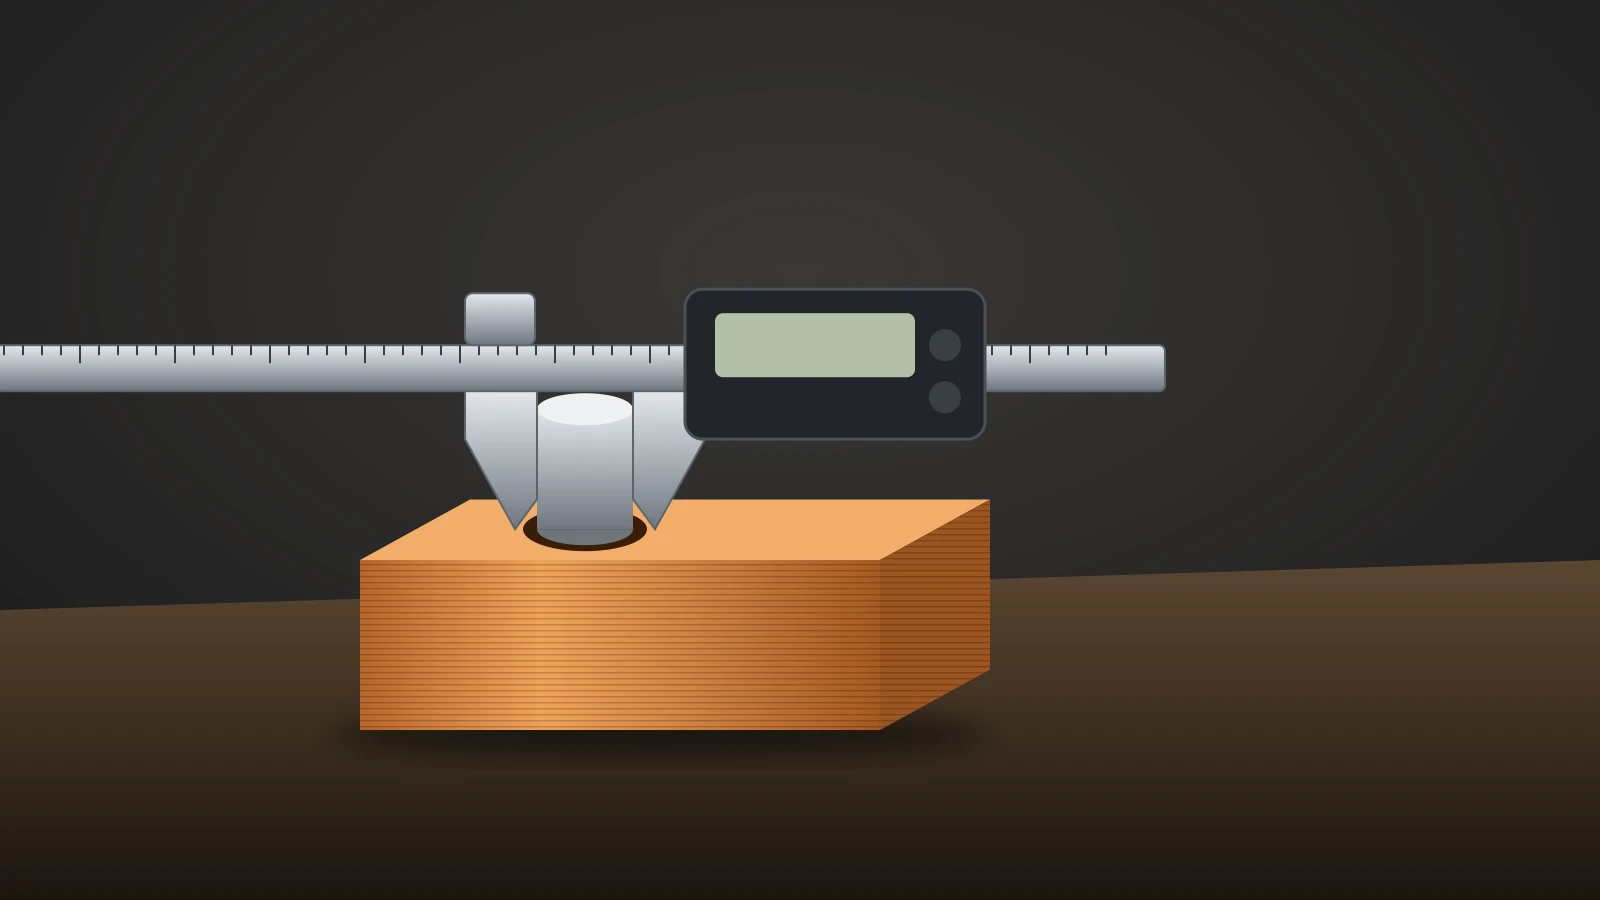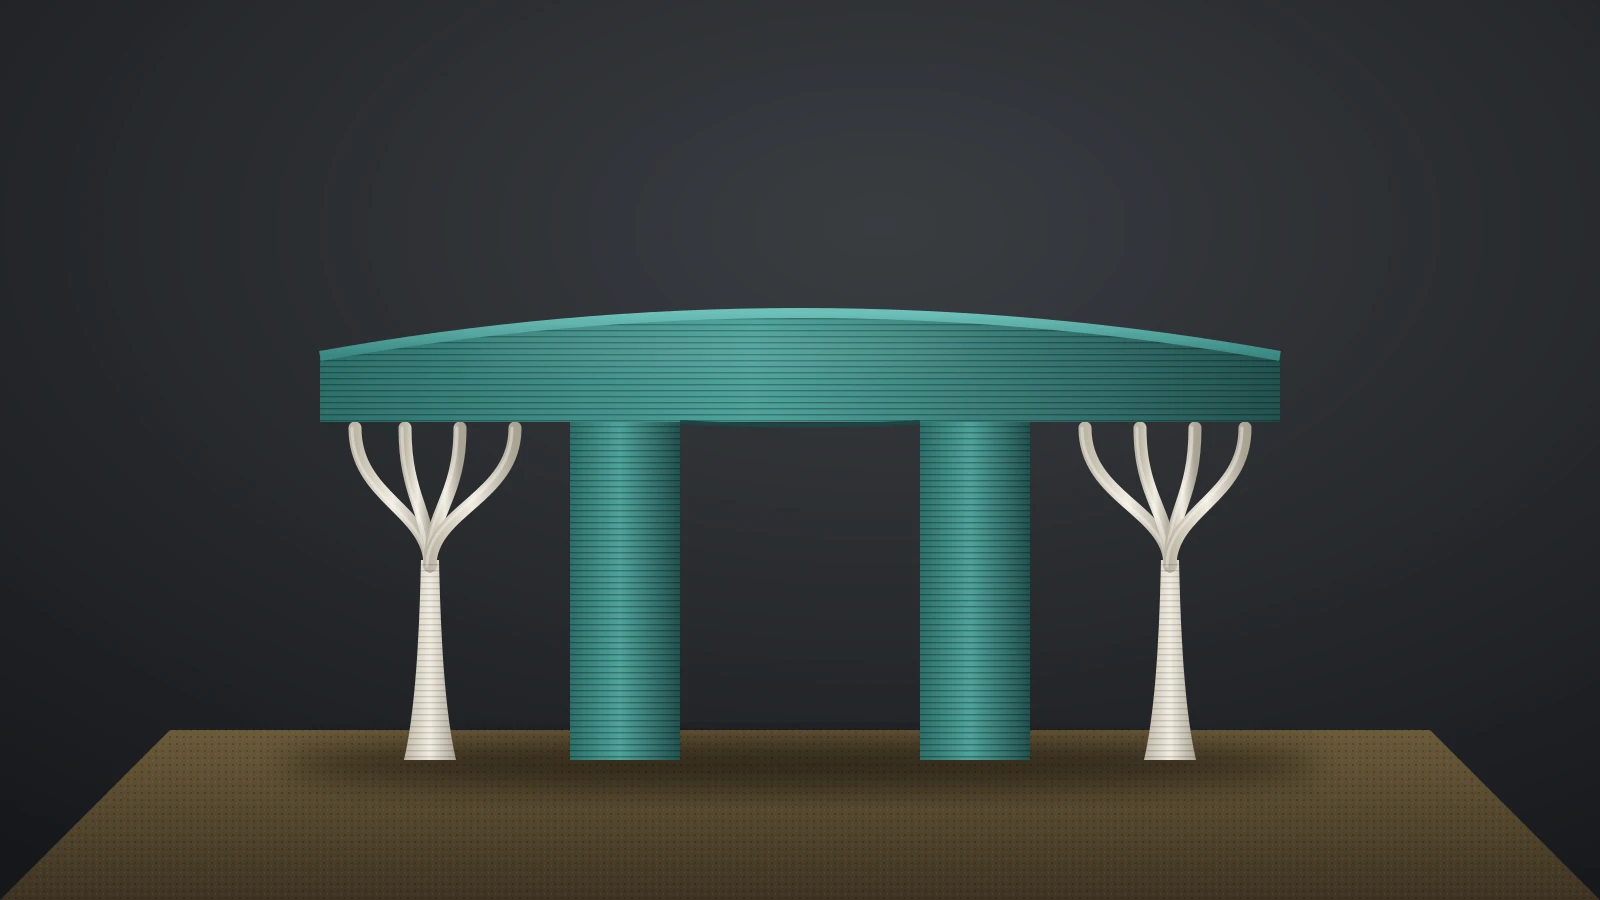
3D printing supports are temporary structures the slicer adds under overhangs, holes and long bridges that would otherwise print in mid-air. You need them when a surface leans more than about 45° from vertical or a flat span is too wide to bridge. After printing, you snap, cut or dissolve them away.
Supports are one of the core options in any slicer, next to the walls, infill and speeds covered in our guide to 3D printing slicer settings. This guide covers when you need supports, which type to use, the settings that decide how cleanly they come off, and how to remove them safely.
The short answer
- When: overhangs steeper than about 45° from vertical, long bridges and anything floating in mid-air.
- Which type: normal (grid) supports for large flat overhangs; tree or organic supports for figures and curved, complex shapes.
- Key settings: top Z distance (the gap under the model), interface layers, XY distance and density.
- Material: the same filament for most prints; breakaway or soluble support filament on multi-material printers.
- Removal: let the part cool, wear safety glasses, peel by hand, then use pliers and flush cutters, cutting away from your body.
When do 3D prints need supports?
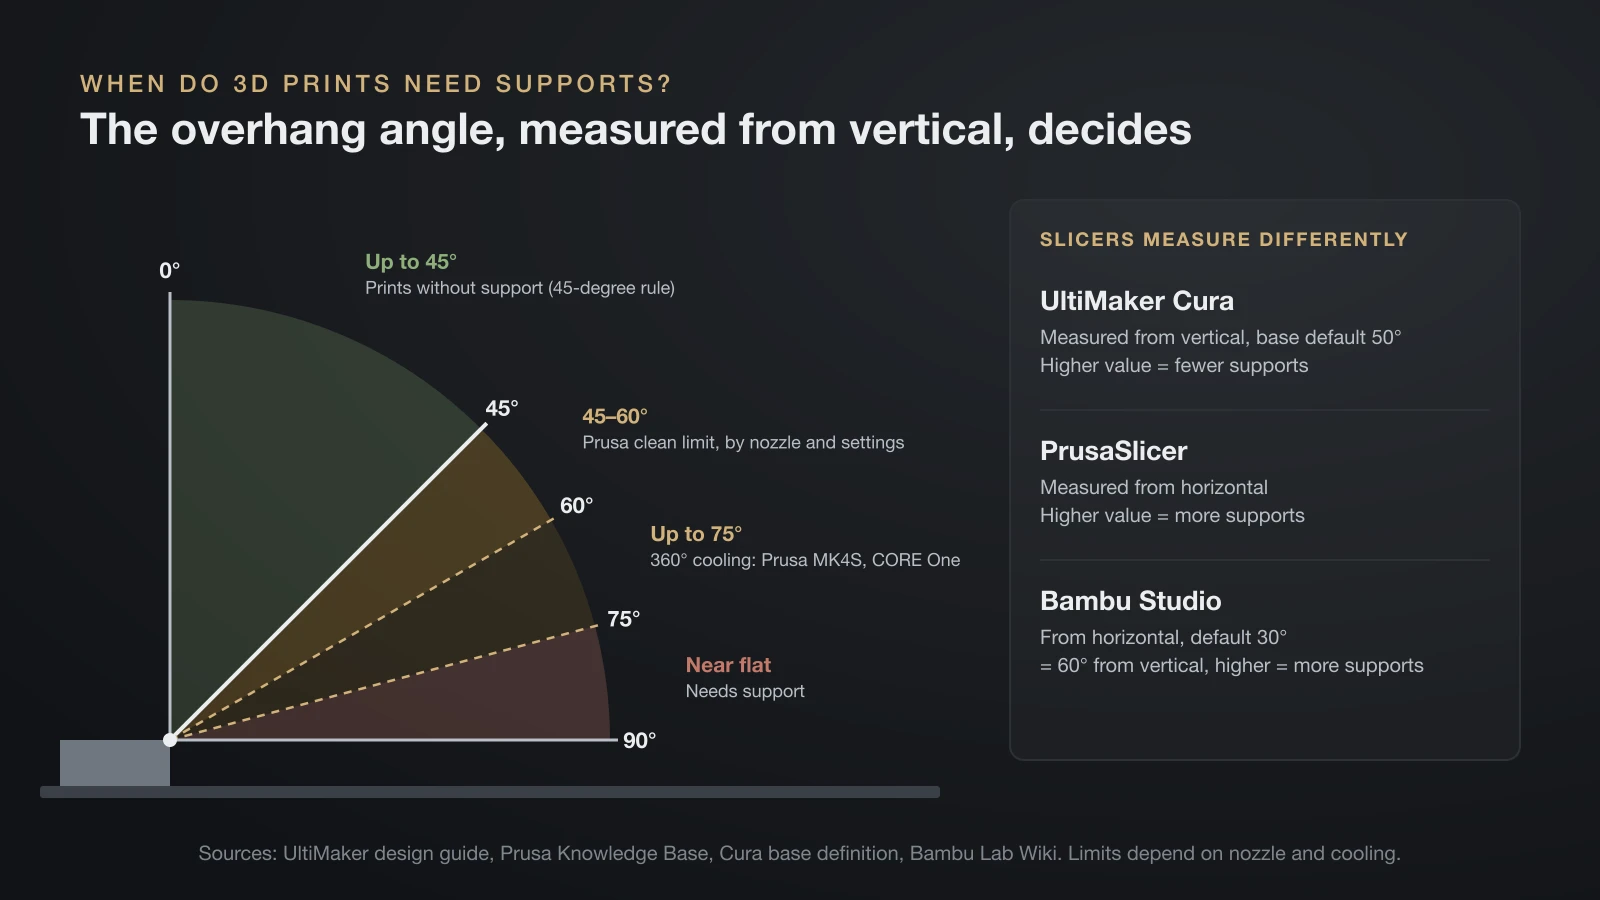
A 3D print needs supports wherever a surface would be printed on nothing but air. UltiMaker’s design guide calls it the common 45-degree rule: in practice, surfaces that lean more than 45° from vertical need support. Prusa puts the clean limit at 45–60° depending on nozzle and settings, up to 75° on its MK4S and CORE One printers with 360° cooling, and below 45° with a small 0.25 mm nozzle.
Slicers apply the same idea but measure the angle differently, so check the reference before you change the number.
| Slicer setting | Measured from | Default or example | Higher value means |
|---|---|---|---|
| Cura: Support Overhang Angle | Vertical (0° supports every overhang) | 50° in Cura’s base definition | Fewer supports |
| PrusaSlicer: Overhang threshold | Horizontal (90° = vertical) | Set per profile | More supports |
| Bambu Studio: Threshold angle | Horizontal | 30° | More supports |
| OrcaSlicer: Threshold angle | Slope angle; slopes below it get support | Set per profile | More supports |
Bambu Studio’s default of 30° from horizontal is the same slope as 60° from vertical, which Bambu Lab calls a safe angle for most materials.
Bridges and small overhangs
A bridge is a flat span held up at both ends, and short bridges print fine without supports because each line is anchored on both sides. PrusaSlicer and OrcaSlicer offer a “Don’t support bridges” option; Bambu Studio’s tree supports instead split spans longer than a max bridge length and support only the contact points.
Bambu Studio’s overhang detection treats three cases specially. Very small overhangs need no support at all, cantilevers held at one end only must be supported even when small, and sharp tails that float away from the part need support around them over a taller span. OrcaSlicer’s “Ignore small overhangs” option skips the first kind.
Normal vs tree supports in 3D printing
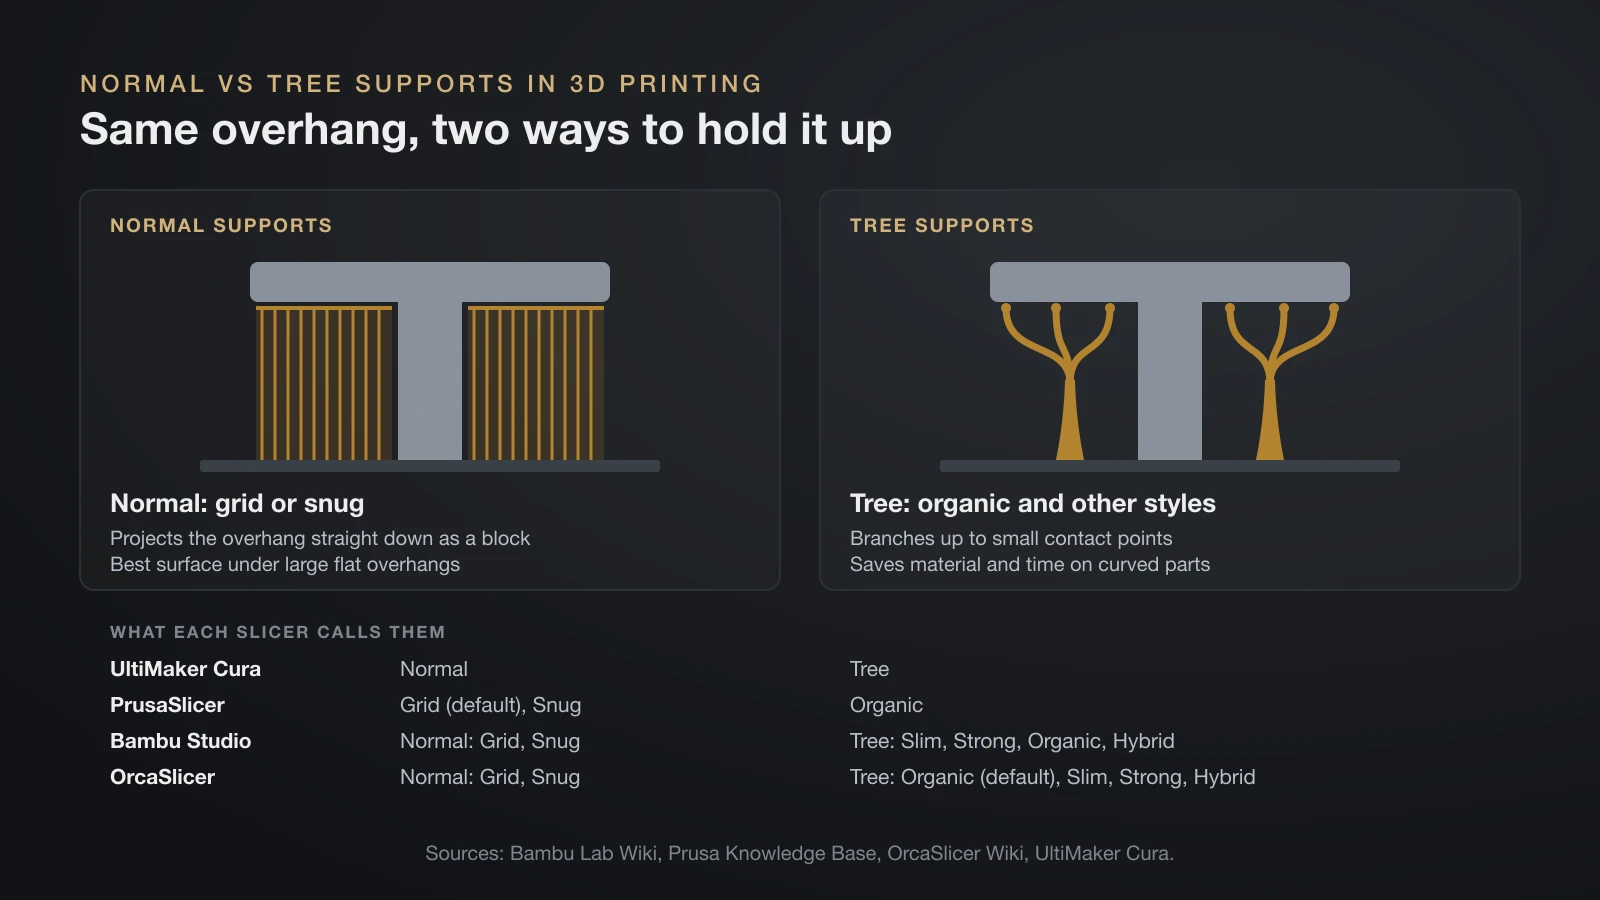
Normal and tree supports are the two basic support types, and every major slicer offers both under slightly different names. Normal supports project the overhang straight down to the bed as a block. Tree supports start from small contact points under the overhang and grow down as branches, which can steer around the model.
| Slicer | Normal (block) supports | Tree supports |
|---|---|---|
| UltiMaker Cura | Normal | Tree |
| PrusaSlicer | Grid (default), Snug | Organic |
| Bambu Studio | Normal: Grid, Snug | Tree: Slim, Strong, Organic, Hybrid |
| OrcaSlicer | Normal: Grid, Snug | Tree: Organic (default), Slim, Strong, Hybrid |
Bambu Lab’s guidance: normal supports usually leave a better surface under large flat overhangs, while tree supports save material and time on complex parts with small, curved overhangs. Its Hybrid style mixes both. Organic branches first appeared in Cura and were then ported to PrusaSlicer and Bambu Studio.
Snug supports hug the overhang instead of filling a rectangle, which saves material and reduces scarring. Figures and statues are the classic tree support job, as our guide to 3D printed action figures shows.
The support settings that matter: Z distance and interface
Top Z distance and interface layers decide how cleanly supports come off and how smooth the supported surface looks. The rest of the support settings mostly trade print time against strength.
| Setting | What it does | Starting point from the docs |
|---|---|---|
| Top Z distance | Vertical gap between support top and model | Cura base 0.1 mm; Prusa 50–75% of layer height; Bambu about 0.2 mm with the same filament |
| Interface layers | Dense layers where support meets model | Bambu: 3 gives a stable, flat platform; Prusa: 3–4 for a more solid top |
| XY distance | Side gap between support and walls | Cura base 0.7 mm; larger is easier to remove |
| Density or pattern spacing | How much support is printed | Cura base 15% for normal supports; wider spacing removes easier |
| On build plate only | Blocks supports that start on the model | Use when support scars on the part matter |
Top Z distance
The top Z distance is the small air gap that lets supports break away. Bambu Lab sums up the trade-off: a bigger gap makes removal easier and the supported surface rougher. Prusa’s 50–75% of the layer height ties the gap to your layers, so the 3D printing layer height you choose also changes how supports behave. A zero gap only works with a dedicated support filament.
Interface layers
The interface is the almost solid roof printed on top of the sparse support body. With zero interface layers, Bambu Lab says, lines sag onto the support. OrcaSlicer’s wiki adds that a concentric interface pattern peels off in one piece and leaves no line ends on the surface.
Painting supports: enforcers and blockers
Support painting lets you add supports only where they are needed and block them where they would scar a visible face. Every slicer here offers a way to do it:
- PrusaSlicer: paint-on supports with enforcers, blockers and automatic painting, covered in our PrusaSlicer guide.
- Bambu Studio and OrcaSlicer: a support painting tool; with the manual support types, supports appear only on painted enforcers.
- UltiMaker Cura: the Support Blocker tool drops a box on the model, and no support prints inside it.
Prusa also suggests an enforcer in the middle of a long bridge to split it into two shorter ones. Menus differ between slicers; our comparison of Orca Slicer vs Bambu Studio covers how those two relate.
How to reduce supports with orientation and design
The easiest support to remove is the one you never print, and orientation is the first tool for that. Prusa’s advice for rough surfaces above supports is to rotate the model to an orientation that needs fewer supports, or to cut it into parts and glue them together afterward.
- Rotate the model so the largest flat face sits on the bed and steep faces point up.
- Check strength direction. UltiMaker notes that FDM parts are usually weakest along the Z axis, so lay clips and hooks so the load runs along the layers.
- Cut the model into pieces that each print flat, then glue or pin them.
- Design for no support: chamfers instead of flat ceilings, gentle slopes instead of sudden ledges, and short bridges.
Moving parts are a special case. Print-in-place hinges and snap fits are designed to print without supports inside the joint, as our guide to 3D printed joints explains. Surfaces that people look through or at closely, such as parts in clear PLA, show support marks the most, so orient them with the show face up.
Support materials: soluble, breakaway and PLA/PETG pairs
Dedicated support materials give clean undersides with little or no gap, but they need a printer that handles two materials, such as a multi-material unit or a dual-nozzle machine. Bambu Lab sorts them into breakaway filaments you peel off and water-soluble ones you dissolve.
| Support material | Pairs with | How it comes off | Notes from the makers |
|---|---|---|---|
| PVA or BVOH | PLA | Dissolves in water | Very moisture sensitive; keep dry during printing |
| Bambu Support for PLA | PLA, PLA-CF | Breaks away | Best used for the interface only |
| Bambu Support for PLA/PETG | PLA and PETG | Breaks away | Works with both families |
| PLA Basic or PETG as each other’s interface | PETG model or PLA model | Breaks away | Bambu’s guide covers only its own PLA Basic and PETG |
| HIPS | PETG | Brief limonene soak, then by hand | Prusa rates it unsuitable under ABS or ASA, which partly dissolve in limonene |
Water-soluble supports (PVA and BVOH)
PVA and BVOH are water-soluble filaments used almost only for supports. Bambu Lab says dissolving takes from a few hours to a dozen hours, warm water and stirring speed it up, and the water should stay at or below 50 °C (122 °F) for PLA parts so they do not deform. Prusa gives a rough ratio: 1 g of BVOH dissolves in about 20 g of water.
Both makers stress keeping the filament dry. Bambu Lab wants PVA stored below 20% relative humidity while printing and warns that freshly dried PVA can get damp in 1–3 hours in a normal room.
Breakaway supports and PLA/PETG pairs
Breakaway support filaments bond just enough to hold the overhang, then peel off cleanly. Bambu Lab recommends them for the support interface only, with the main filament for the body, and warns that mismatched pairs, such as a PLA support filament under ABS, can clog the nozzle.
PLA and PETG do not bond well to each other, and Bambu Lab uses that as a support trick on multi-material printers. Its guide prints PLA Basic at 230 °C (446 °F) as the interface under PETG, or PETG as the interface under PLA, with the bed at 60 °C and the enclosure door or lid open.
How to remove supports from 3D prints
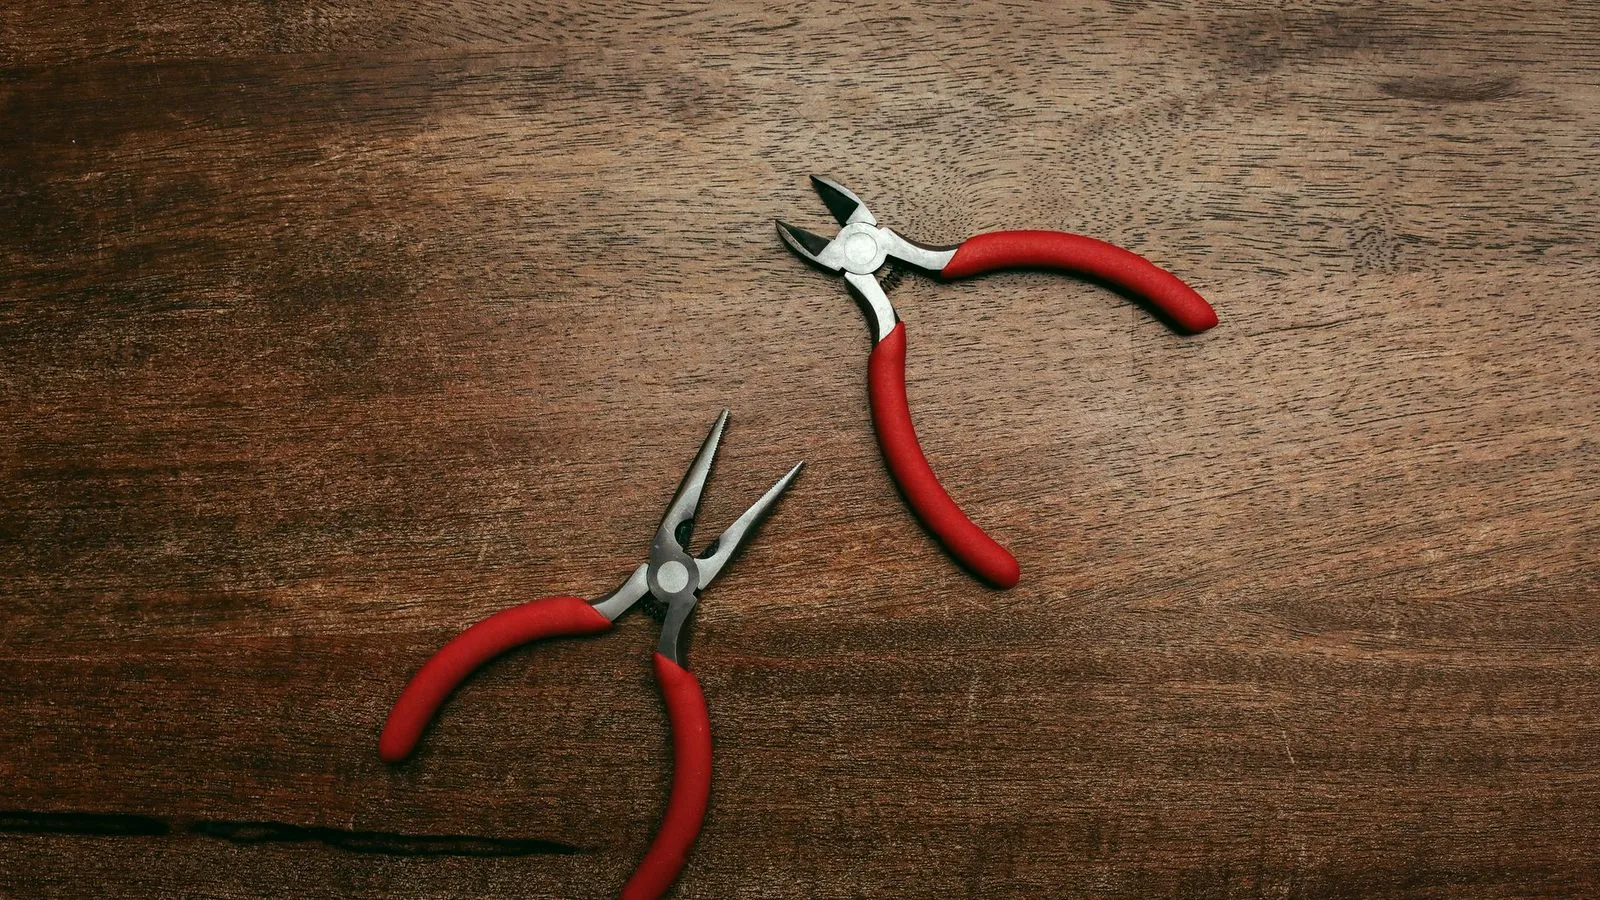
Most FDM supports come off by hand once the part has cooled; the rest need pliers, flush cutters or a blade. Prusa warns that support pieces can be surprisingly sharp and sometimes fly off in a random direction, so wear safety glasses for stubborn supports.
- Let the part cool to room temperature on or off the bed.
- Put on safety glasses. Add gloves if the edges are sharp.
- Remove large outer supports by hand, bending them away from thin features.
- Grip hard-to-reach supports with needle-nose pliers and pull them out in small pieces.
- Snip remaining contact points with flush cutters, flat side against the part, cutting away from your body and fingers.
- Free any stuck piece with a scalpel or utility knife, as Prusa suggests, again cutting away from your hands.
- Clean up the marks with a file, sandpaper or a deburring tool.
Timing matters for some materials. Bambu Lab says to remove supports within 2 hours on nylon parts and on PVA or other moisture-absorbing support filaments; if they have softened, dry the part, let it cool and try again. Support scars disappear under primer and paint, which our guide on how to paint 3D prints covers.
Resin print supports
Resin prints use thin supports that touch the part at small points. Formlabs recommends removing them after post-curing, because parts can warp under light and heat without them, and suggests flush cutters plus eye protection and gloves against breaking fragments. Uncured resin also needs gloves; our guide to resin vs filament printing covers the full wash-and-cure routine.
The bottom line
3D printing supports are needed under overhangs beyond about 45° from vertical, long bridges and anything in mid-air, and good orientation removes many of them. Use tree or organic supports for complex shapes and normal supports under big flat areas, then tune top Z distance and interface layers for the finish you want. Remove supports once the part cools, with safety glasses on and cutters pointed away from you.
Sources
- Prusa Knowledge Base: Support material, Bad looking surface above supports, Modeling with 3D printing in mind, Water soluble (BVOH/PVA) and HIPS (overhang limits, settings, removal, BVOH, HIPS)
- Bambu Lab Wiki: Support, PVA printing guide and PLA Basic and PETG mutual support (styles, 30° threshold, 0.2 mm top Z, support filaments, 2-hour removal, PVA at 50 °C and 20% RH, PLA/PETG pairs)
- OrcaSlicer Wiki: Support, Support advanced and Support painting (styles, bridges, interface patterns)
- UltiMaker: How to design for FFF 3D printing, Cura’s setting definitions and Support Blocker tool (45-degree rule, Cura defaults)
- Formlabs: SLA basic finishing steps (resin support removal)